With Mother’s Day just around the corner, it’s time to start thinking about securing your place as the favourite son or daughter of the house. What better way to do that than to put together some gifts for Mom, made from the heart? And as the sneaky wine lover in the house, we challenge you to find a better way to reuse your bottles than to upcycle them for Mom!
Create personal gifts that are from the heart and show Mom you care. Or even better, grab a wine gift for Mom from WineCollective, and you can make these crafts with Mom later! Before you run to look for all those empty wine bottles you stored in your garage, you’re going to need to learn how to cut them in half. Let’s go!
There’s more than one way to cut a wine bottle. While bottle cutting may seem or sound complicated, it just requires some dedication, caution (it is glass after all) and a whole lot of enthusiasm! We’ll teach you two ways of cutting a bottle in half, and you can use the method you prefer to kick off the crafts we have in store for you (more on that later…)
How To Cut A Wine Bottle With String And Fire?
This one’s pure physics, but requires just a few items that you probably already have at home!
You’ll need:
- A pair of safety gloves
- A pair of safety glasses
- String or twine (the thicker, the better)
- Acetone (or rubbing alcohol)
- A wine bottle
- A pair of scissors
- Sand paper
- A lighter
- A tub large enough to submerge your bottle into
What to do:
Step 1:
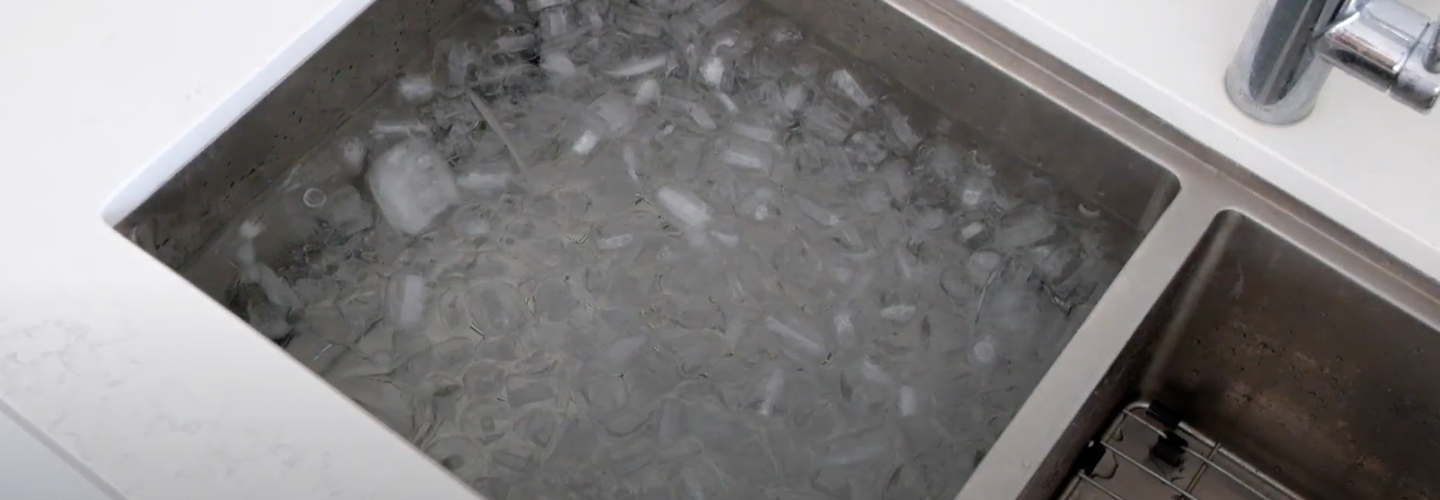
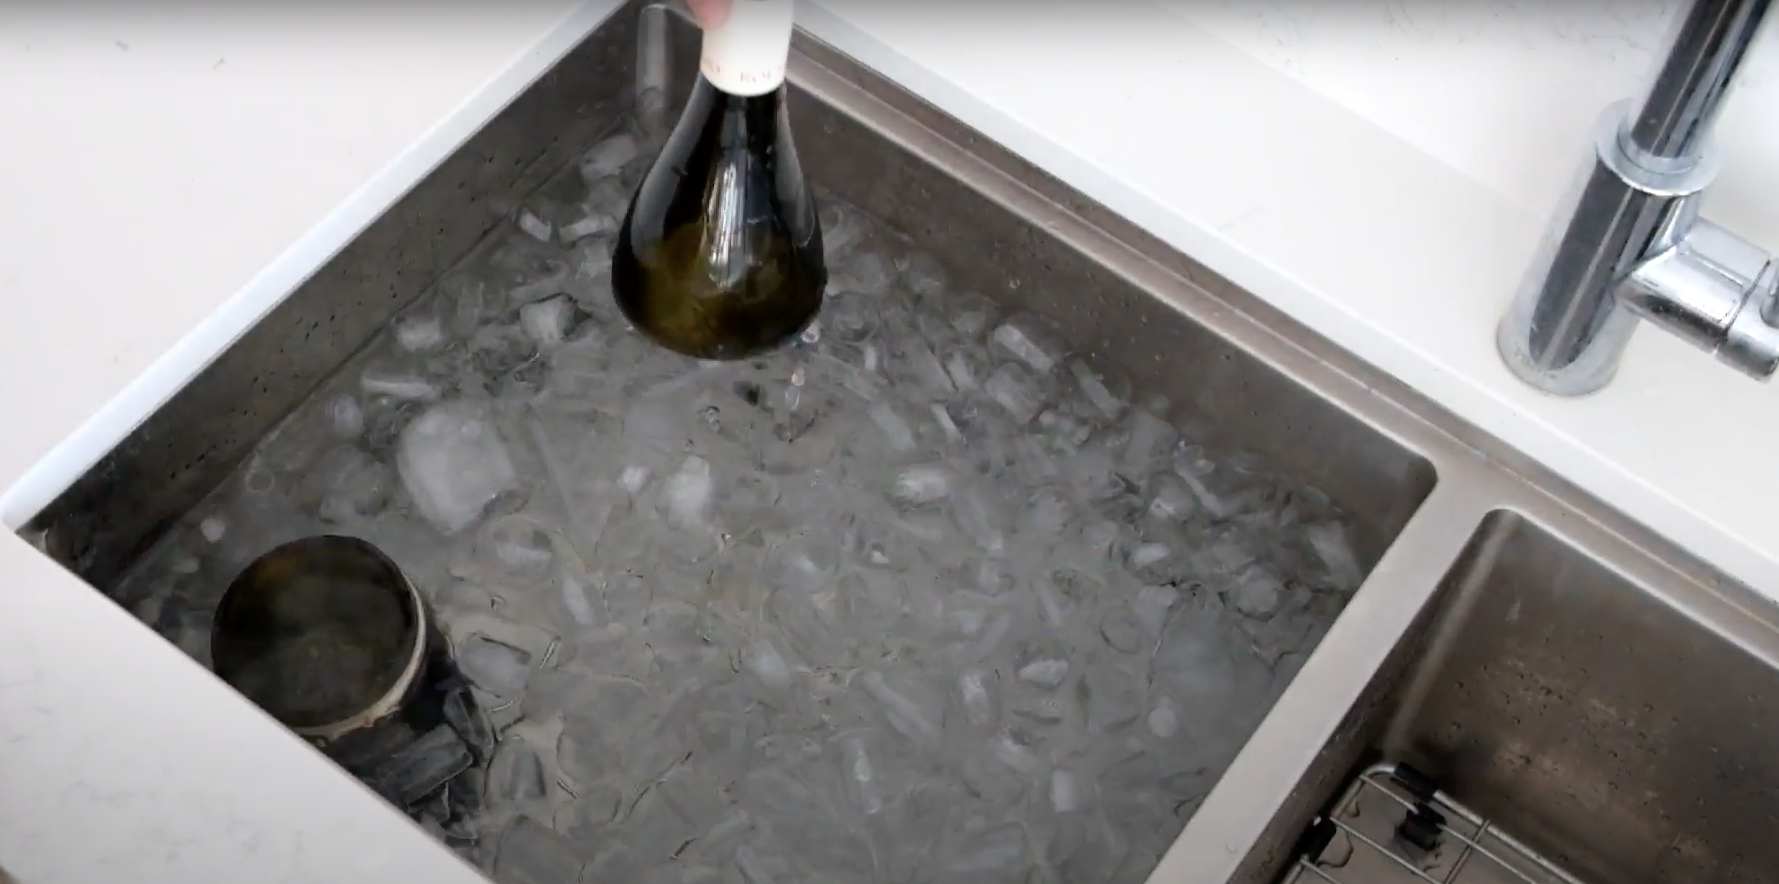
Ready to start? Fill a tub to the top with ice water. You can add some salt to the ice water to further lower the temperature of the water. The idea behind this method is that the difference in temperatures you expose the wine bottle to, will cause a thermal shock, thus splitting the bottle along the twine.
Step 2:
Once the tub is ready, take the twine, and wrap it around the bottle. Try to wrap it where you would like the bottle to split. Wrap it around the bottle 4 to 5 times to create a thick ring of twine.
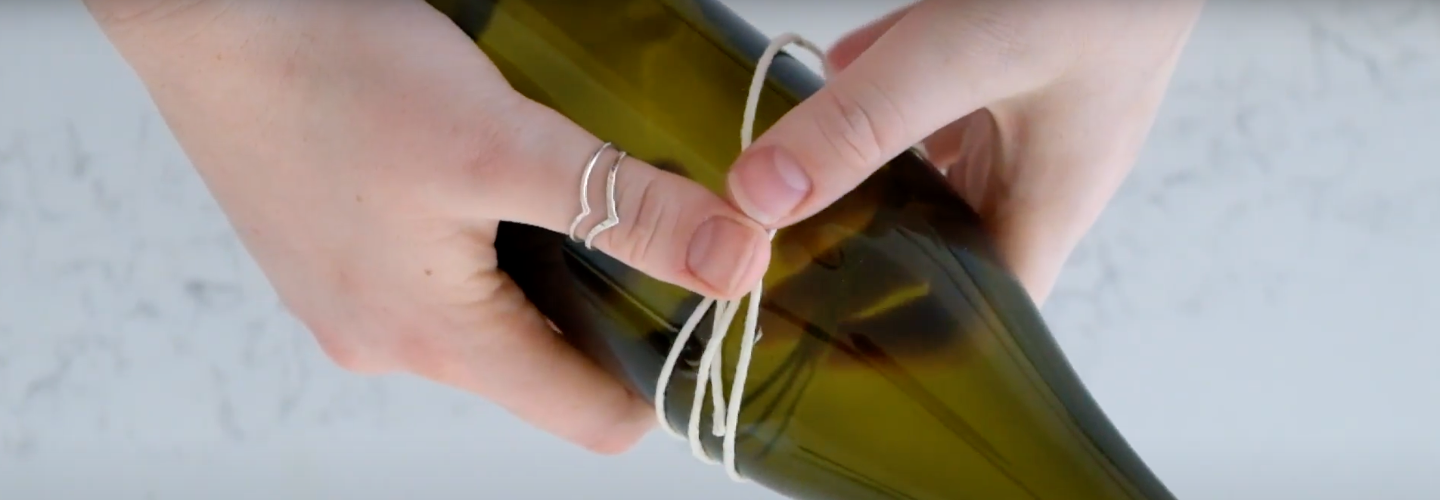
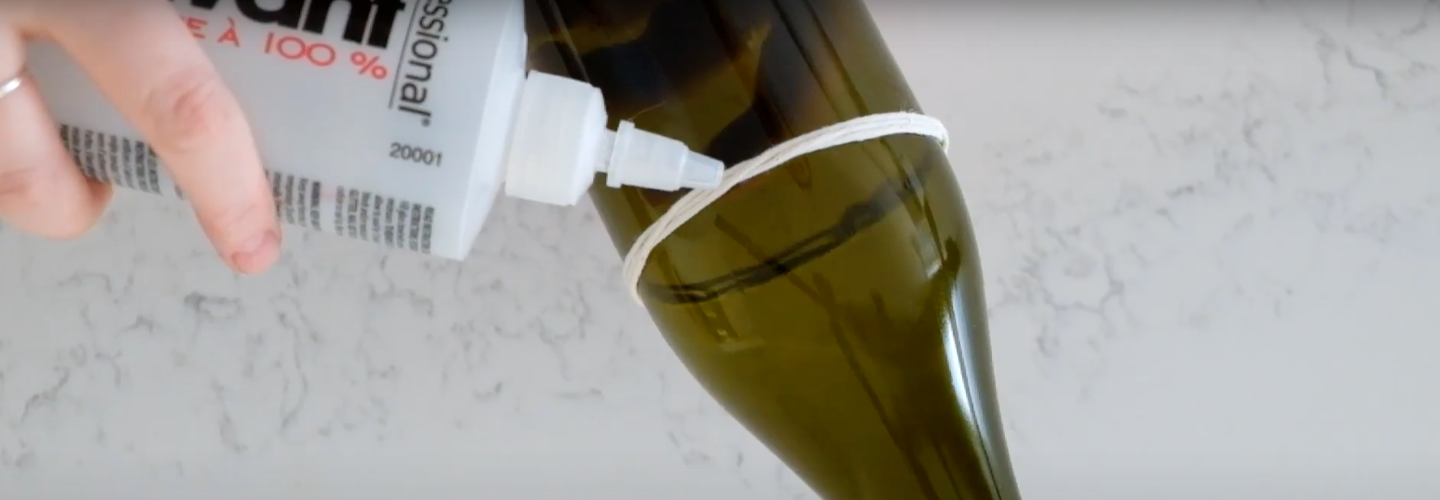
Tie it snug, and knot it. Now slip the twine off, and soak the twine in the flammable substance (acetone or rubbing alcohol) for 5 to 10 seconds. Or use a dropper bottle to apply acetone or rubbing alcohol directly onto the twine.
Step 3:
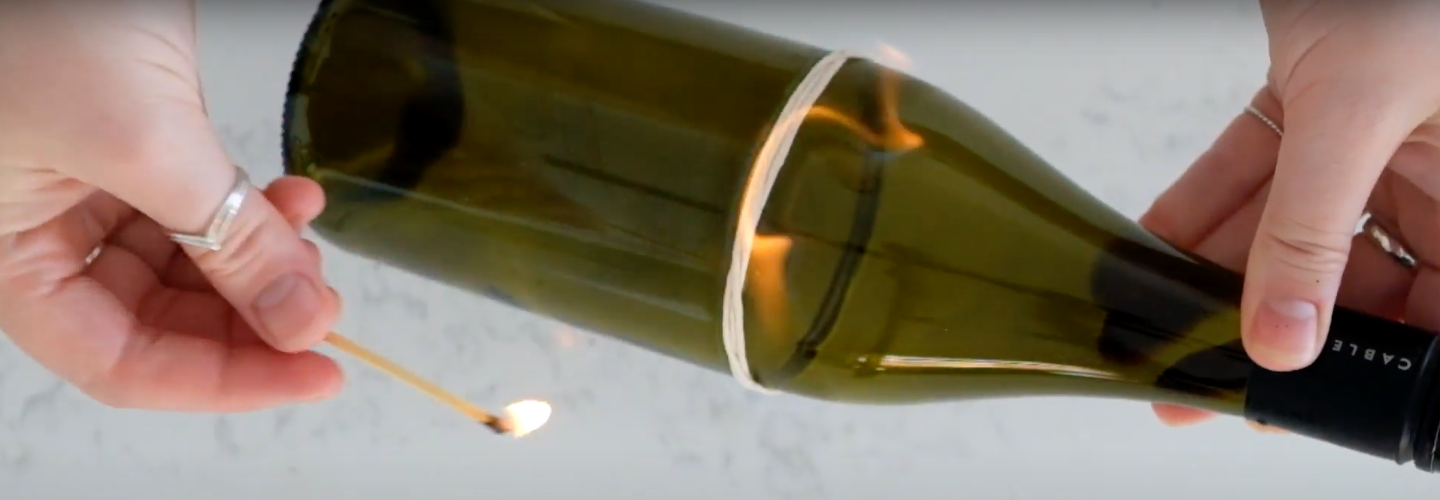
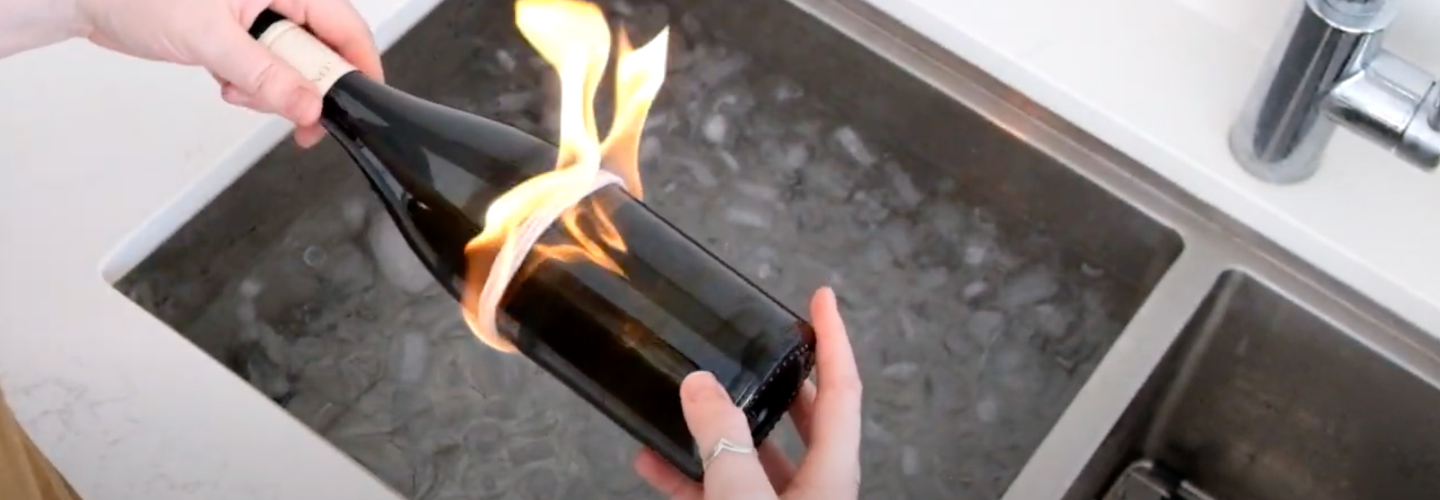
Now carefully slip it back onto the bottle. Hold the wine bottle in one hand by its bottom, and use your other hand to light the twine on fire. Rotate the bottle on its side, slowly turning so that the whole circumference of the bottle in contact with the twine is evenly heated.
Step 4:
Wait for the fire to go out on its own while you rotate the bottle then dunk it straight into the cold water.
You should hear a crack or snap, as the pressure difference causes the bottle to split into two.
If this didn’t happen, you might want to try making your water colder, by adding more ice and salt, or by lighting the twine up for longer.
Step 5:
Once split, place your sandpaper on the table, face the freshly cut lip of the glass bottle against your sandpaper, and rub the lip against the paper until smooth.
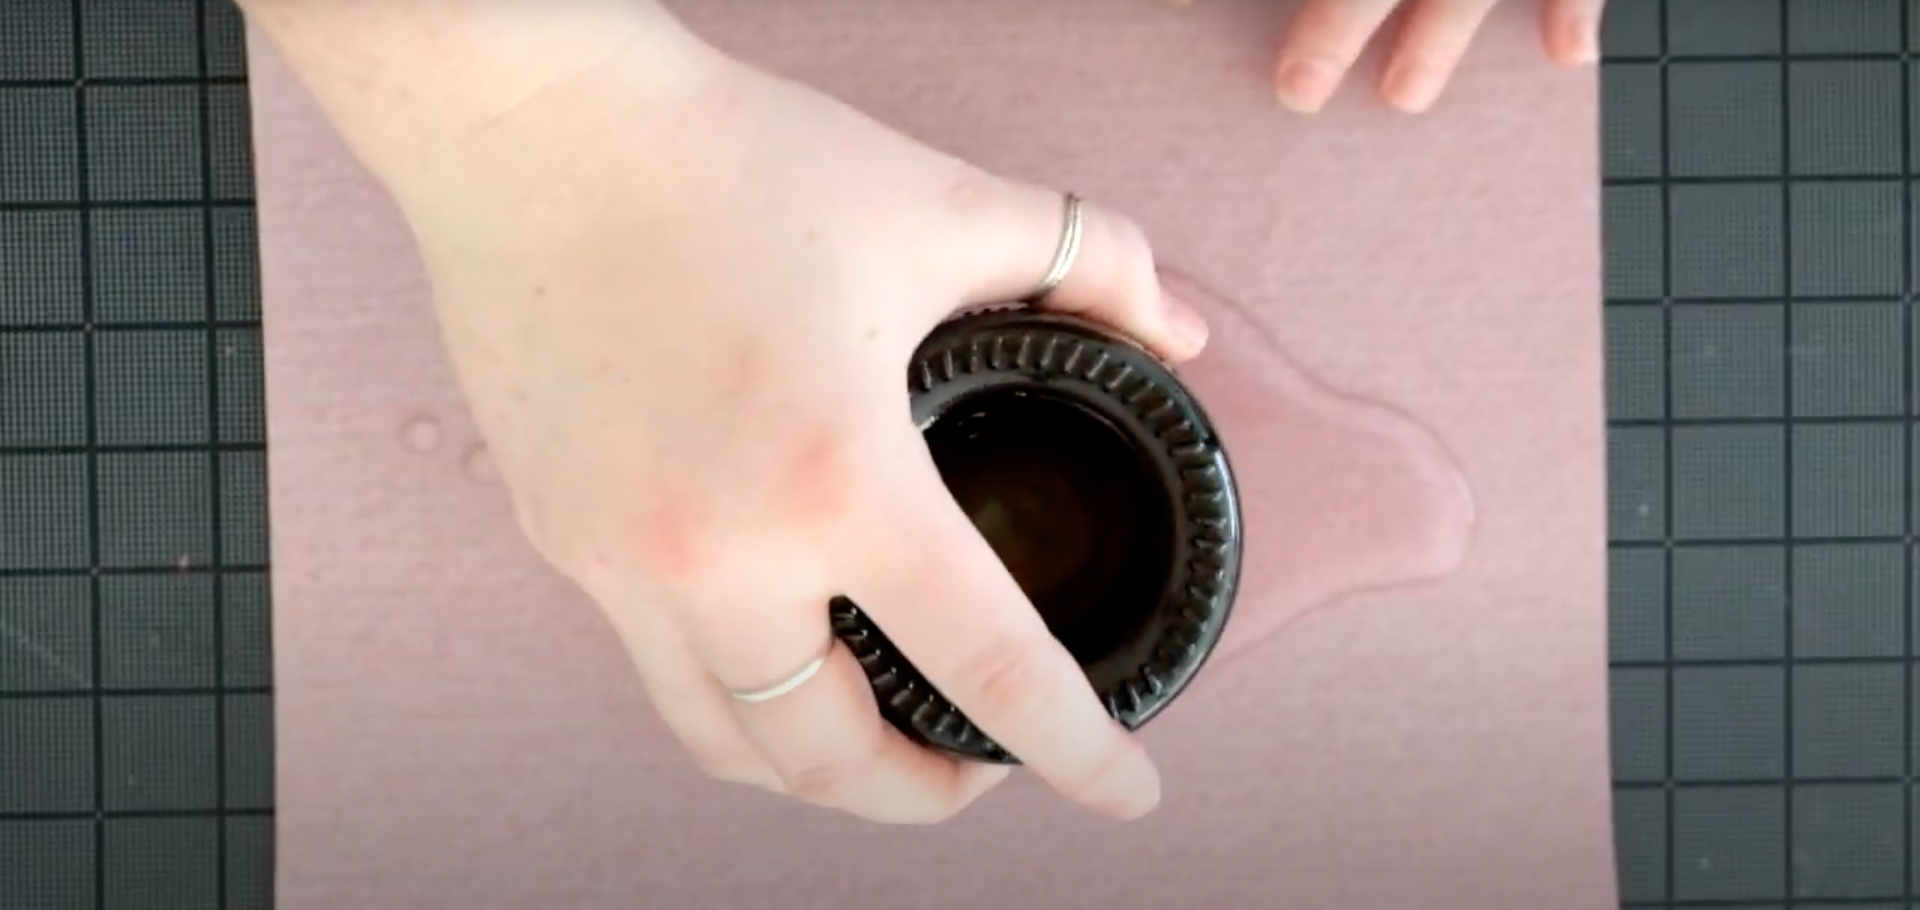
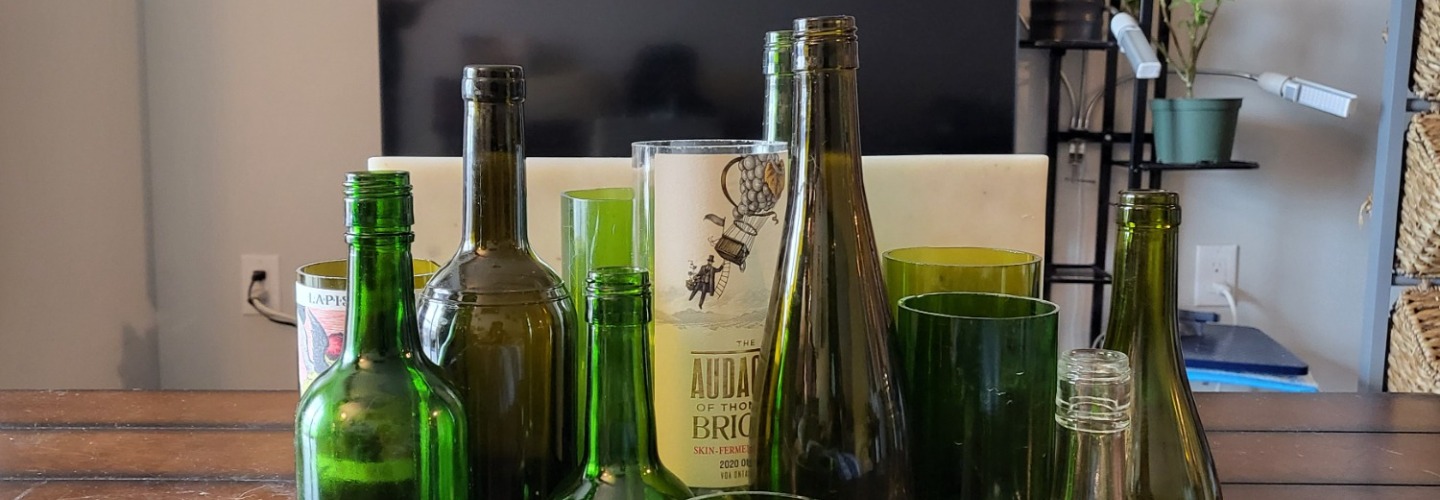
Voila! Use the two newly separated bottle halves as you see fit, or keep scrolling to try out the ideas we have for you and Mom!
Since wine bottles are all made differently, you may have to repeat these steps before your bottle splits. This method is also not perfect, so you may find your bottle splitting where you did not intend it to from time to time.
If you’re looking to make your bottle halves even more perfect, keep reading!
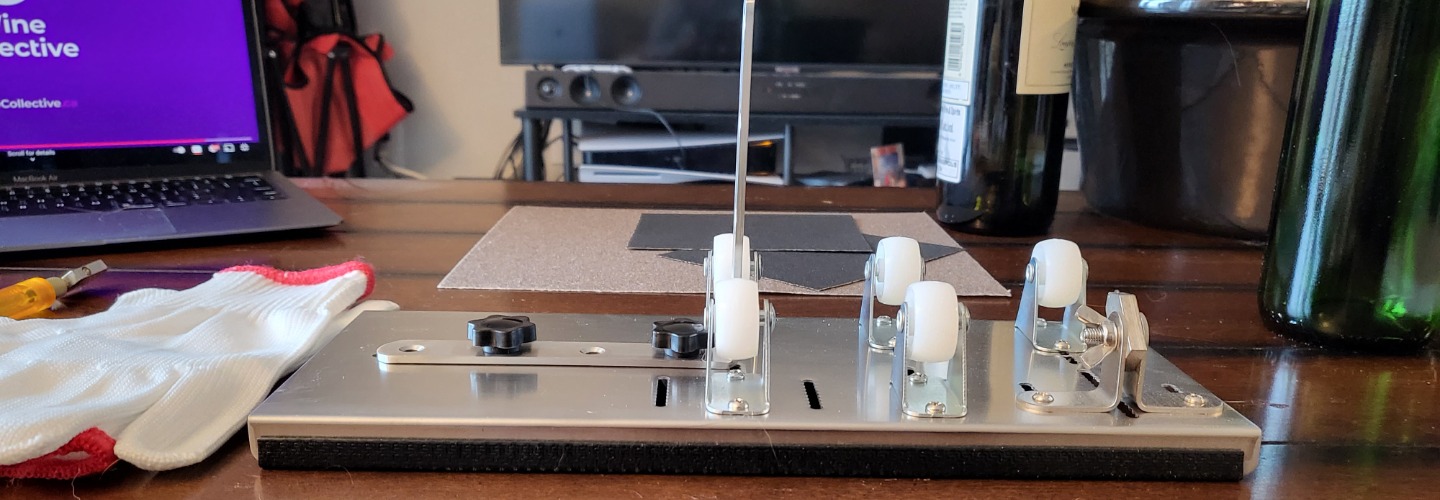
How To Use A Wine Bottle Cutter?
If you’re looking to make more precise cuts and have fewer bottles to work with this may be the best option.
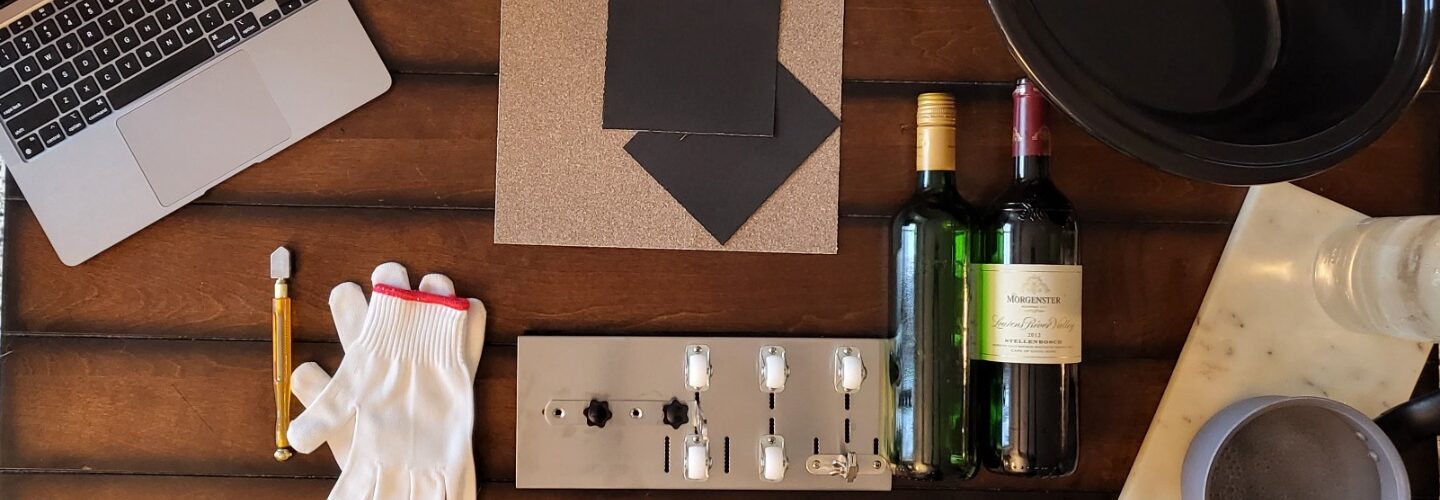
You’ll need:
- A pair of safety gloves
- A pair of safety glasses
- A bottle cutter
- A wine bottle
- Two tubs large enough submerge your wine bottle in*
*You can use one tub to place the bottle in, and use a mason jar of cold water along with a kettle of hot water to pour over the bottle instead.
There are many bottle cutters to choose from, and you can even pick one up from Amazon like this one!
What to do:
Step 1:
Set up your bottle cutter on a counter, and line up your bottle to where you would like to cut it. Some bottle cutters have a lever under the device to adjust the blade. This way you can cut the bottle as you please.
Step 2:
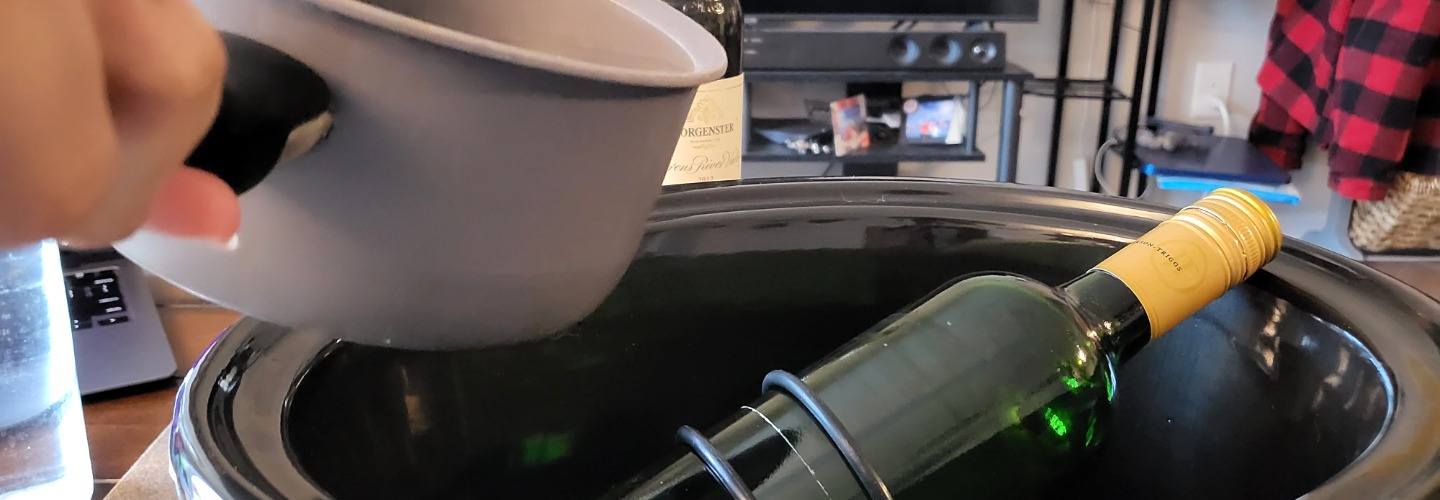
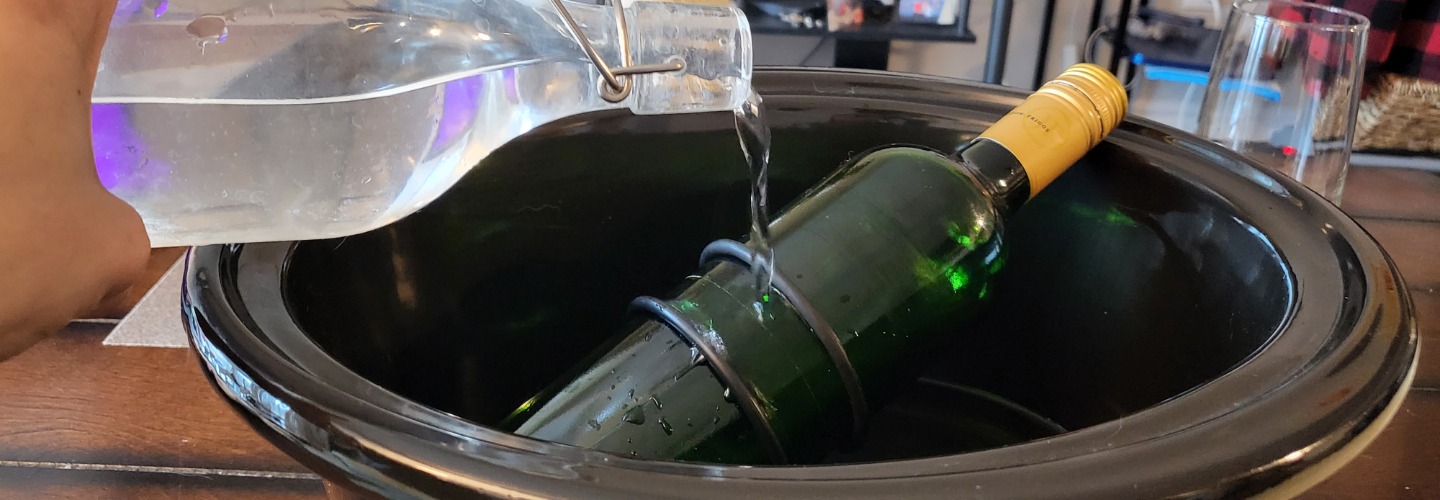
Once you are happy with where your blade will cut through, set up your tubs*. Fill the first one with very hot water, try to use boiling water, but be careful. The second tub should be filled with cold water, you can add some ice and salt to lower the temperature even more.
*We chose to use one tub to position our bottle into, and alternatively poured hot and cold water over the bottle.
Step 3:
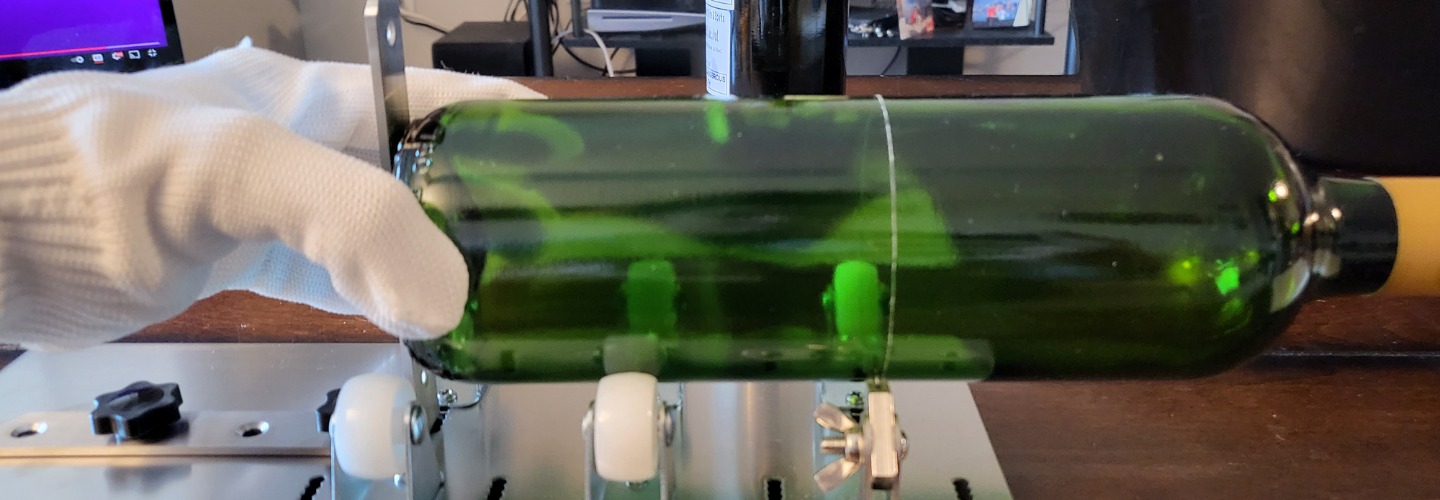
Now position the wine bottle within the cutter so the blade is perpendicular to the bottle. Then grip the bottle tightly with both hands, and apply slow and steady pressure as you turn the bottle towards you. You should hear a crunching noise as the blade scores the glass. If not, you might have to reposition the bottle, or press against the blade harder.
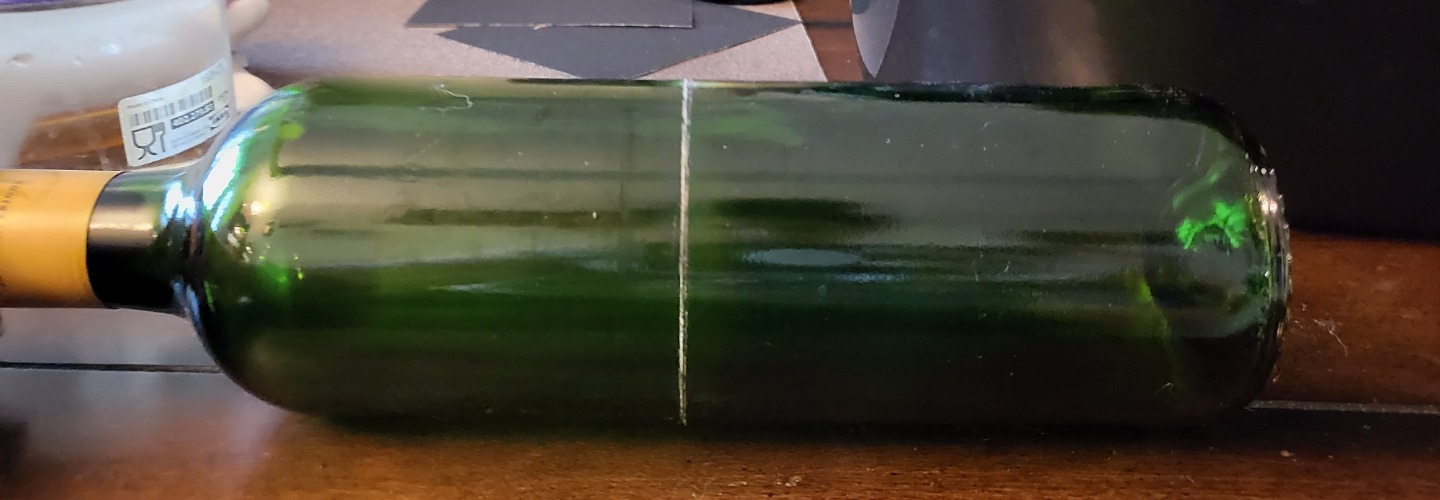
Step 4:
As the blade scores the glass, you’ll see a line forming around the bottle, you want to meet these lines end to end. Do not rescore around the bottle again. You only need to do this once. The more you rescore, the more likely the bottle will crack.
Step 5:
Once you have scored your bottle, the process is quite similar to that of thermal shock.
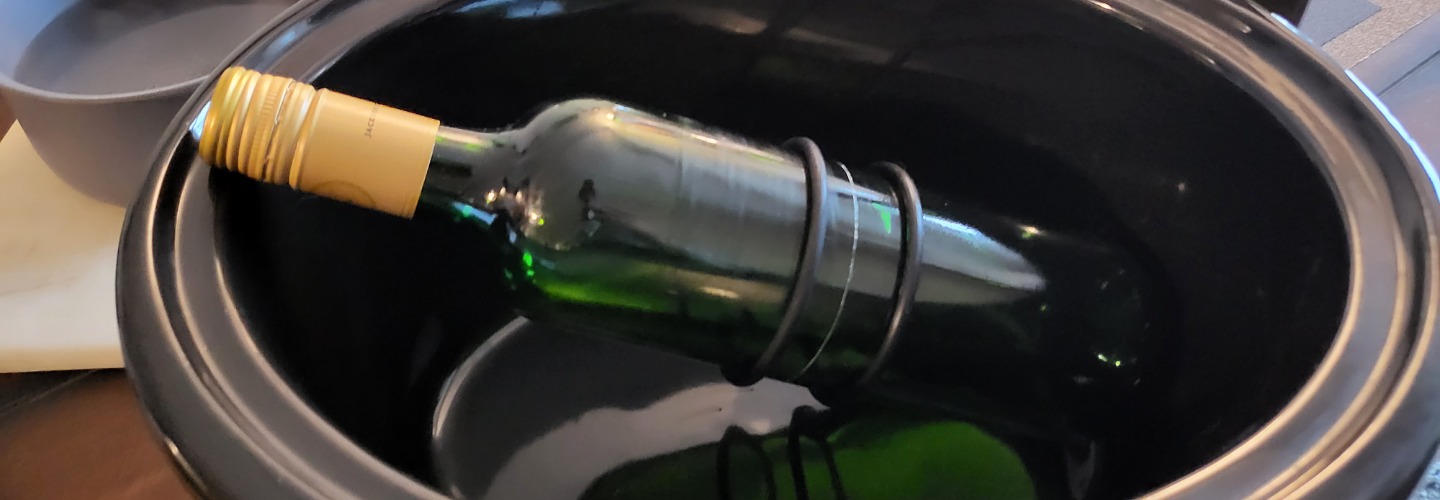
Simply dip your bottle in the hot water for about 10-15 seconds, being sure to submerge the area you have scored. We poured hot and cold water alternatively over the score line.
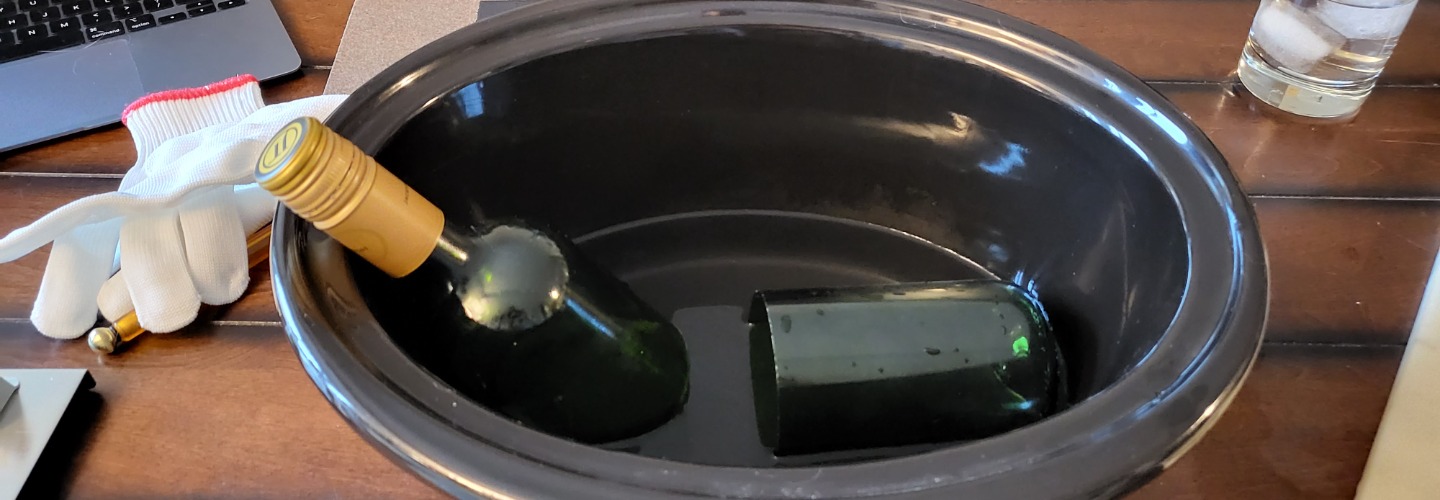
Then pull the bottle out, and dunk it directly into the cold water for 10-15 seconds.
You should hear the bottle separate or pop in the water. If this doesn’t happen, just repeat the water process again, dipping it into the hot water for 10-15 seconds, and again in the cold.
This method will give you a more precise cut since it creates a weak part in the bottle by scoring it, but if scored too lightly, or unevenly, you might get some uneven cuts. Similar to the last method, sand the lips of the halves until smooth to prevent injury!
There you go!
Now that you know how to cut a wine bottle, you are ready to begin upcycling. There are many ideas out there on how to personalize your bottles. But if you’re looking for cute craft ideas to go with Mom’s wine gift, make her a self-watering planter! If she’s not into plants, make her a handmade candle instead! And if she’s not a fan of candles, that’s okay! Turn your bottle into a bird feeder instead!
At the end of the day, practice makes perfect, and the more bottles you cut, the better you’ll get. So remember all you need to do is be safe, and have fun with it.
Looking for the perfect wine gift to go with your beautiful crafts?
Give Mom A Wine Gift From WineCollective!
Mom will get her first box in mid-June, but we’ll give you a printable letter to give to Mom on Mother’s Day along with her craft gift!
Mother’s Day gift recipients receive:
- 3 Bottles of wine (all red, all white, or mixed)
- A monthly wine guide including tasting notes, food pairings, and more
- Access to special member pricing in our online store
- Sustainable shipping products that are compostable in most Canadian locations
- For this year only, 3 specially curated recipes for Mom in her first box!
WineCollective is a great Mother’s Day gift idea because you are not just providing Mom with wine to enjoy. She will learn about wine from her favourite wine regions and some that she hasn’t explored yet! Now is the perfect time to give Mom the best wine experience possible and create an unforgettable experience!