What are you getting for Mom this year? Flowers? Or maybe a cute teddy bear? Or perhaps a card? Or… you haven’t thought about it yet? Well, that’s fine! We’ve got the best gift for her! You can give her the gift of wine this Mother’s Day and create an unforgettable experience. Mom will get her first box in mid-June, but we’ll give you a printable letter to give to her on Mother’s Day.
We’ve also put this guide together for you, in case you wanted to give Mom a little something extra with her letter while she waits! You’ll obviously need your empty wine bottles, and you’ll also need to know how to cut them. If you are familiar with cutting wine bottles for crafts, then you can keep on reading! If you’re looking for some help with cutting wine bottles, and where to begin, be sure to read our guide on cutting wine bottles first!
Now that you know what to do, let’s get started!
How To Make A Wine Bottle Planter! (Hanging or Self-Watering)

You’ll need:
- A wine bottle
- A bottle cutter
- Some potting soil
- A plant
- A wick (optional)
- A cork
- Some water
- A sharp tool like a screwdriver or corkscrew
- Some macrame cord
What to do:
Step 1:
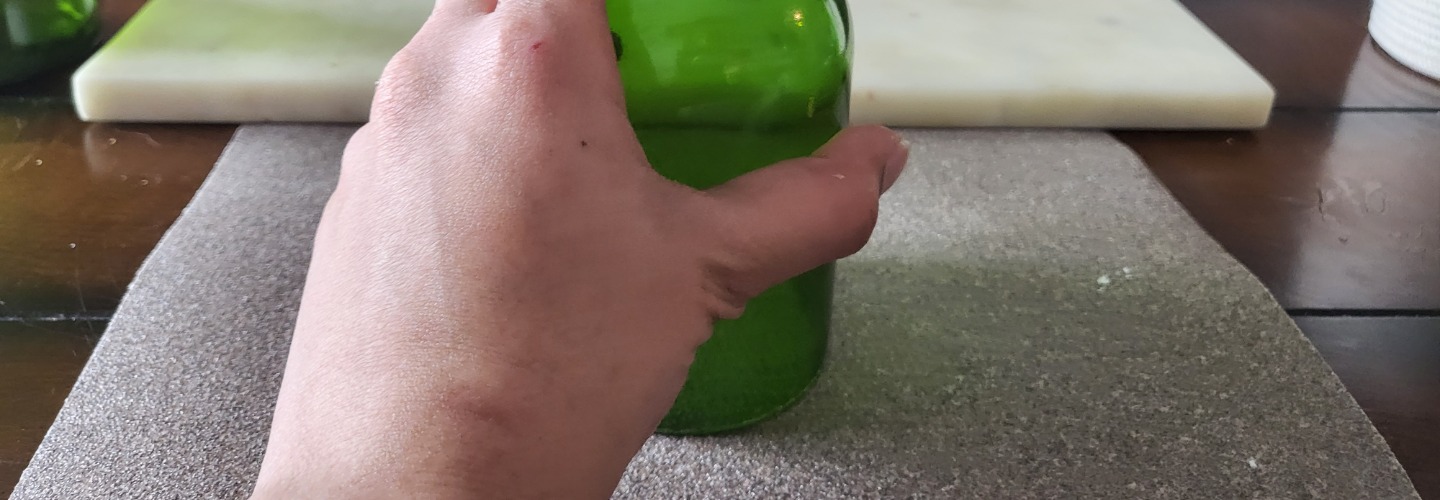
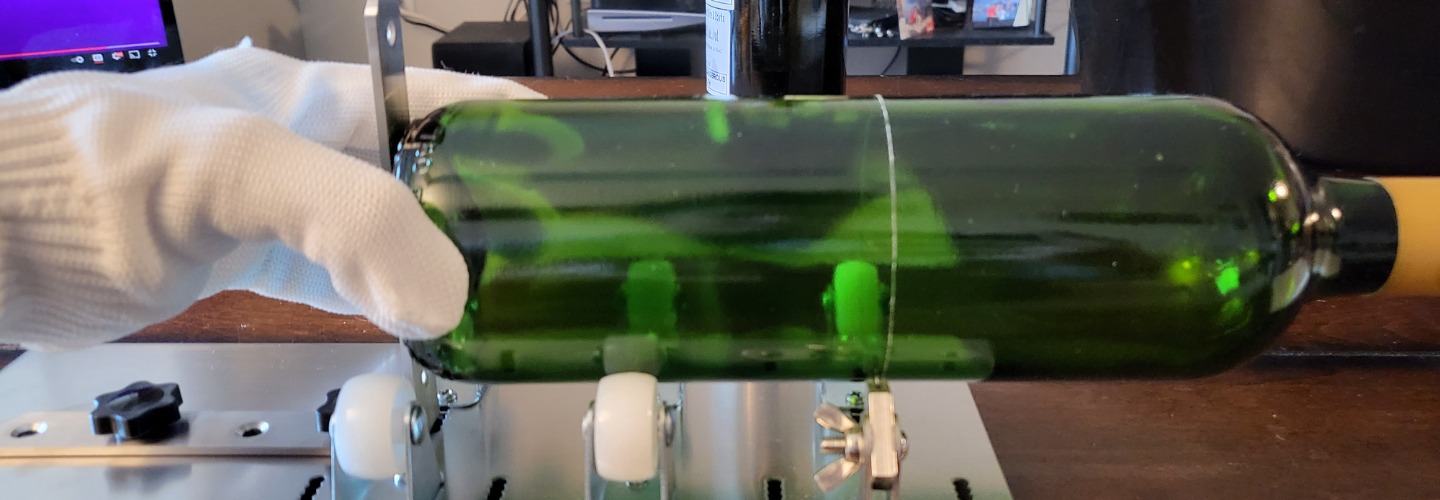
To begin with, cut your bottle in half – you’ll need the top half of the bottle for this craft. You can save the bottom half to make your planter into a self-watering one. If you plan on making a self-watering planter, you’ll want to make sure that the bottom half is tall enough to support the top half. You’ll be turning the top half upside down and standing it in the bottom half of the wine bottle. If you’re just making the hanging planter, this does not matter, so cut the top half to any size you desire!

Step 2:
After you have cut the bottle in half, be sure to sand the lips of the halves to remove the sharp edges.
Step 3:
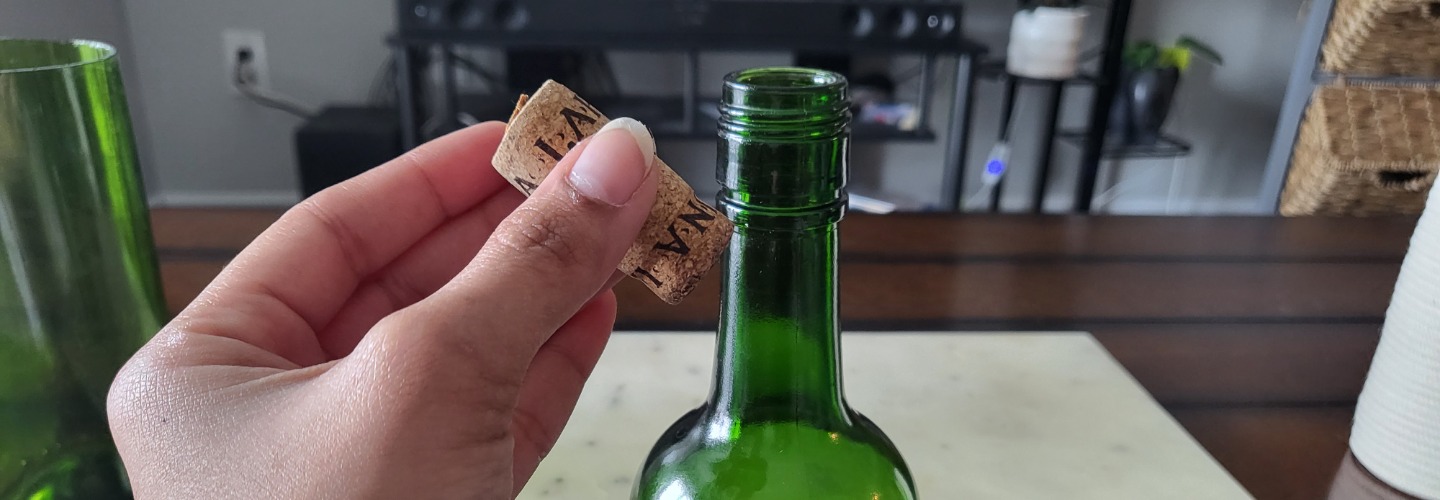
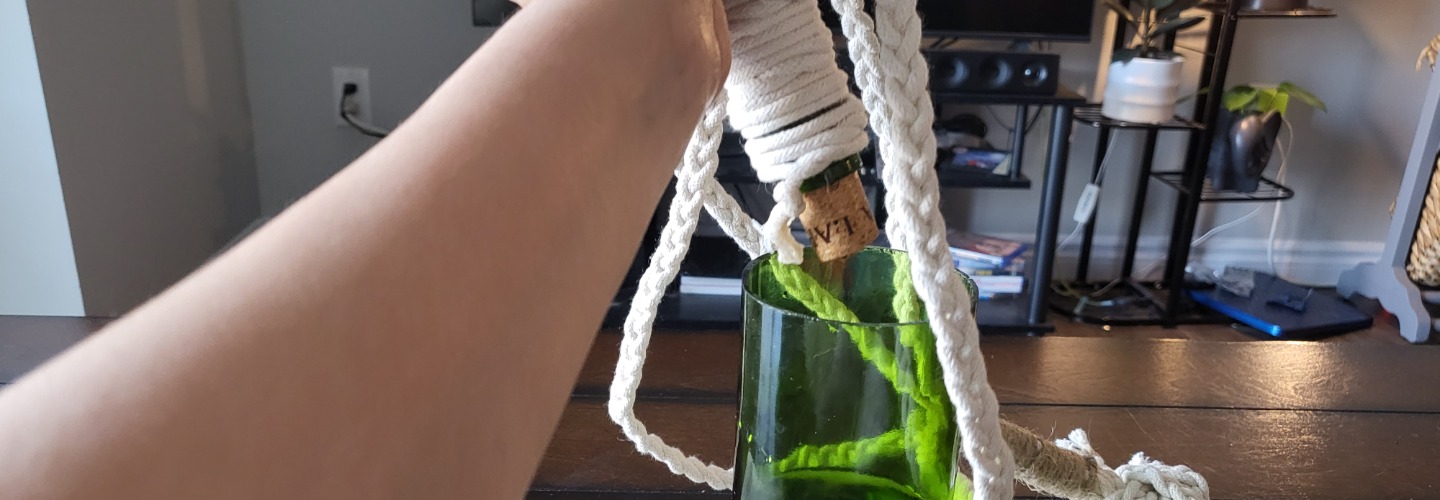
You’re almost done now! Plug the top of the bottle with the cork again, and turn the top upside down.
Step 4:
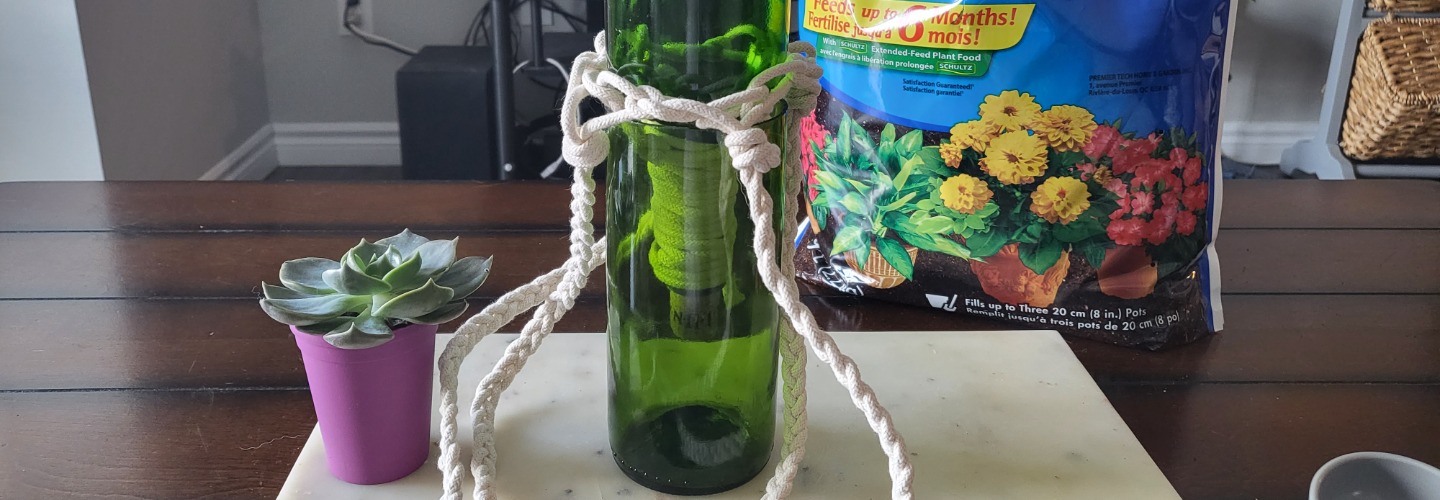
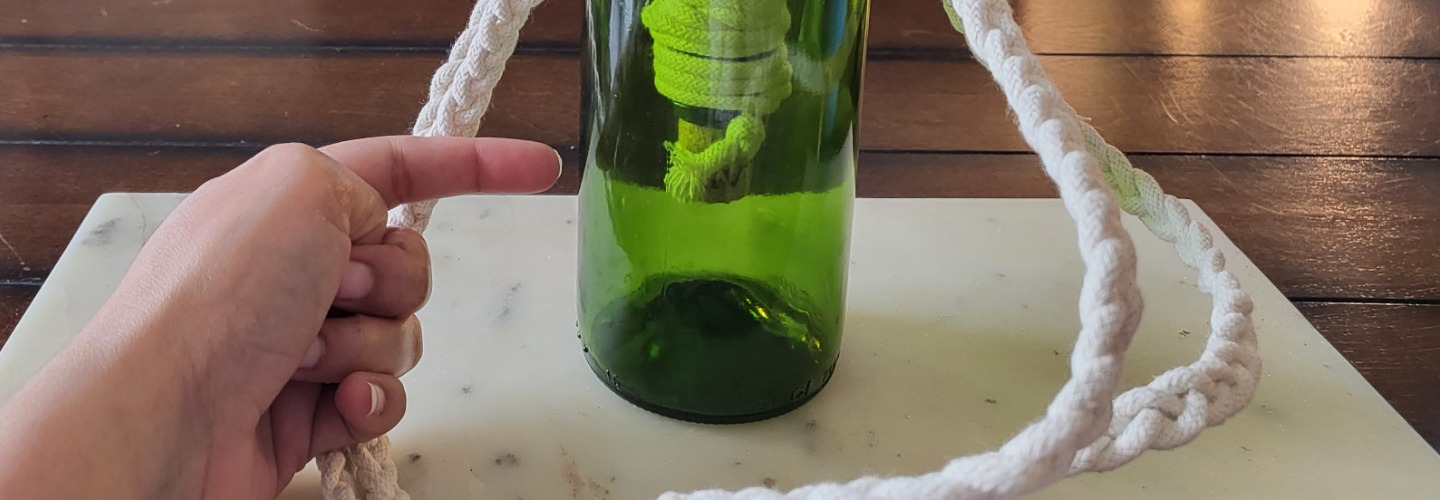
Weave and tie the macrame string around the bottle half, creating a holder, or hanging piece. Depending on how skilled you are, you can do a simple single knot design, or go all the way, and create a fancy macrame hanger with beaded elements and double knots.
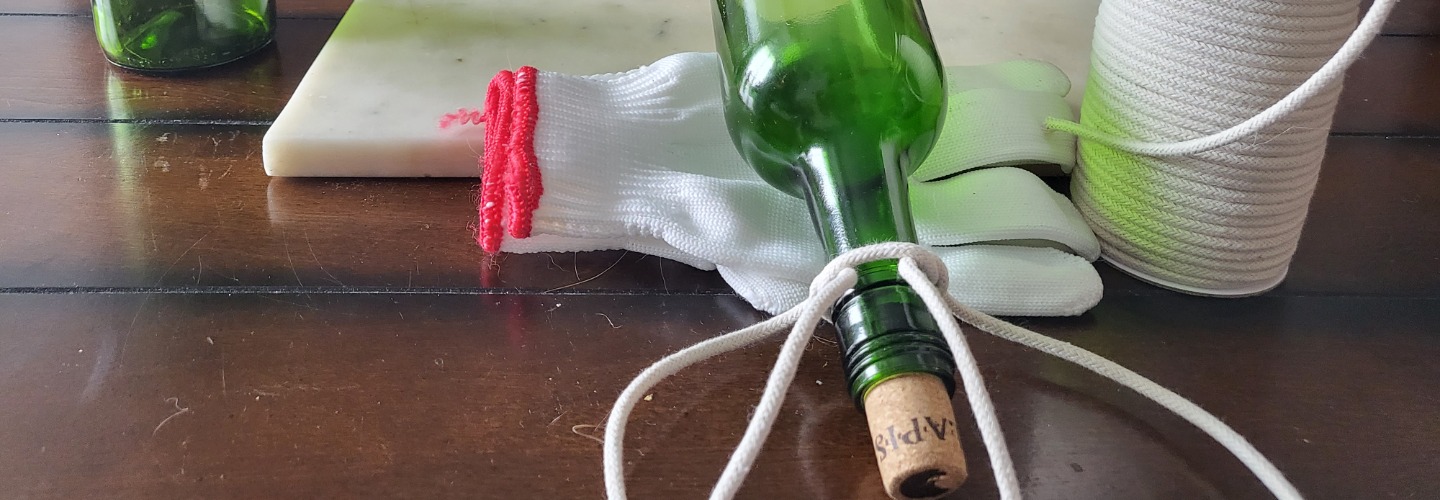
Here is a simple tutorial on how to macrame a wine bottle holder. The only thing to remember is that you will be starting with the narrowest part of the bottle (the neck) and working your way up.
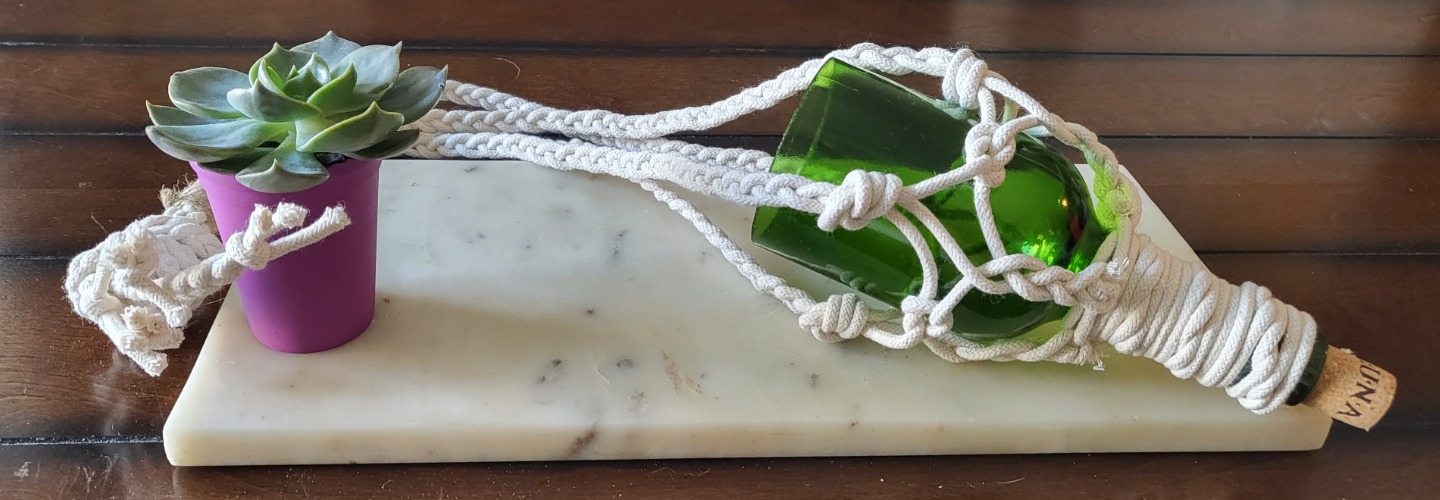
You should end up with something like this to slip your top half into!
Step 5:
Once you have your elements ready, you can begin to assemble!
You can use a jar, or the bottom half of the wine bottle to support your top half, and begin transferring your soil into the top half of the wine bottle.
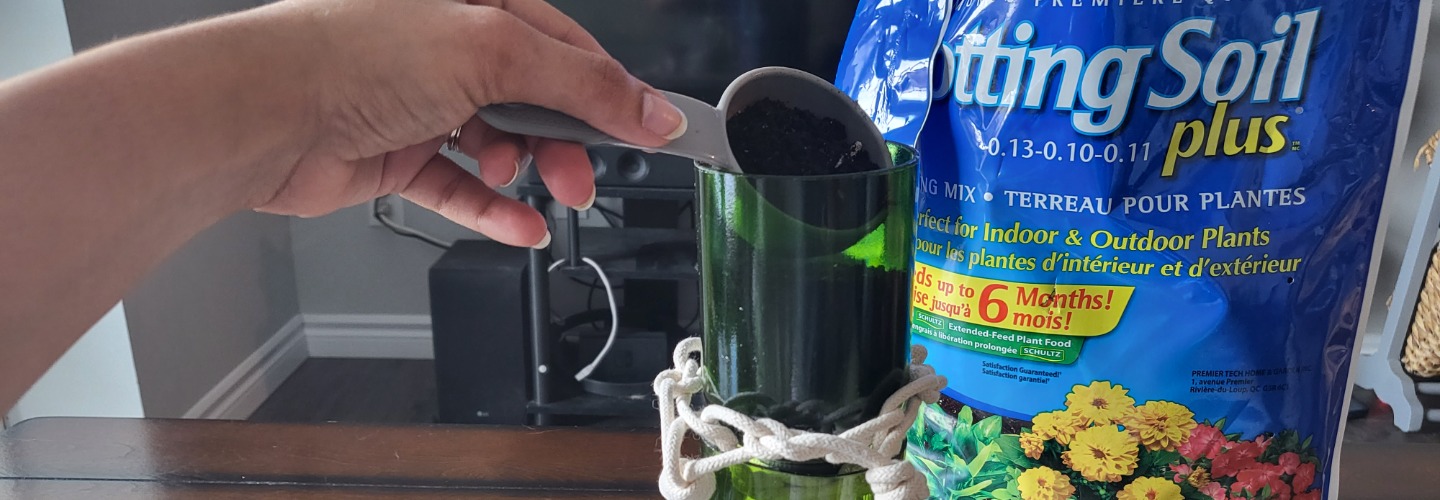
Ensure the soil is in contact with the cork, and stop about halfway. Then transfer your plant into the soil, and pack additional soil around the plant to secure it. Water it slightly, and you’re ready to slip it into its hanger!
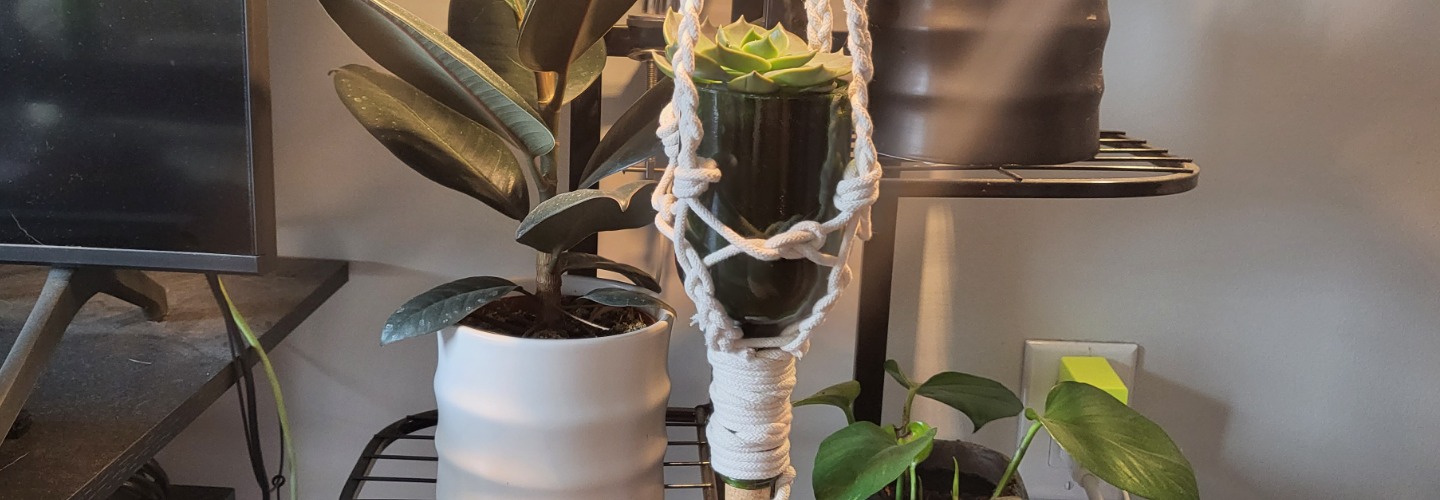
Voilà! A beautiful planter that can hang by the windows – your plant will receive much-needed sunlight and will also add an elegant touch to your place!
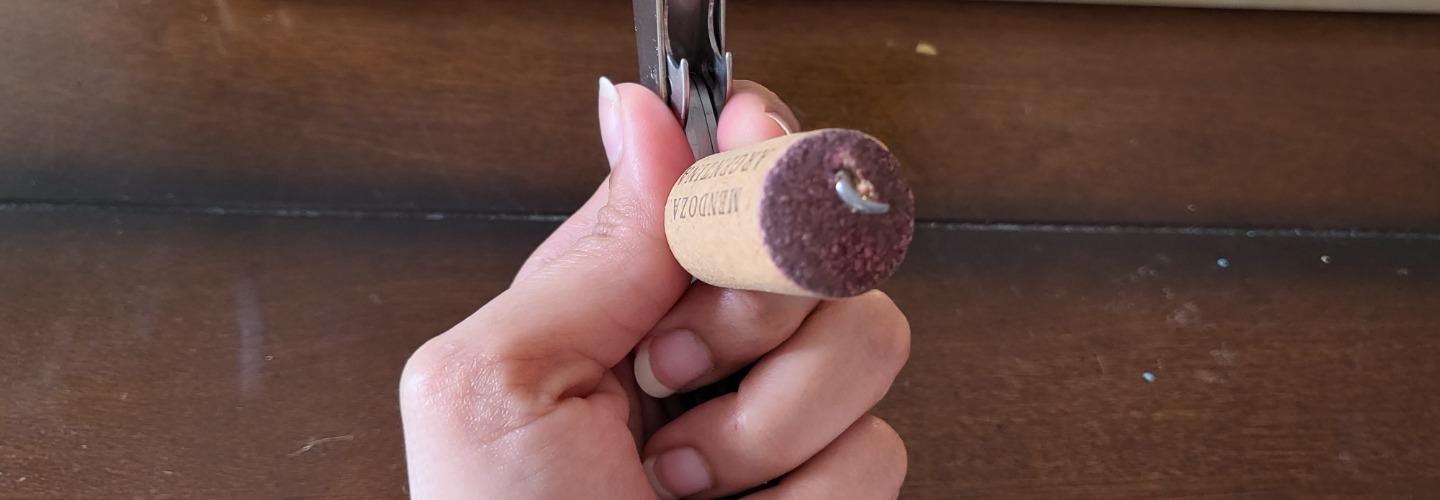
Now you might be wondering, why did we ask you to hang on to the bottom half of the bottle? This is why! If you don’t want to wrap the macrame around the bottle, then before you fill the top half with soil, use a skewer or sharp tool to make a small hole in the cork, then plug the bottle. We chose to use a corkscrew for this. Fill your planter as usual, and sit it in the bottom half.
Then fill the bottom half of the wine bottle with water so it covers the cork.
And you’re done! Because the cork is porous, and has a hole, it will carry water into the soil and Mom won’t even have to worry about killing her new plant! She just has to remember to change the water once every couple of weeks.
If you don’t have a cork, you can use the wick instead! Just add a wick or two at the bottom of the planter so it hangs through the neck of the bottle and out and then fill it with soil as usual. The wick will pull the water up through the neck of the bottle and into the soil instead !
If Mom’s not a huge fan of plants, try this second project instead!
How To Make Wine Bottle Lights!
So she’s not a flower, or plant Mom, eh? That’s fine! Brighten her day, and her home with these cute wine bottle lights! Hang these for some easy and modern wall decor. Or even better, feel free to make multiple of these and use a plank to join and create a larger lighting structure!
How do you get light into the bottle? Cut it in half of course! Where you choose to split your bottle is your personal choice, but we recommend cutting it at least a third of the way or farther from the neck down so that your lightbulb is contained within the glass. This will add a layer of protection, since lightbulbs can get hot.
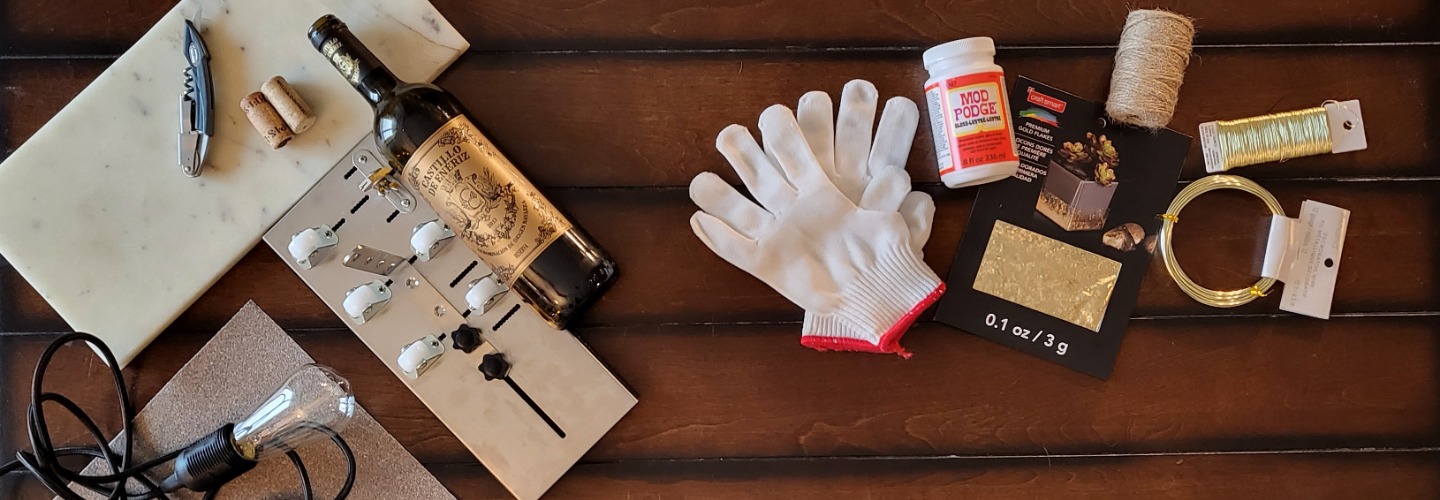
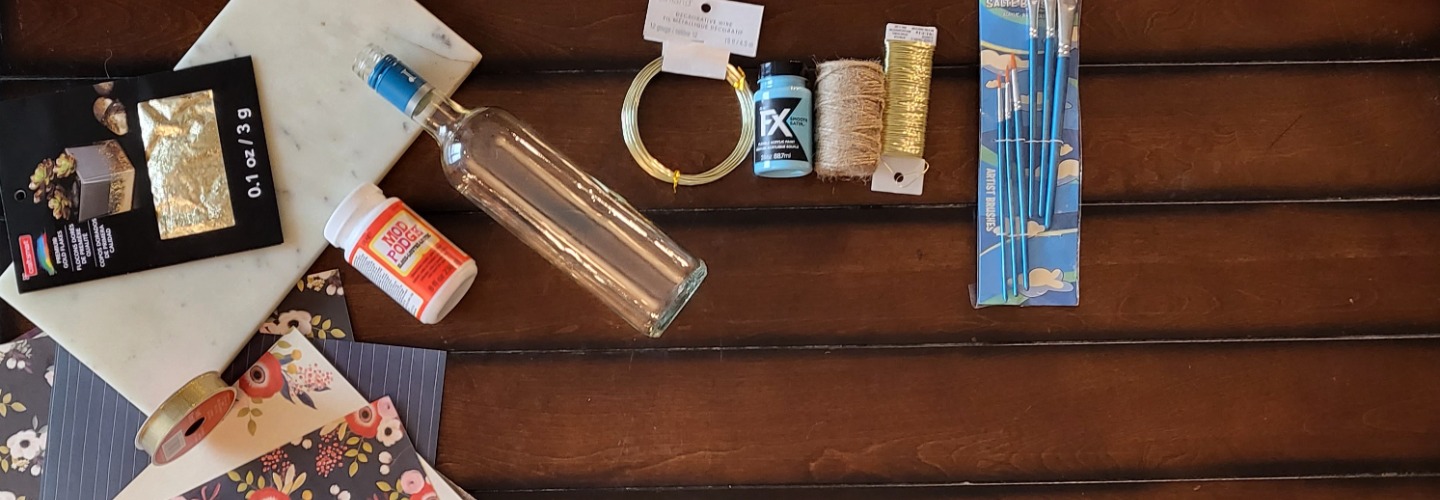
You’ll need:
- A wine bottle
- A cork
- A lightbulb with a long cord
- Some decor such as
- Etch cream and stencils
- Gold and silver foil
- A heavy duty copper wire
- Some Mod Podge
- A sharp tool like a screwdriver or exacto knife
What to do:
Step 1:
Ready to kick off this project? Start by cutting the bottle, sanding it and then come back!
Step 2:
Next, use your sharp tool to make a hole through the cork. Ensure the hole is as wide as your cord, so it’ll pass through the cork, but not too wide that there’s no grip on the cord.
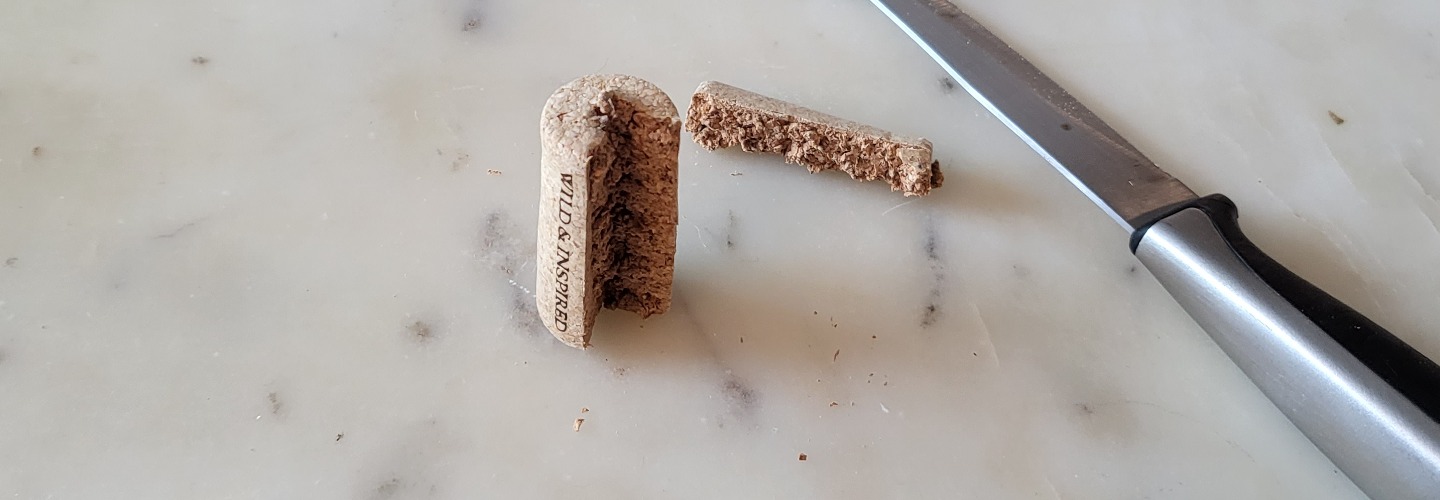
We simply cut a wedge out of the cork. You don’t want the weight of the bottle to be supported by the lightbulb. The stress of glass-on-glass may cause your bulb to shatter.
Step 3:
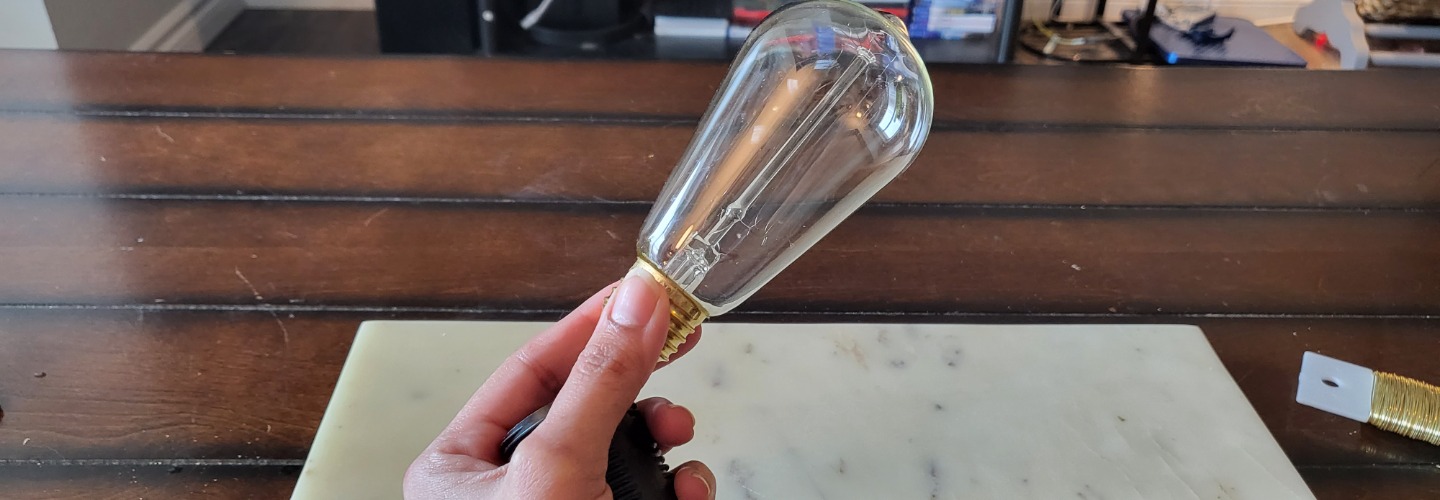
Now you’ll want to unscrew the bulb, to avoid the risk of breaking it during the process.
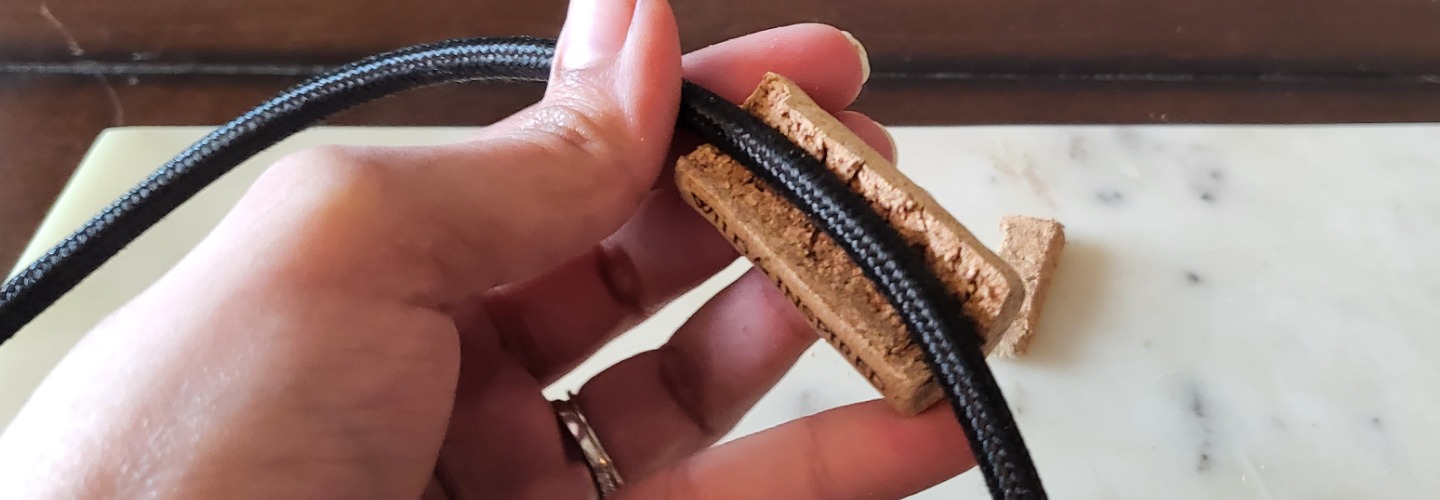
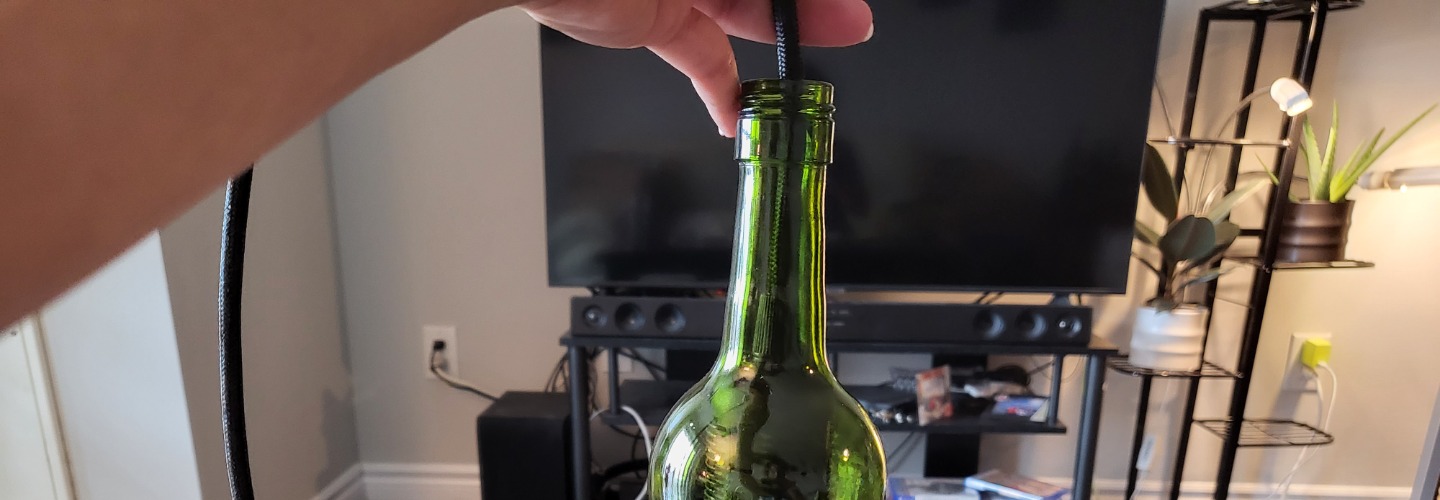
Then pass the cord through the top of the bottle, the cork, and then plug the bottle with the cork.
Pull or push some cord through the bottle depending on how high or low you want the bulb to sit within the bottle.
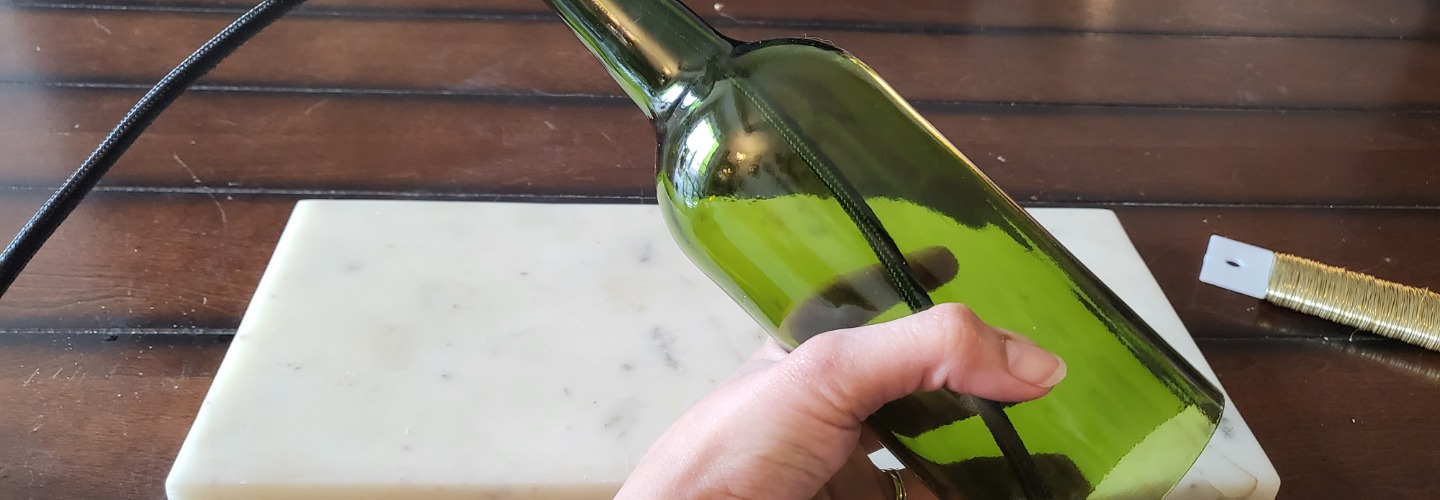
Once you’re happy with the height of the lightbulb, it’s time to customize!
Step 4:
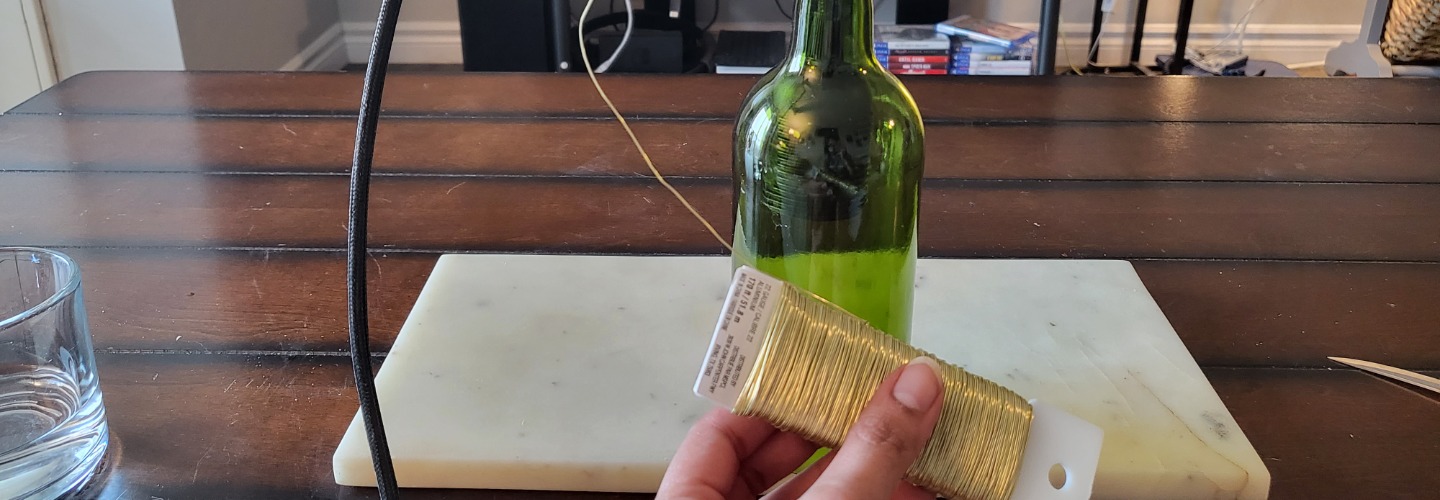
You can use etching cream on the glass to add a frosted look to the bottle. Or you could make it even fancier by using a stencil to achieve etched patterns on your bottle instead. You could also wrap the outside of the bottle in some copper wire, to give it a rustic look.
Step 5:
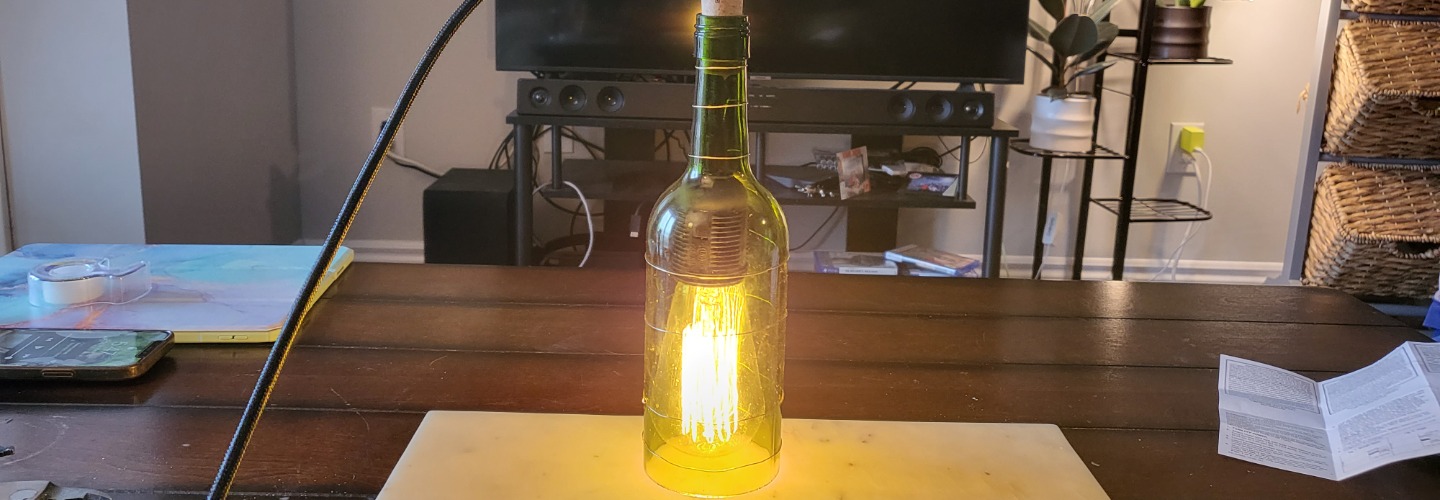
Use the gold or silver foil to add some accenting to your bottle, this can be done by applying a thin layer of mod podge where you’d like to foil. Then grab your piece of foil, and stick it onto the mod podge, shiny side up and allow to dry. Once dry, peel your foil and you should have some cool foiling on your bottle. That’s it, when you’re done, just plug it in, and marvel at the pretty light!
If you’re not a fan of cutting bottles, or not too familiar with this process, stick around for our last idea!
Decoupage That Wine Bottle!
Decoup-what? Yeah, it’s a fancy word. But it’s very similar to the papier mâché art, or collage art you’ve made in school.
Decoupage means to create art by covering an item in colorful layers of paper. Some people use newspapers, magazines, and even scrapbooks. You could pick up a book of fancy printed paper and use that too! While it may take a little longer, and be a little more tedious, decoupage is a beautiful way to create decor without breaking the bank!
With a little bit of coordination, and some patience, you could gift Mom a full set of these beautifully covered wine bottles. Think of all the possibilities!
- Make lots of small prints of some favourite photos of you and Mom, and use that to decoupage your bottle.
- Use Mom’s favourite flowers, and press them until dry, and use those along with some paper to cover the bottle.
- Create a set that goes with Mom’s interior, so she can display them around the house, the possibilities are endless.
The best part is you don’t even have to cut the bottle 🙂
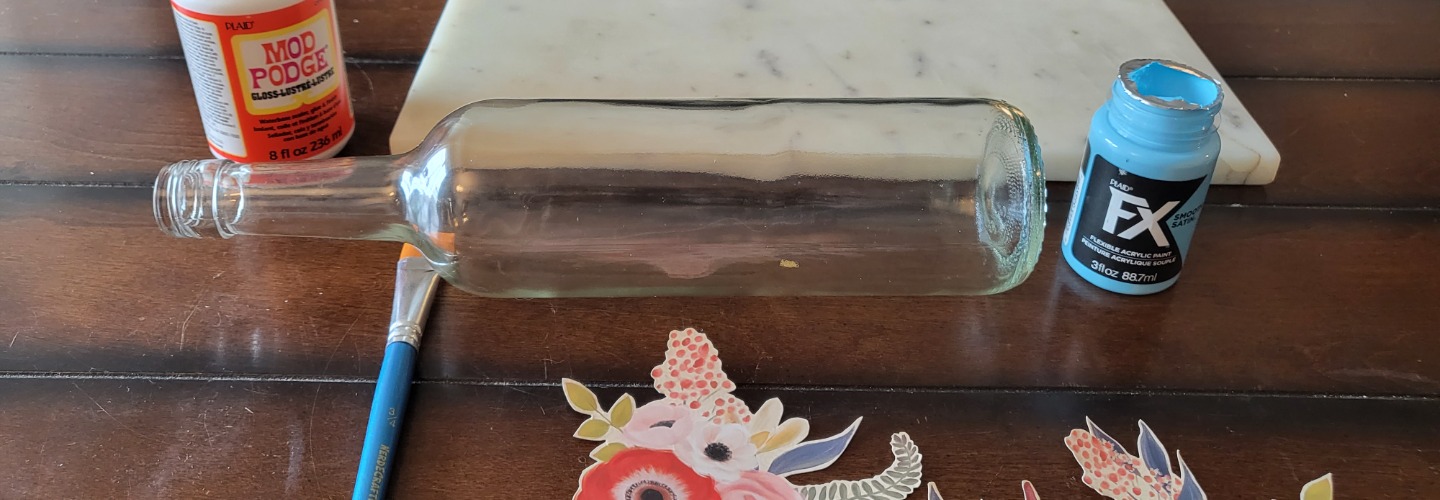
You’ll need:
- A wine bottle (or bottles)
- Some Mod Podge
- A brush
- Some paper (or your choice of medium)
- Decor such as
- Foil
- Dry flowers
- Twine
What to do:
Step 1:
Start off by rinsing the bottle and drying it out the best you can. Now lay out your medium and if you want a certain layout, figure that out now.
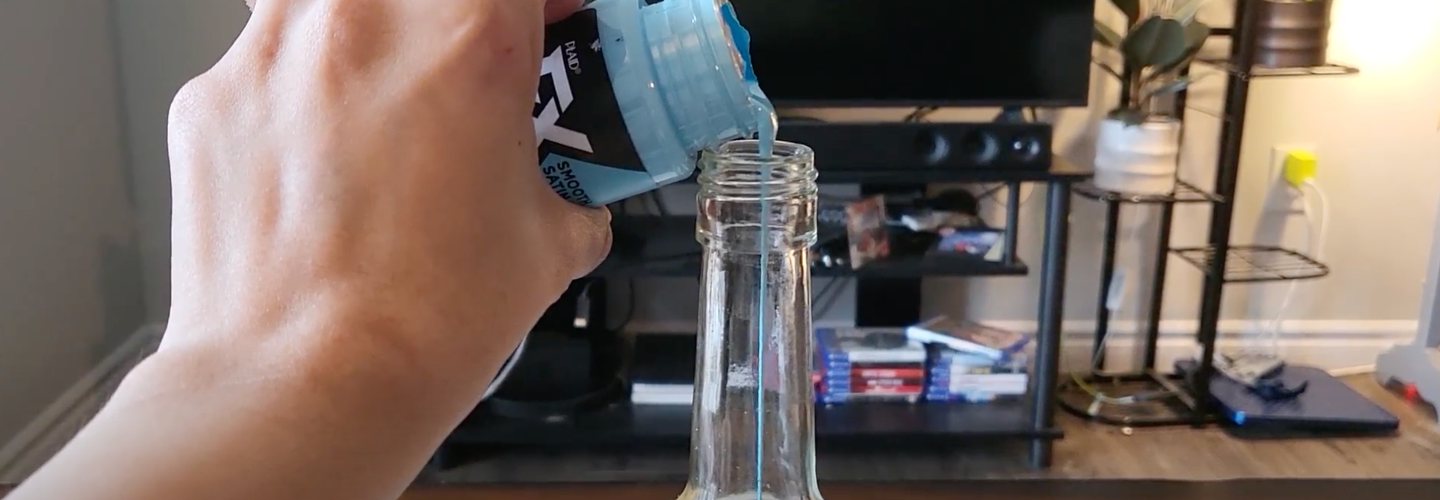
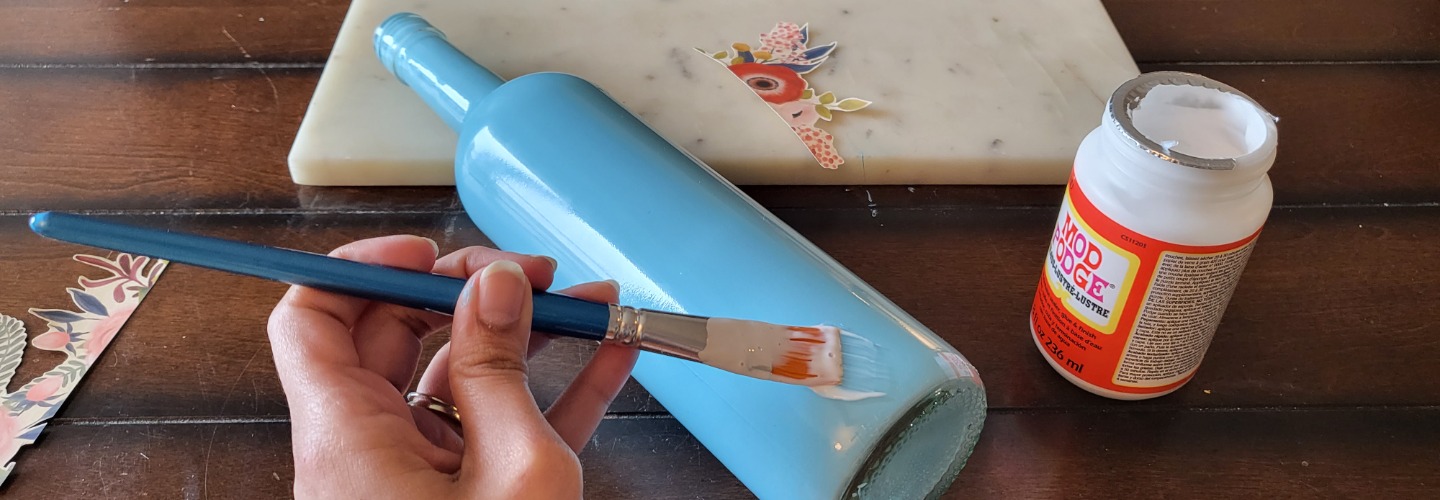
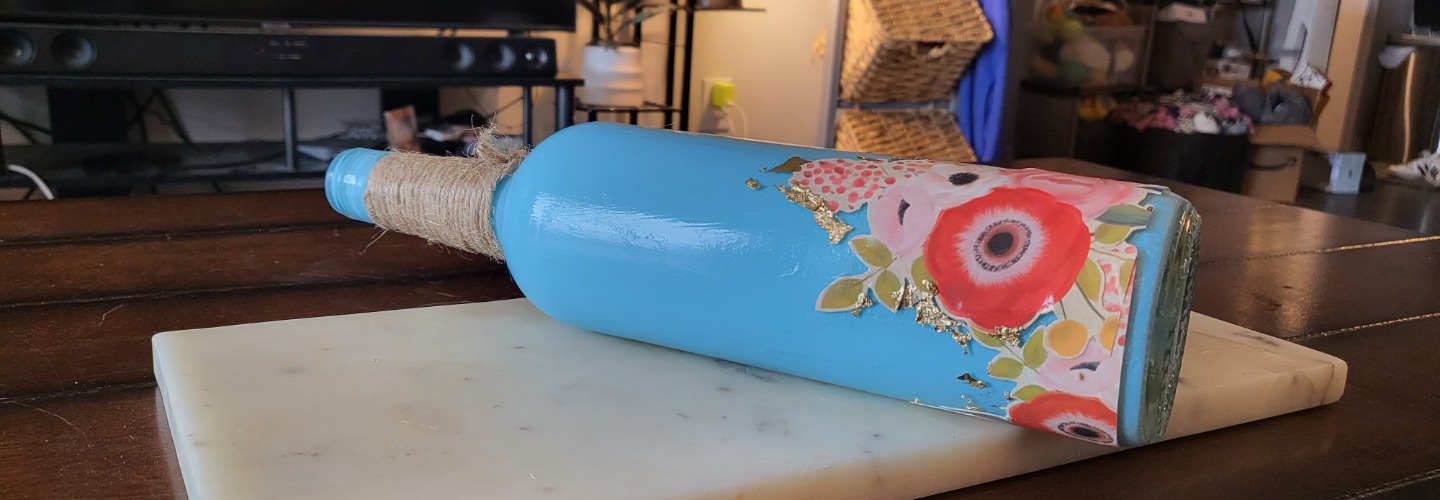
We chose to paint the inside of the bottle, if you will too, follow along! Start by pouring the paint into the wine bottle first.
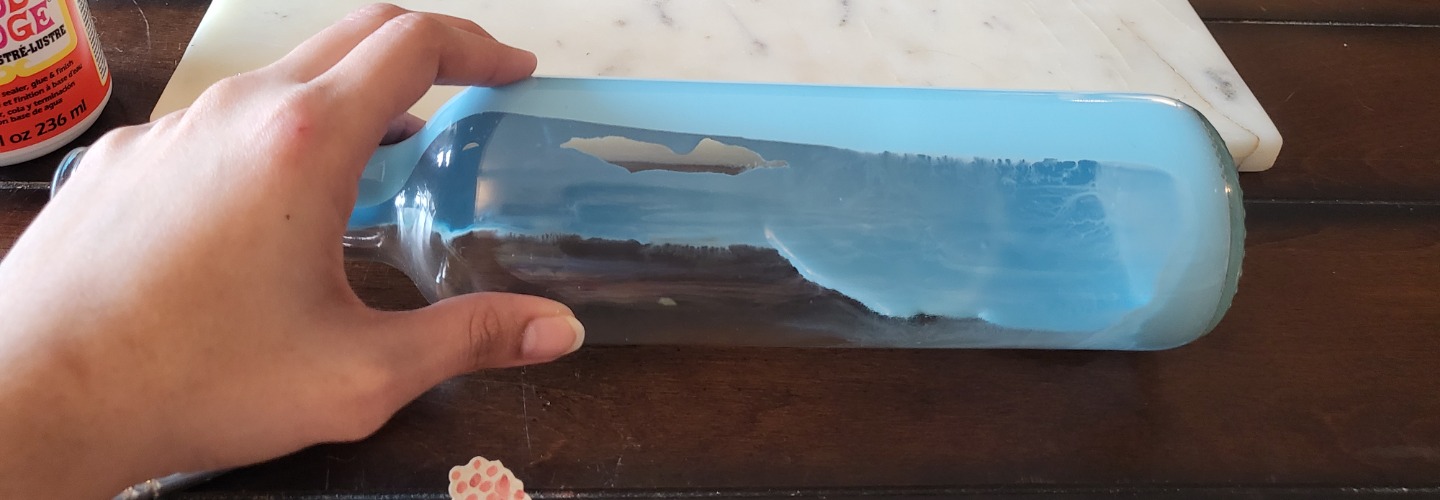
Rotate the wine bottle, so that it is fully covered with paint inside.
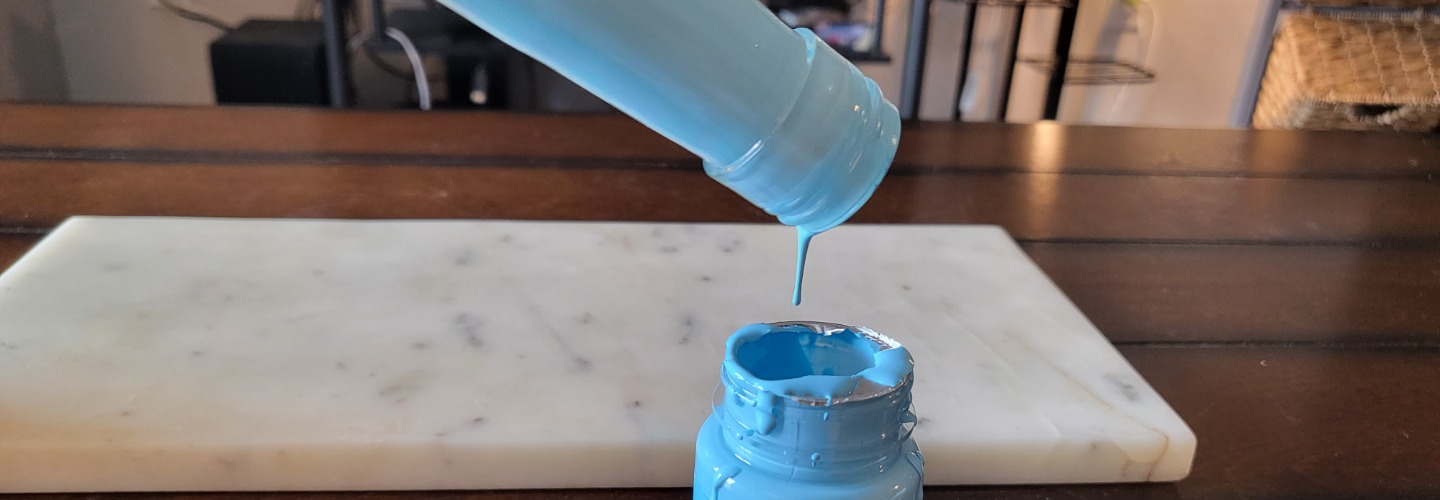
Tip your wine bottle upside down to drain the remaining paint.
Step 2:
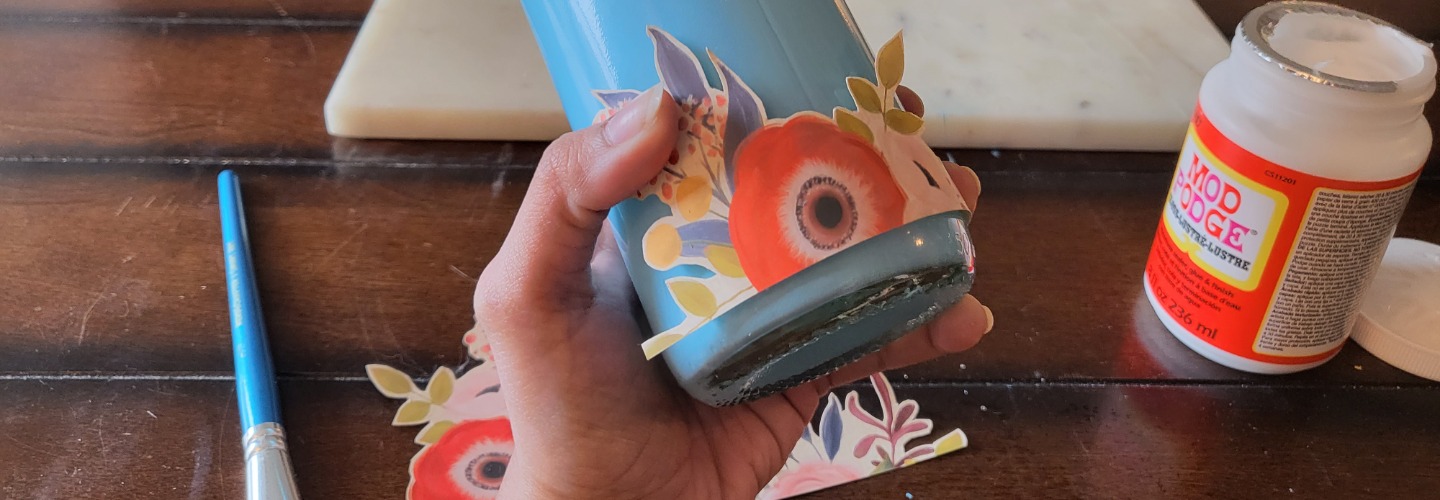
Next grab your mod podge and start by covering a third of the bottle from the bottom, and start layering your paper of choice.
Lay your paper, and work your way up, only placing adhesive where you will be covering to avoid the adhesive drying before you cover it with your paper.
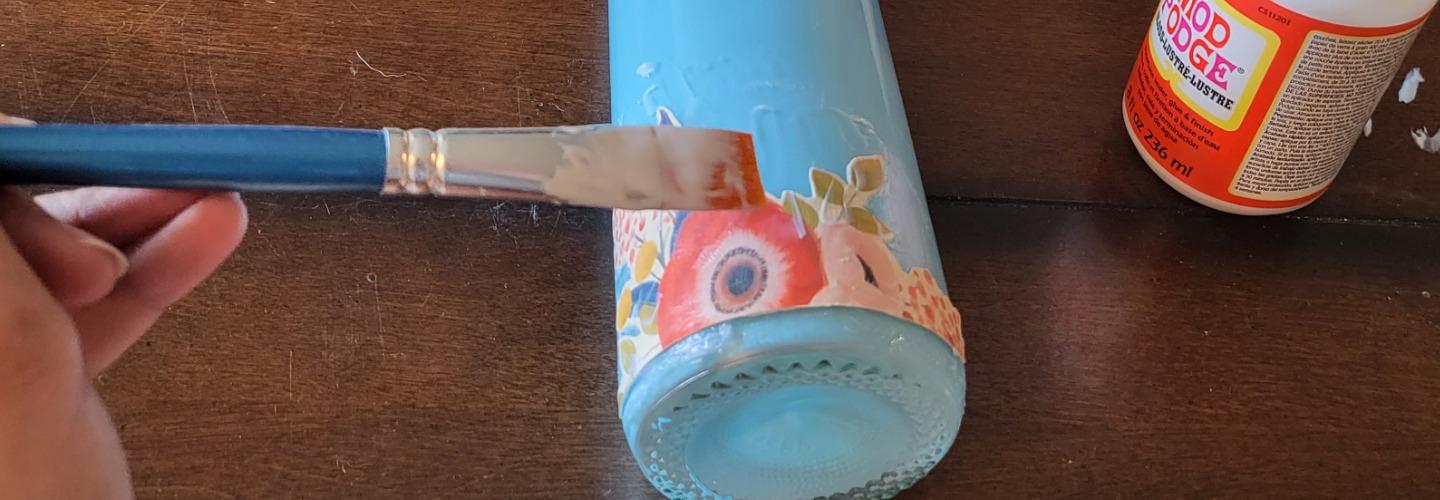
Step 3:
Keep working up the bottle until you are satisfied with the way it looks. There really are no rules to this, so feel free to go back in and reapply pieces and cover the bottle to your heart’s content. Just remember to layer mod podge between the paper and bottle.
Step 4:
Once you like how it looks, it’s time to decorate! Use the dried flowers, or foil, or even twine, to add an artistic touch to the wine bottle. Add one more layer of mod podge covering the entire bottle to seal in your artwork.
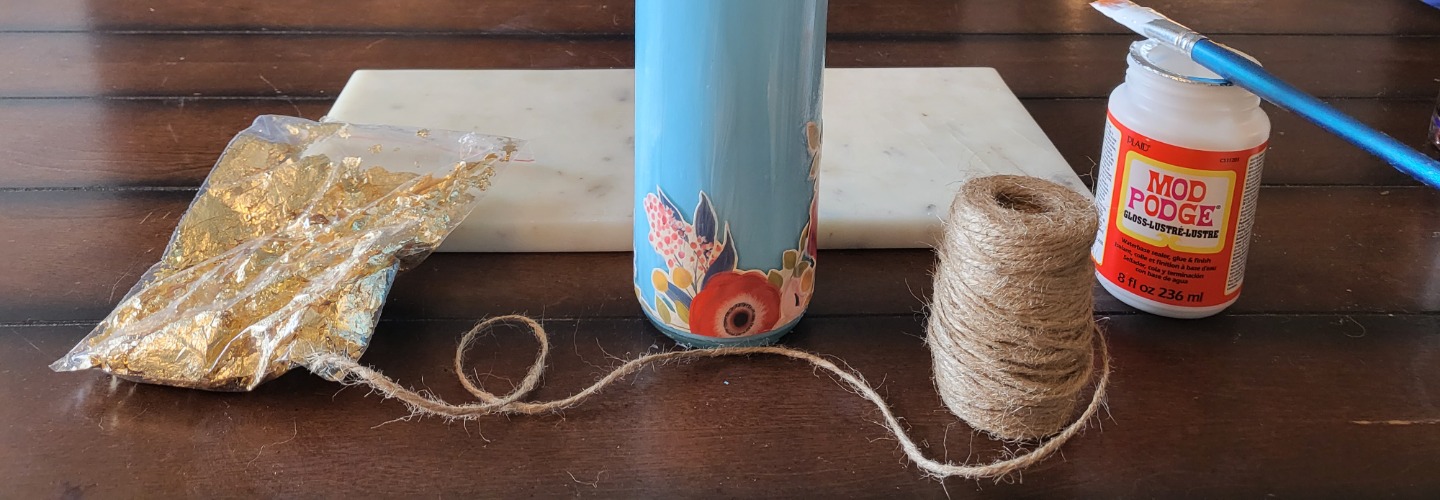
You’re done! If you want, you can also cover the whole bottle with some clear varnish to protect it from the elements and use it as porch decor too!
There you go. Three easy craft ideas to get you started for Mother’s Day! In fact, you could also take these ideas, and craft these together with Mom. Looking for ways to use up the bottom halves of your wine bottles? We’ve got 3 more ways you can craft a beautiful gift for Mom by upcycling your wine bottles!
If you’re looking for something extra to go with your creations, pick a wine gift by Winecollective this year! After all, Mom’s going to need bottles to work with if she plans on crafting too.
Mom will get her first box in mid-June, but we’ll give you a printable letter to give to Mom on Mother’s Day along with her craft gift!
Mother’s Day gift recipients receive:
- 3 bottles of wine (all red, all white, or mixed)
- A monthly wine guide including tasting notes, food pairings, and more
- Access to special member pricing in our online store
- Sustainable shipping products that are compostable in most Canadian locations
- 3 Specially curated recipes for Mom in her first box!
Gift Mom A Wine Education!
WineCollective is a great Mother’s Day gift idea because you are not just providing Mom with wine to enjoy. She will learn about wine from her favorite wine regions, and some that she hasn’t explored yet!
Now is the perfect time to give Mom the best wine experience possible! It’s just what she deserves.