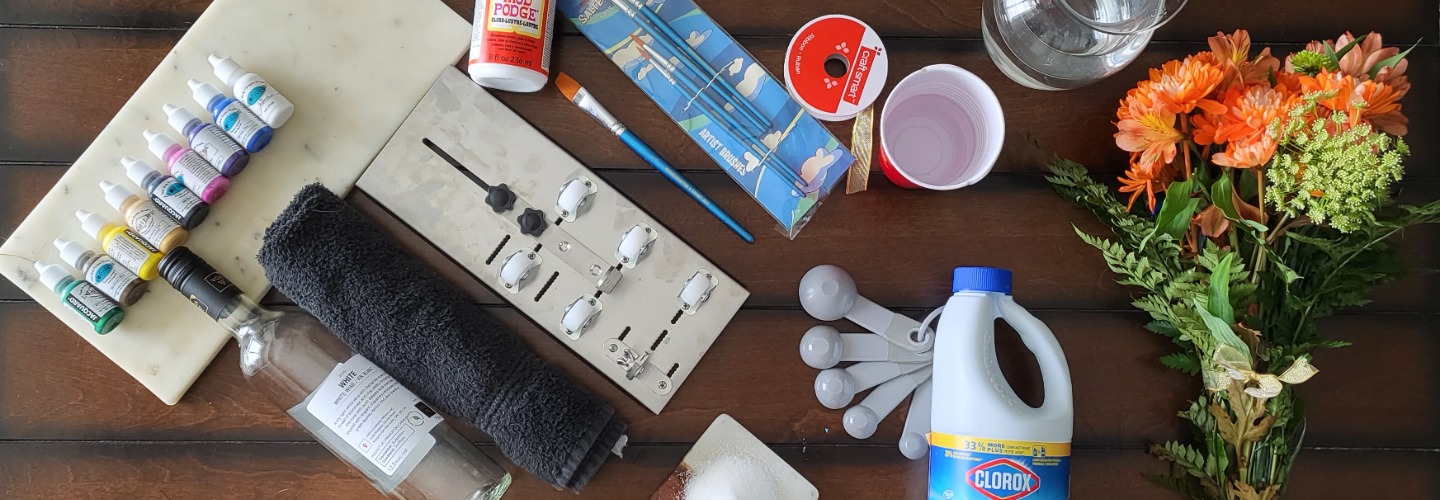
Can’t get enough of these wine bottle craft projects, eh? We can’t either. We’ve got three more ideas to upcycle your wine bottles and gift them to Mom! Last time we shared some ideas about using the top half of your bottles to create a cute planter, and hanging lights.
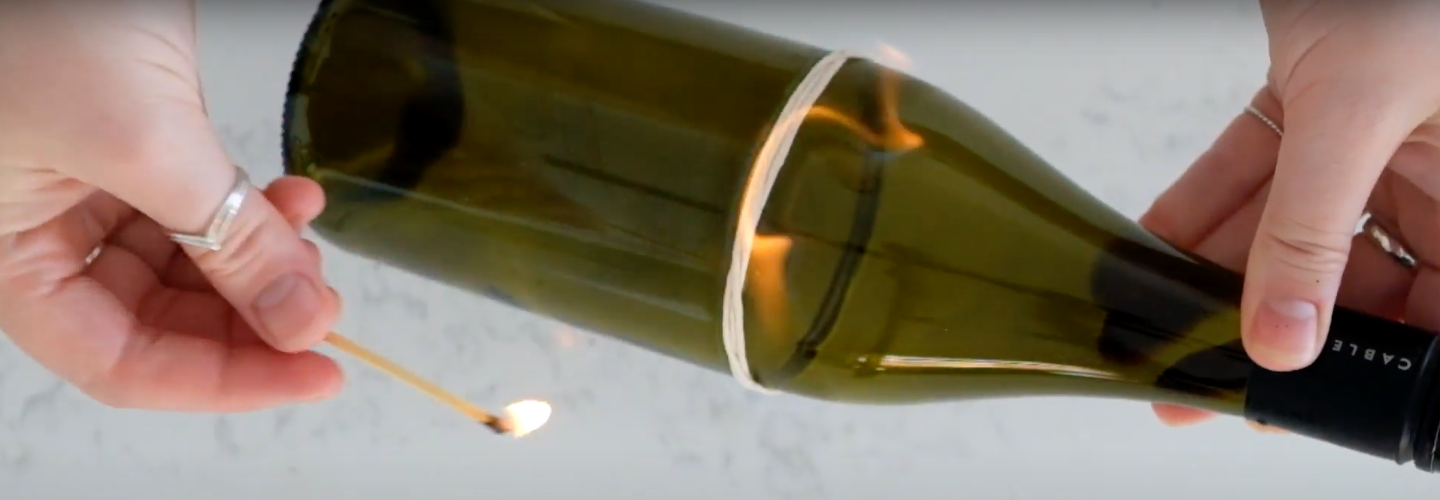
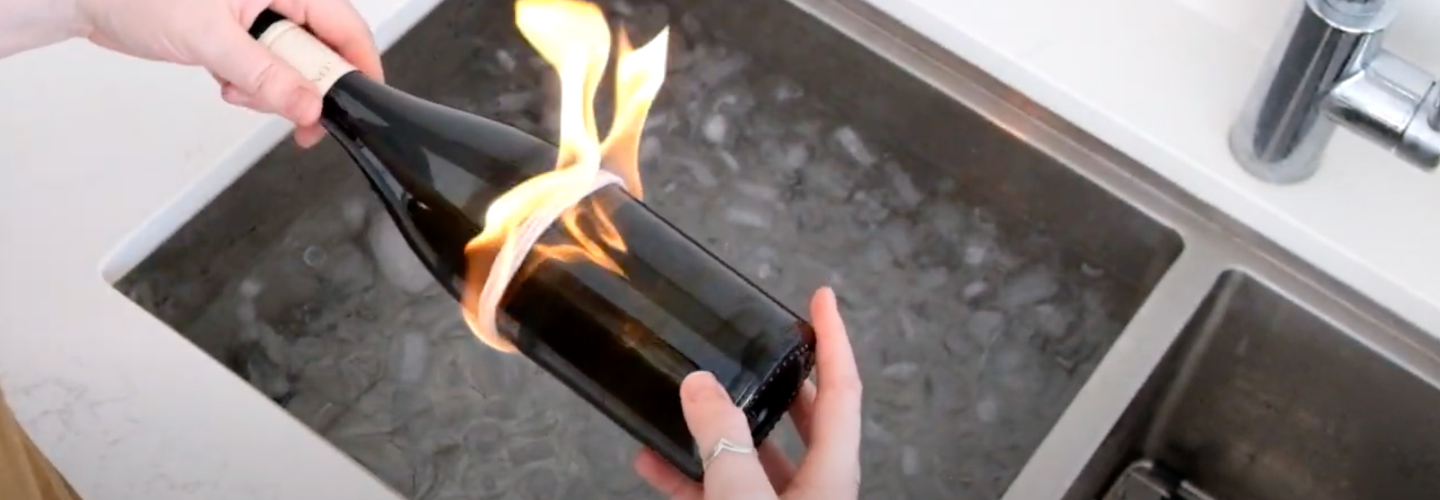
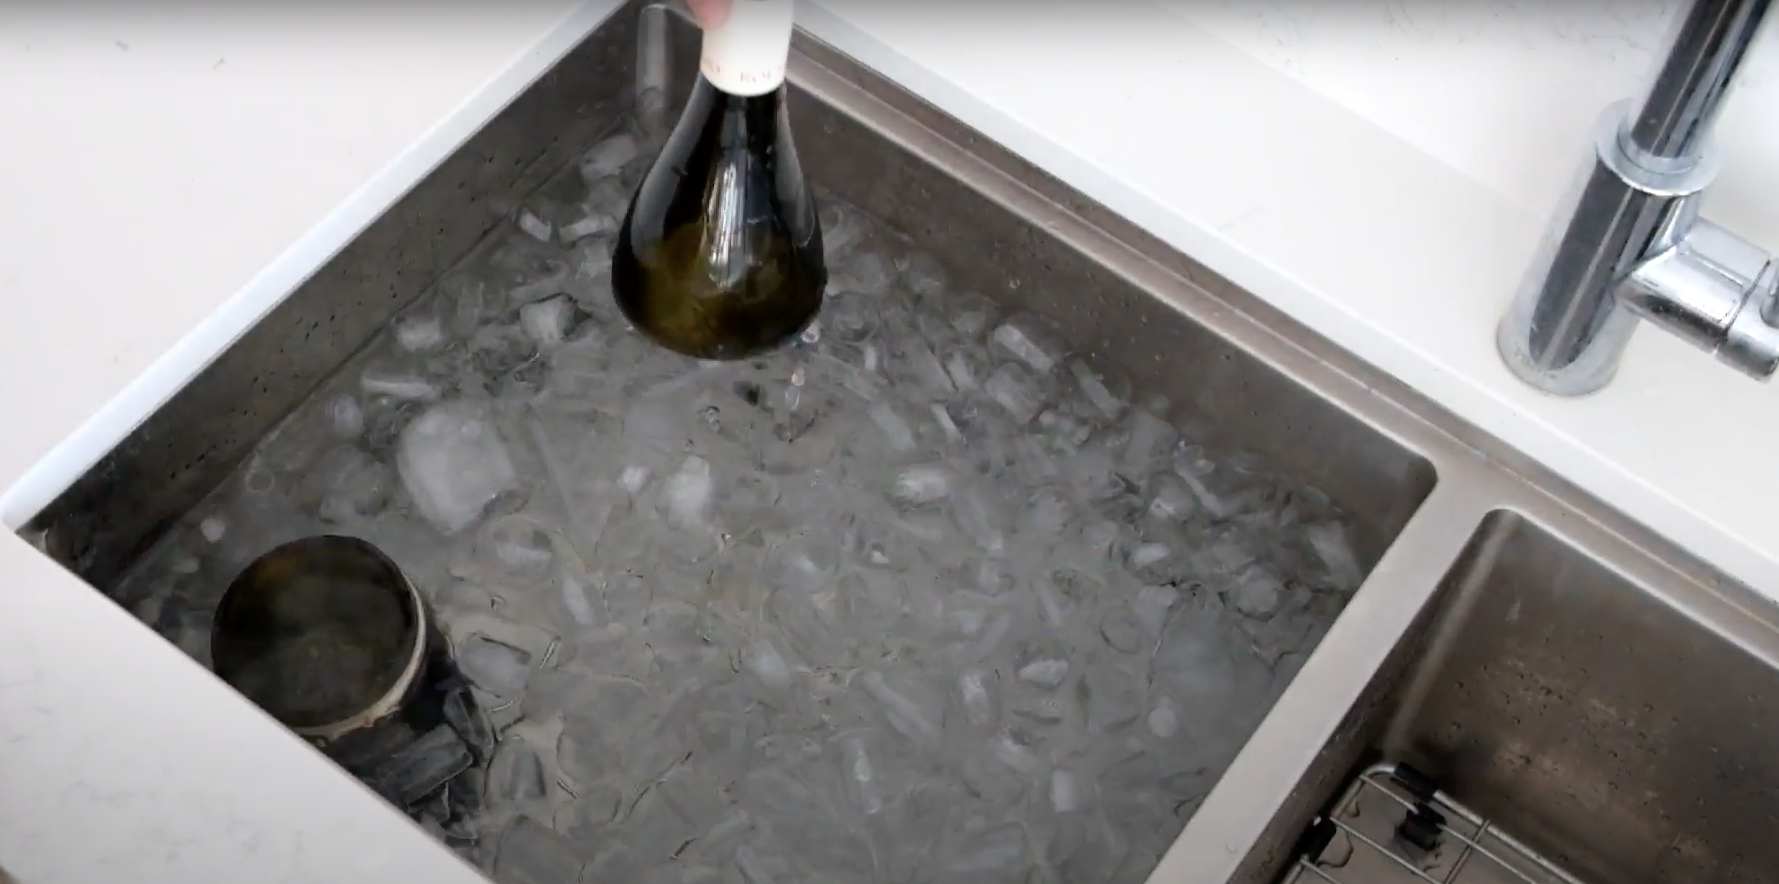
It’s time to use those bottom halves! If you don’t have the bottom half of a wine bottle lying around, that’s alright. Grab an empty (or nearly empty) bottle and cut it – after you finish the contents, of course. If you’re not familiar with cutting a wine bottle in half, check out our guide where we walk you through two easy ways to split a bottle. Once you’re done reading it though, come back so we can get started on our crafts!
How to Turn an Old Wine Bottle Into A Candle Holder!
You know Mom’s favorite scents and flavours right? Why don’t you throw them into a candle for her to enjoy, and love? The hardest part of this wine bottle craft is cutting the bottle, but once that’s done, youre ready to roll.
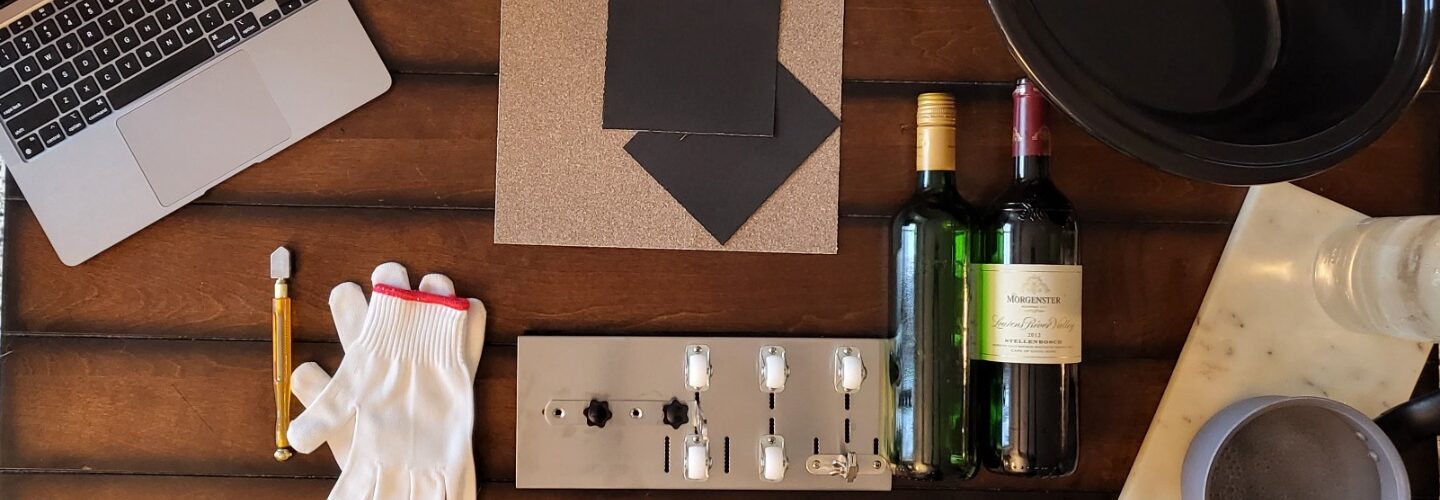
You’ll need:
- A wine bottle
- Some candle wax- pick this up at your local crafts store
- A wick
- Some essential oils
- A colour of your choice (optional)
- Some skewers or popsicle sticks
- A pot
- A hot plate
What to do:
Step 1:
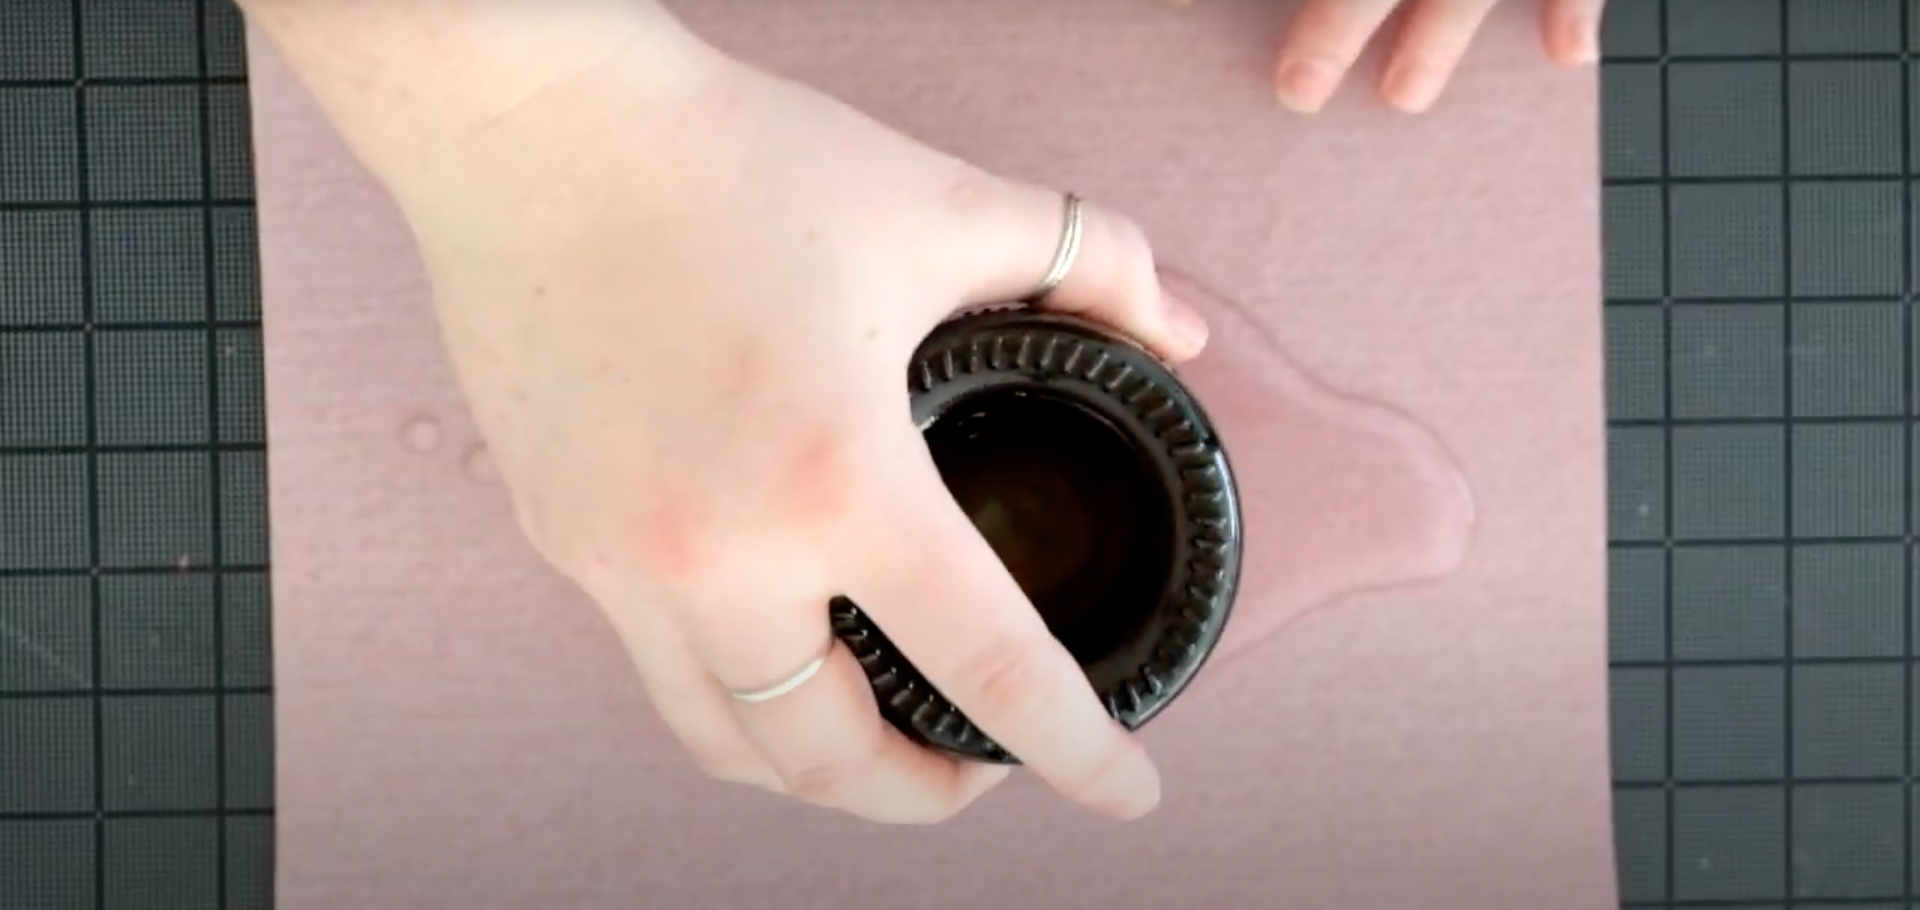
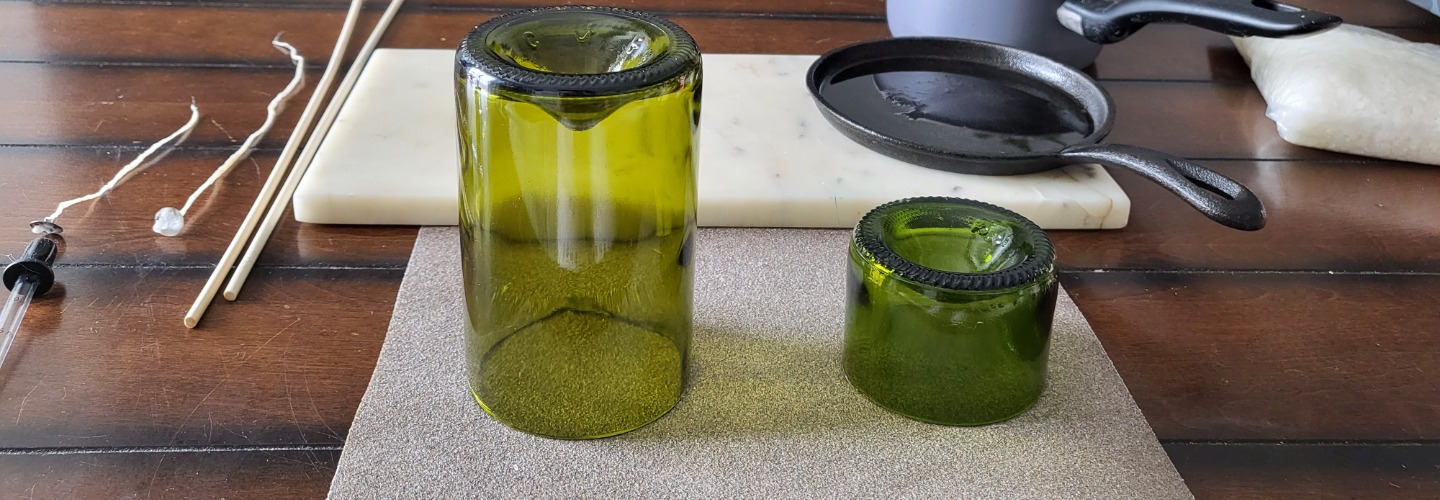
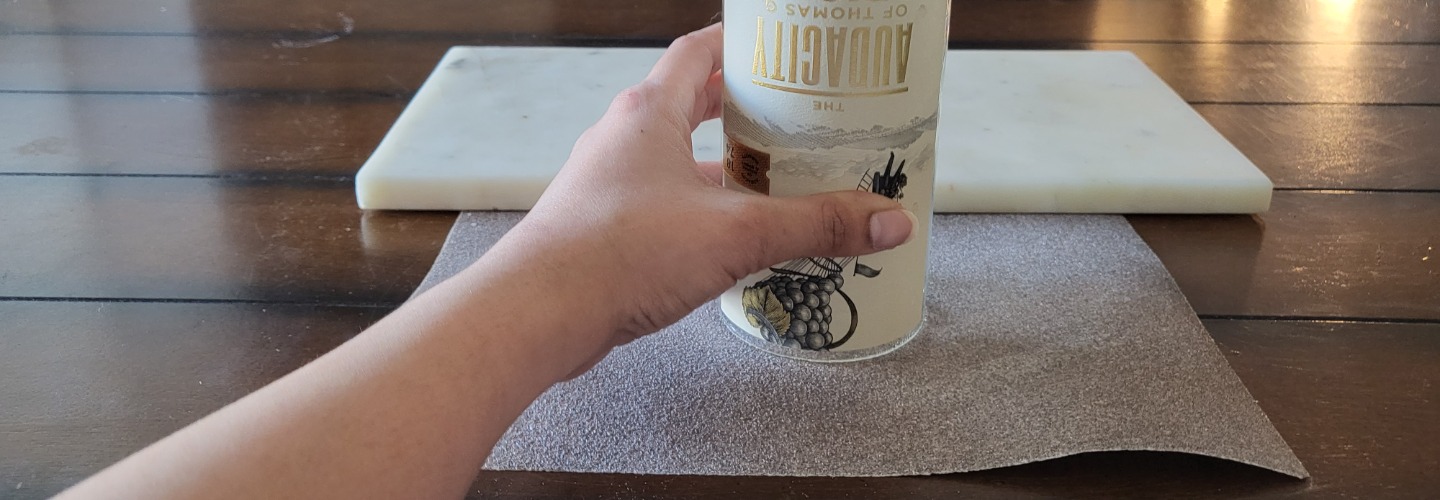
Now you don’t have to buy a hot plate, just shimmy on over into the kitchen and use the stove for this project. Cut your bottle first, after this is done, discard the top half, or use it in a different craft project! Next sand down the lip of the bottom half, until it is smooth to avoid getting cut.
Step 2:
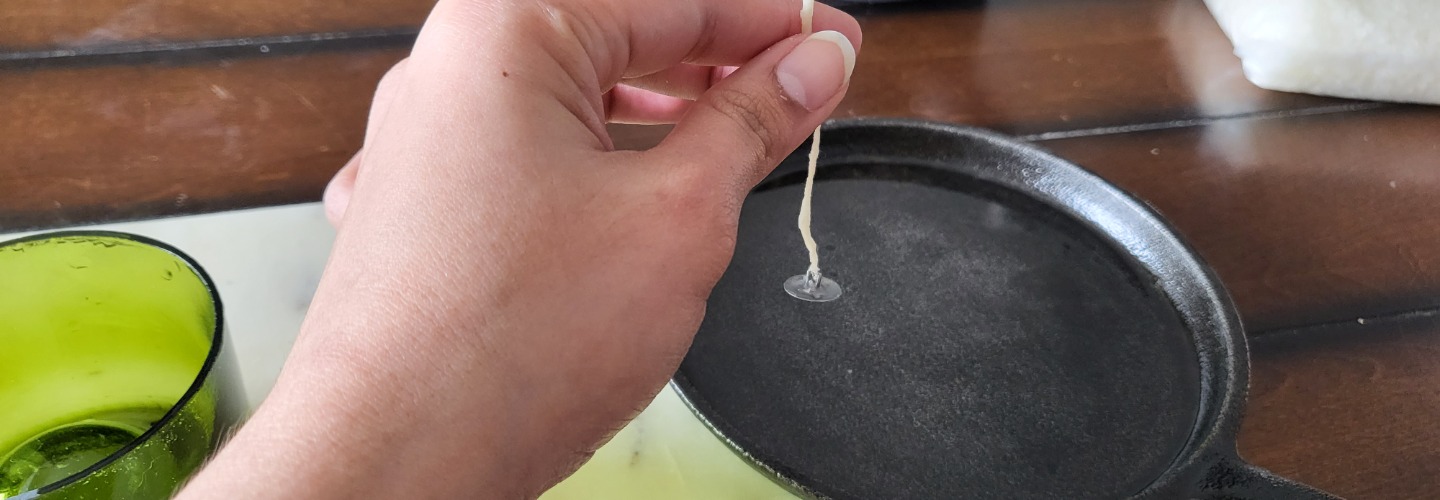
Now you’ll want to create Mom’s special candle recipe! Grab a wick and place it on the bottom of your wine container.
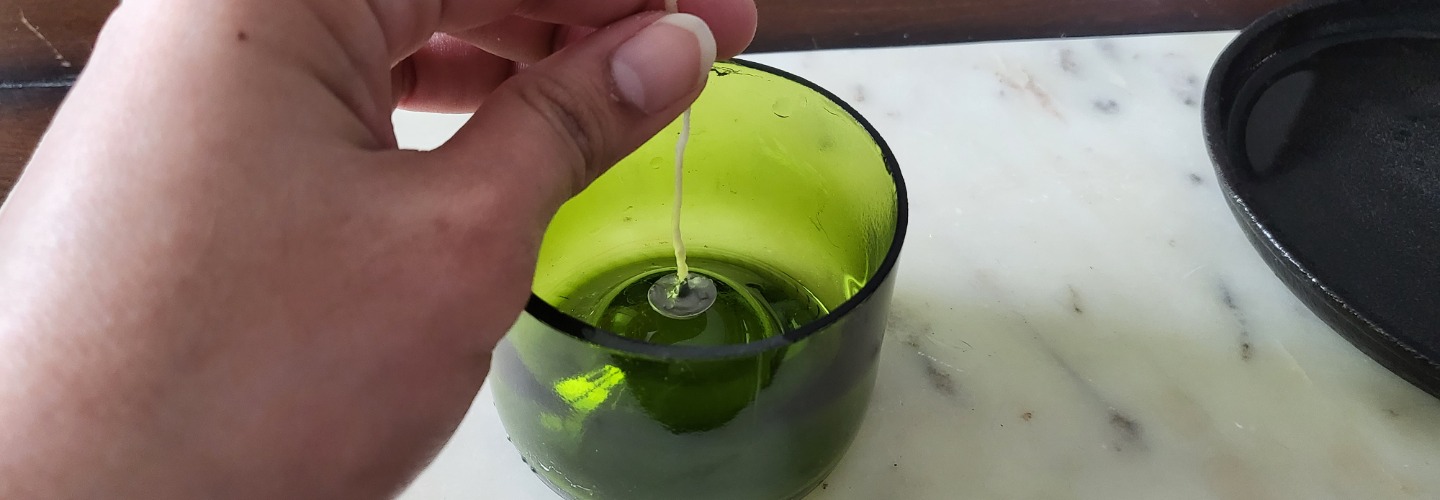
If you’re worried about the wick moving, dip the bottom of the wick in some warmed wax, and then stick it to the bottom of the bottle to adhere it in place.
Step 3:
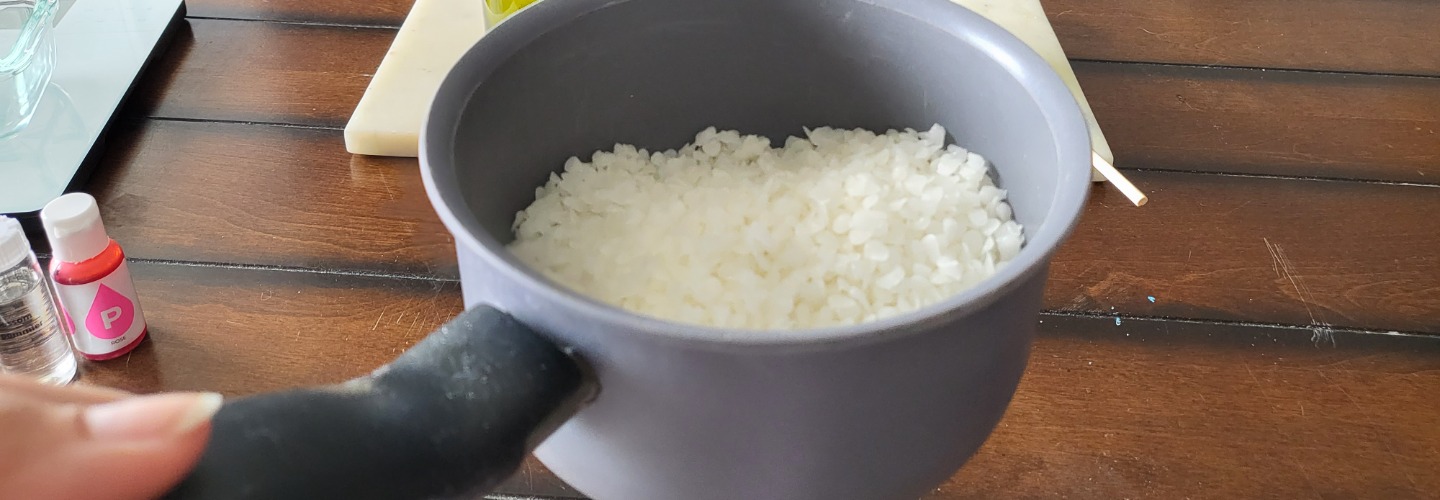
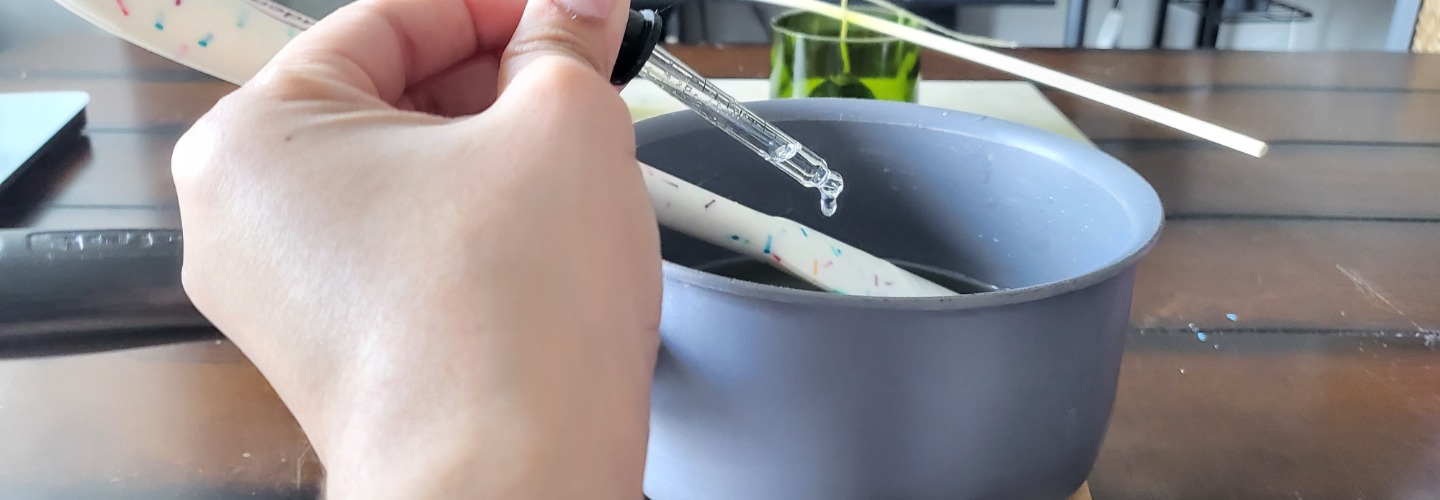
Heat the wax in a pot over low heat, until it is completely melted, smooth and clear. Once this is done, you can add a few drops of colouring. This is also when you can add in the essential oils, feel free to pick and choose as you please!
A simple way to personalize your candle, and make it stand out, is to use a clear bottle half versus a green one, and then grab some flower petals and arrange them on the inside, pressing them against the glass bottle half.
You can use a drop of water or mod podge to help these petals adhere to the sides of the wine bottle half. Then carefully pour your wax in, avoiding the edges of the wine bottle half so as not to disrupt your petal arrangement.
Once your wax is set, the petals will adhere to the wax and the outside of your container will showcase beautiful petals with the bare candle peaking through.
Step 4:
You’ll need more oil than you think, so estimate about 2 teaspoons of oil for every 4 ounces of melted wax. Feel free to adjust this as you see fit. We’ve found some blends you can try out if you’re stuck.
Some scent ideas to try:
- Spiced Chai Latte – 3 drops Cardamom, 1 drop Clove, 1 Drop ginger
- Soothing Citrus – 3 drops each of Lavender, Ylang Ylang, and Wild orange, or 3 drops each of Bergamot, Wild Orange, and Cypress
- Spring Floral – 3 drops each of Ylang Ylang, and Geranium
- Autumn Spice – 4 drops of Tangerine and two drops of Black Pepper
Step 5:
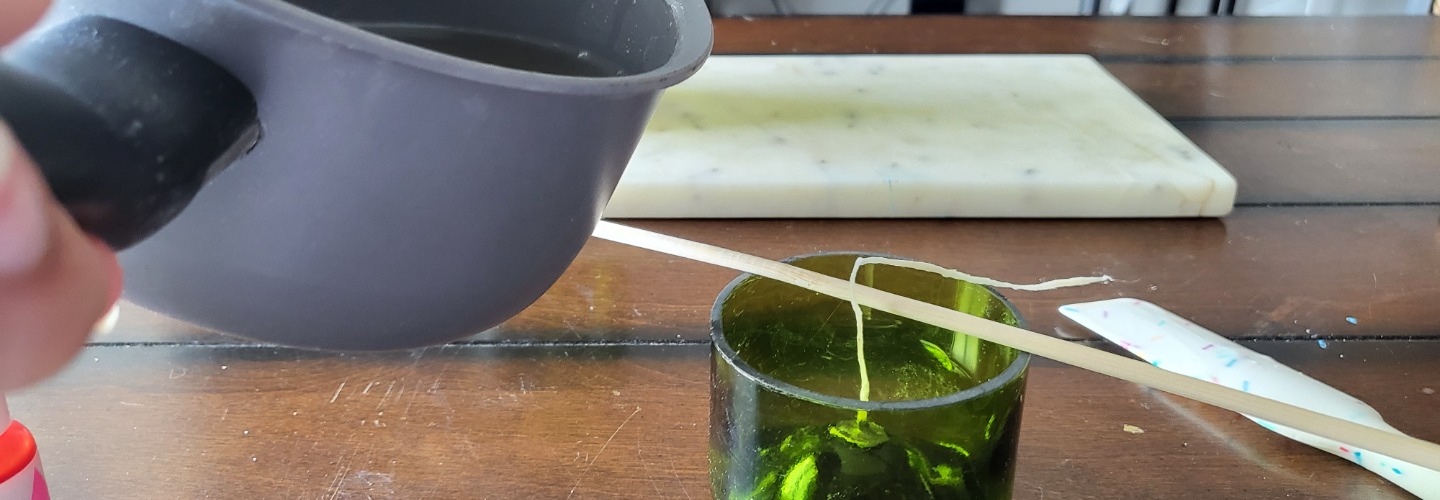
Once mixed thoroughly (for a full minute), then pour the wax into the bottom half of your wine bottle. You can now use the skewers and popsicle stick to keep the wicks in place as the wax sets.
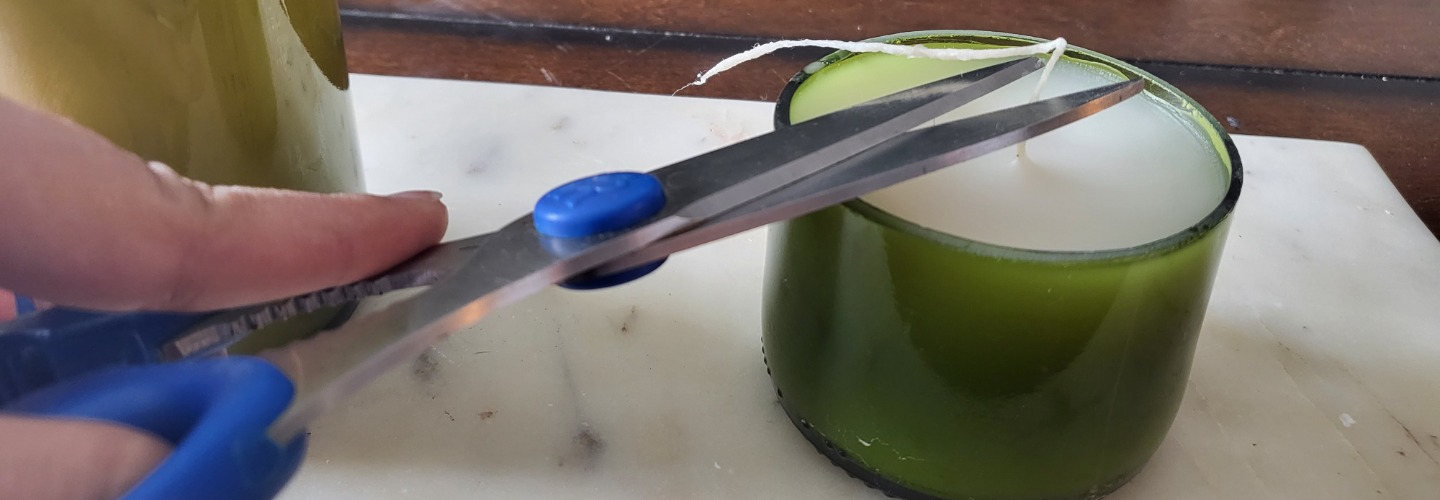
Wait until your candles are fully set to cut off the wicks.
Step 9:
Allow the candles to set for at least 2 days before lighting. So, technically, you can make this for Mom even 2 days before Mother’s day, and you’ll still come off as the favourite, since it’s made from the heart *wink wink*.
But what if Mom’s not a fan of candles?
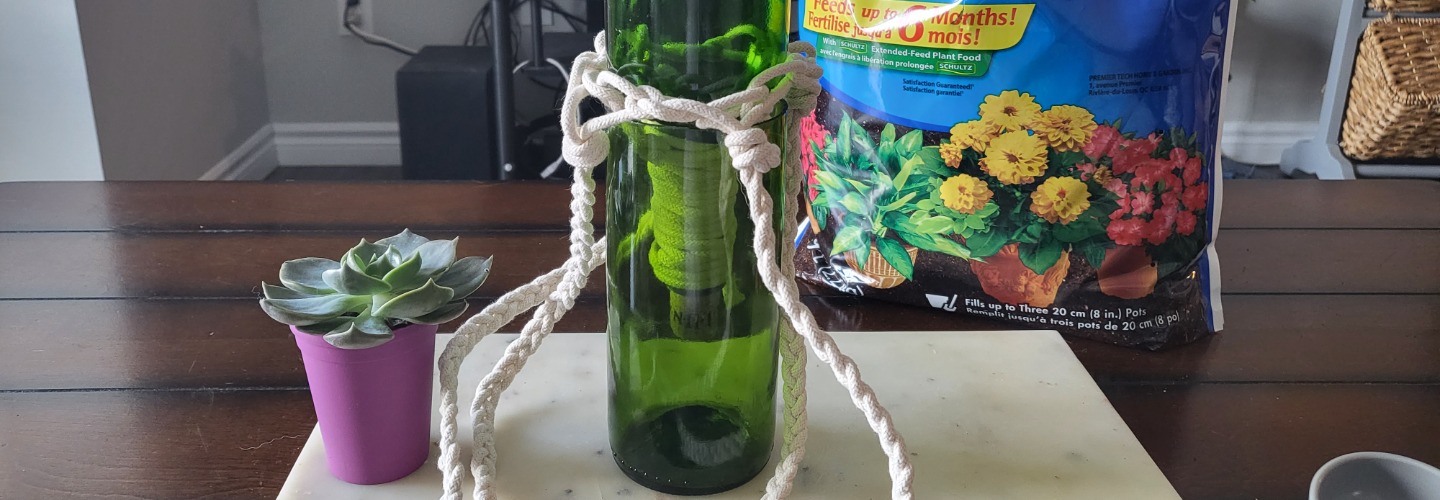
How To Make A Vase Out Of An Old Wine Bottle!
A simple but unique idea, and it is super customisable! Grab a bottle or two, and let’s get started.
You’ll need:
- A wine bottle
- 1 tablespoon sugar
- Some freshly cut flowers
- 1 tsp bleach
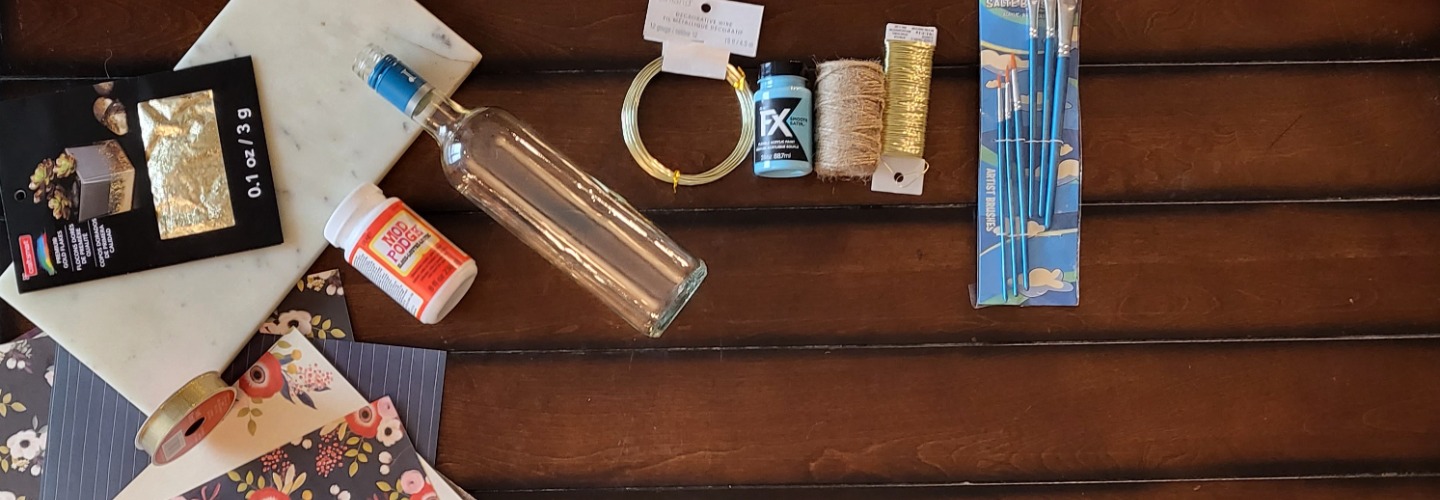
- Some decor like paint, a doily, twine, foil, dry pressed flower
- 1 qt water
- 1 tsp vinegar
What to do:
Step 1:
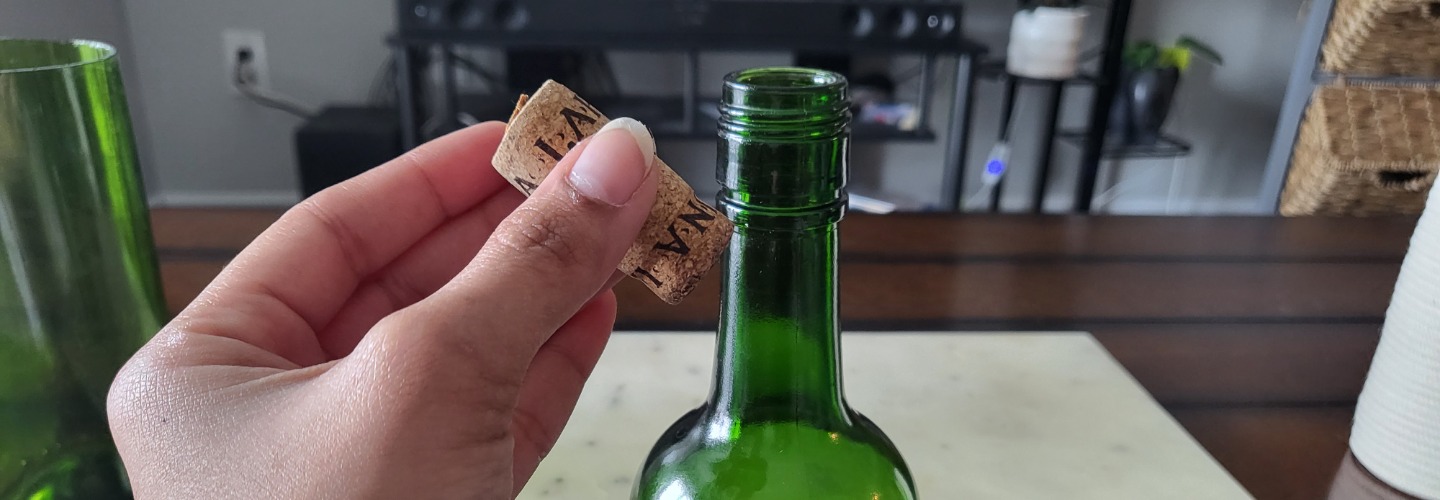
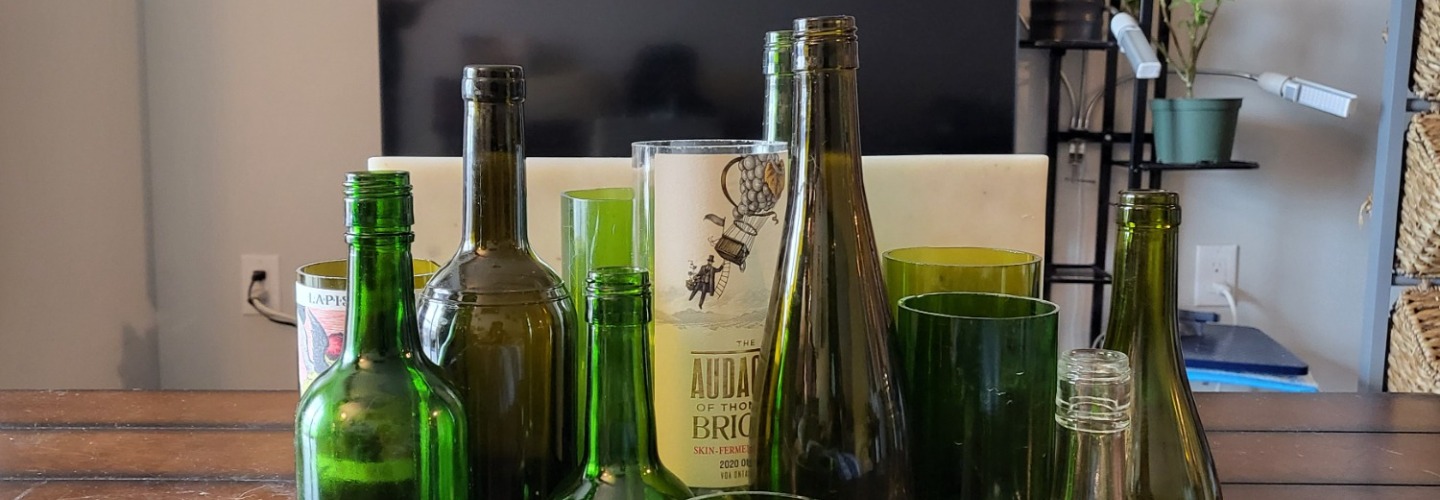
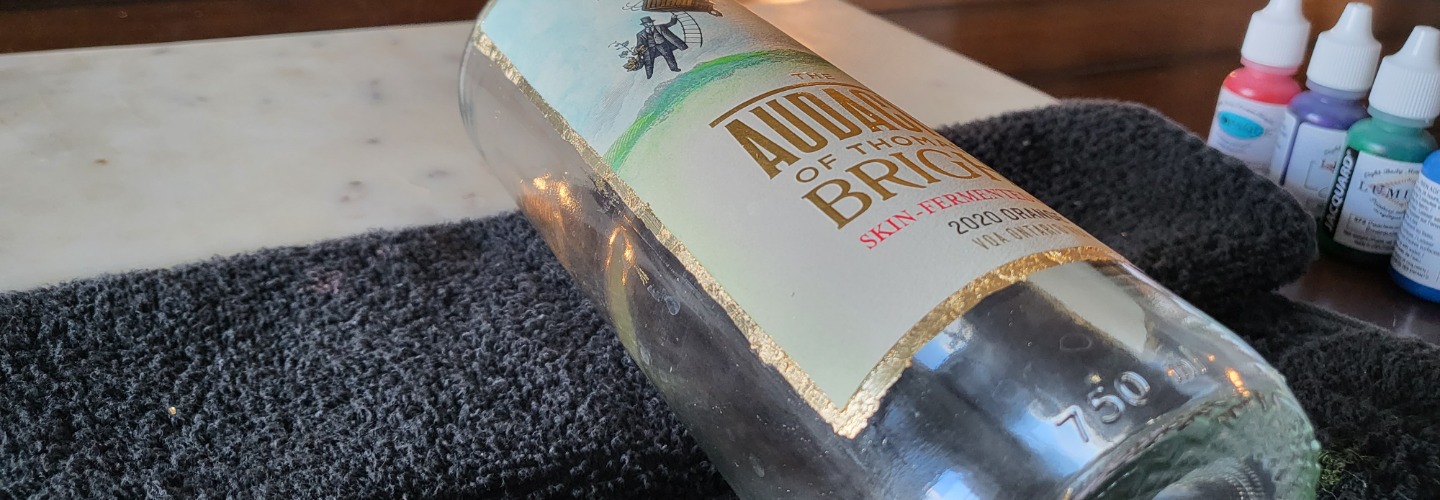
As always, begin by cutting and sanding your bottle. You can choose to cut your vase wherever you please depending on how large you want your vase to be.
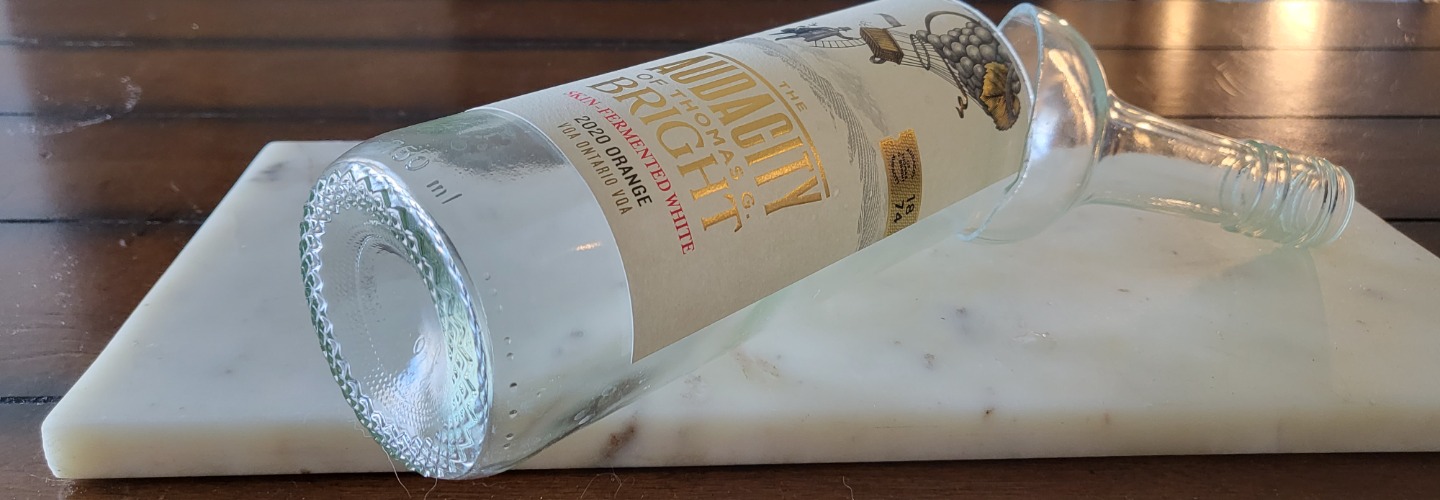
We like to cut it right where the bottle begins to narrow into a neck. That way we have a longer vase to use!
Step 2:
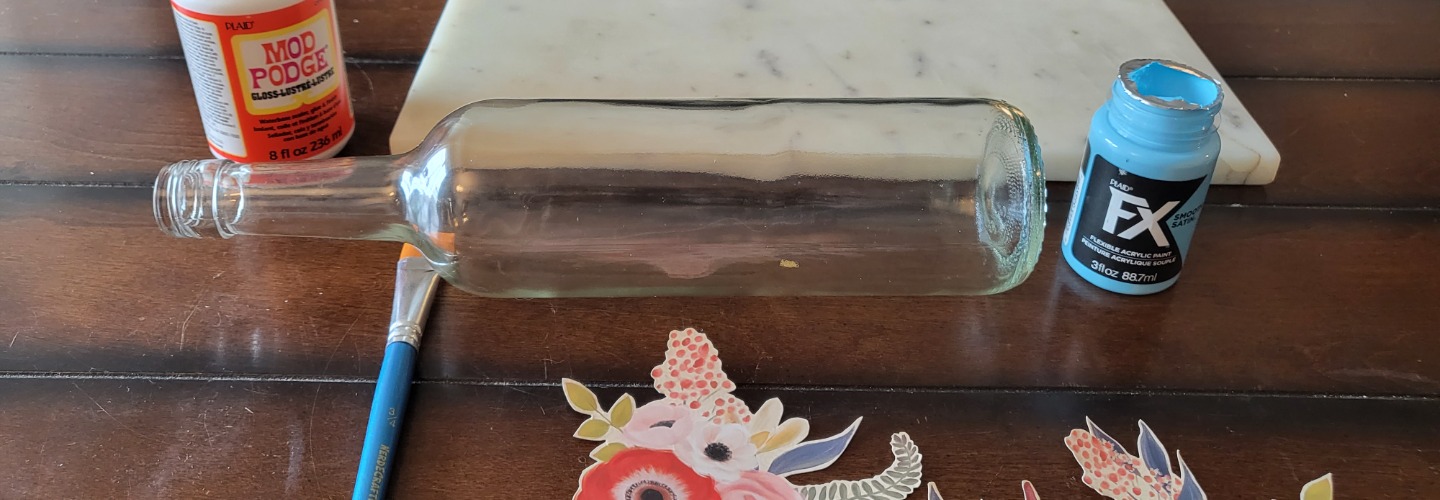
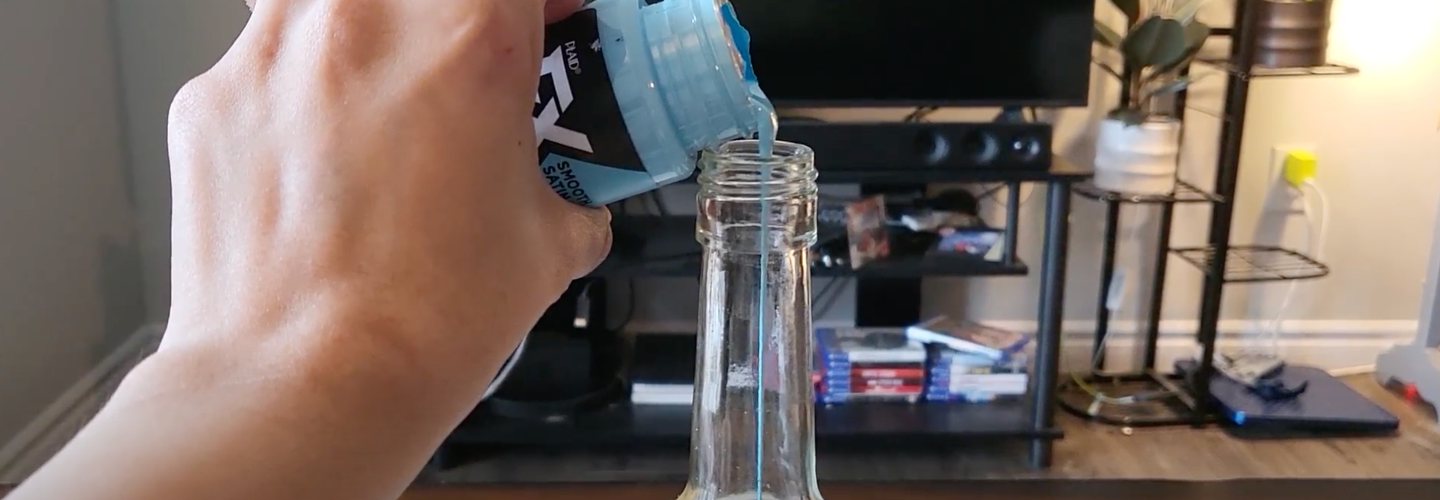
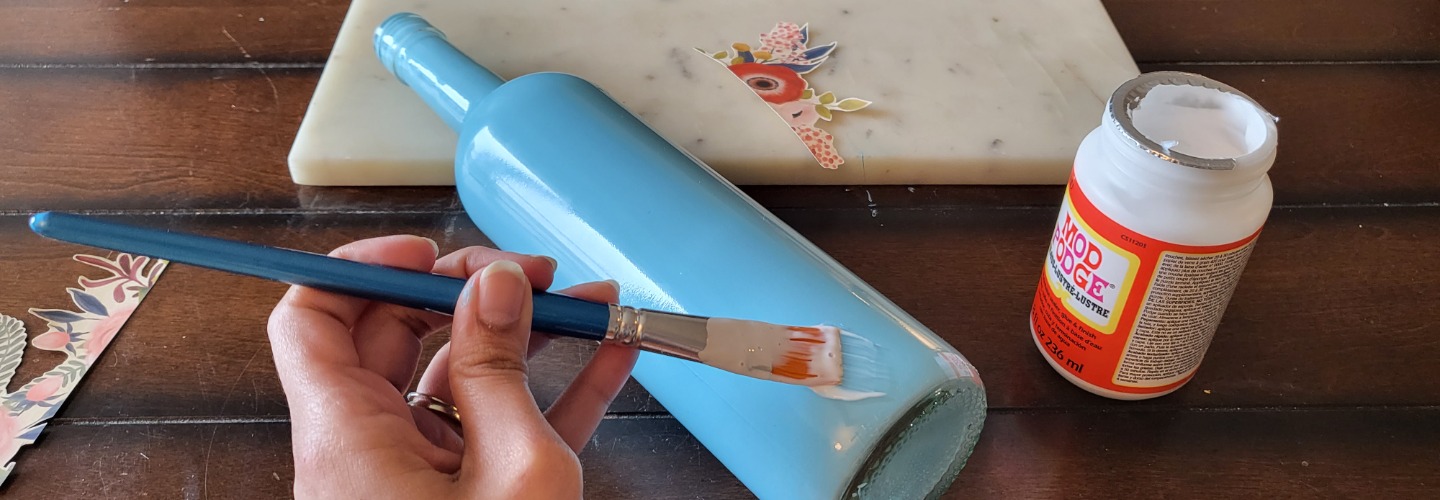
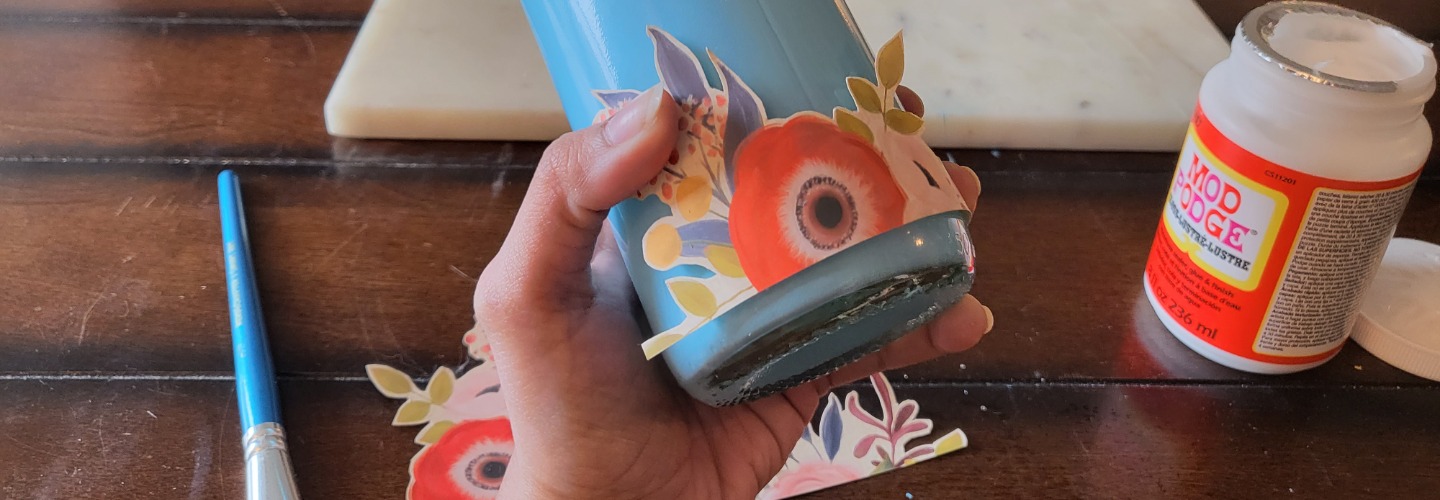
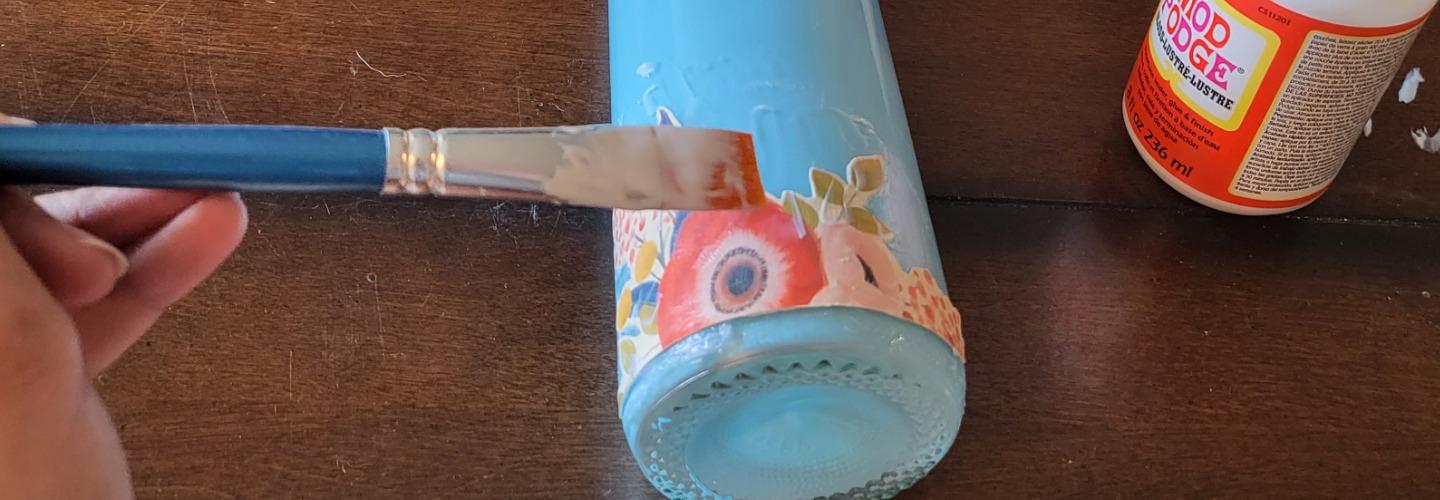
Once you’ve cut your bottle, you can feel free to customize it for Mom however you want.
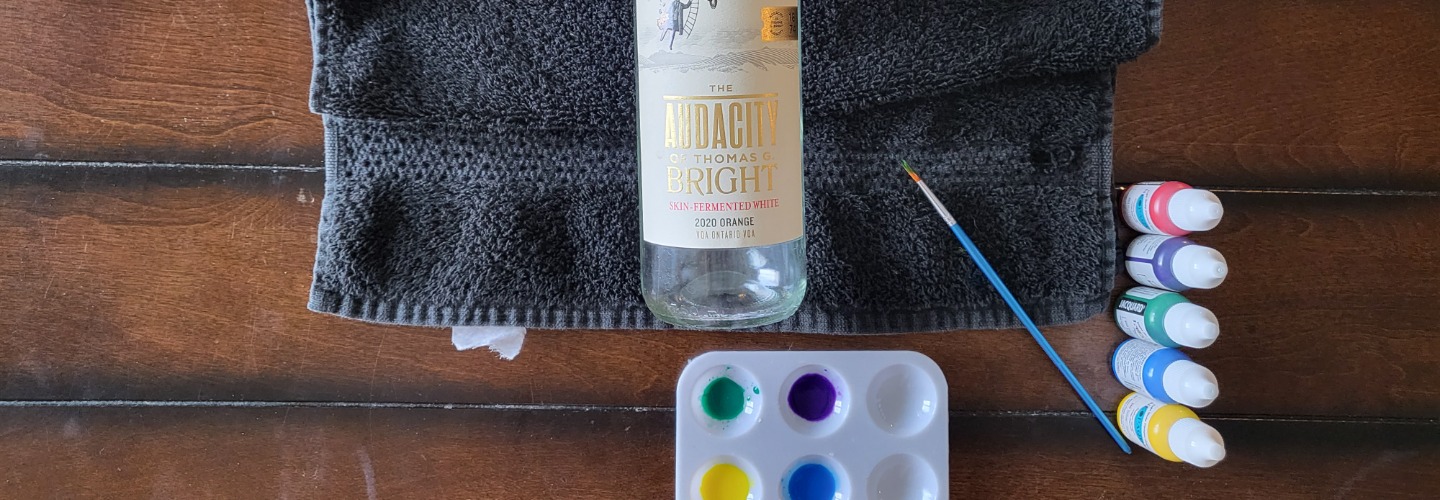
Some ideas to customize Mom’s vase:
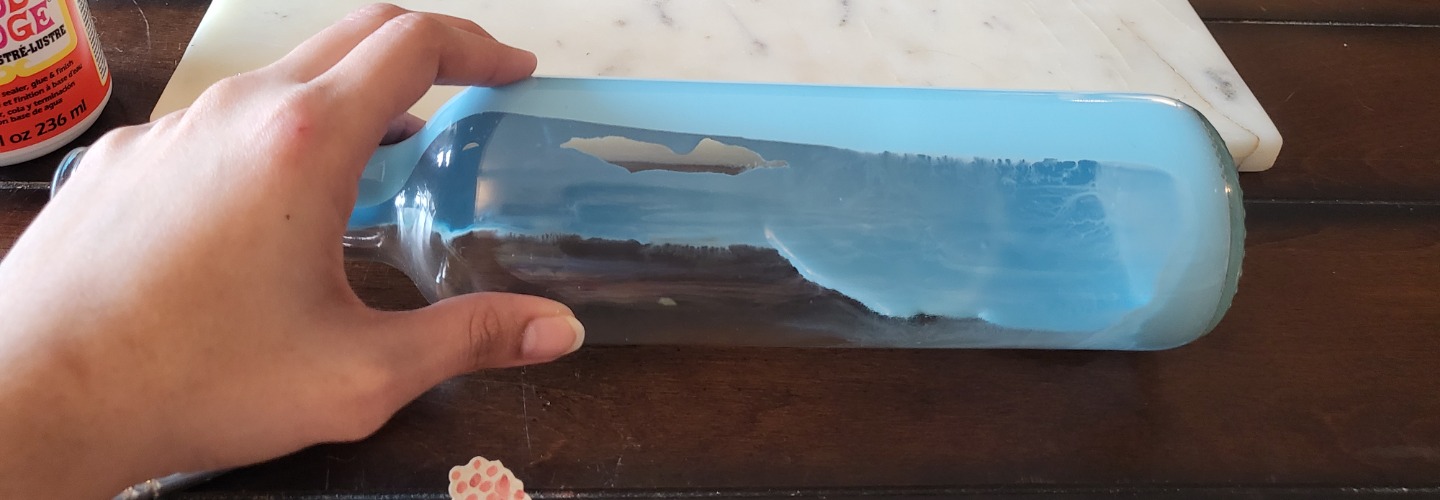
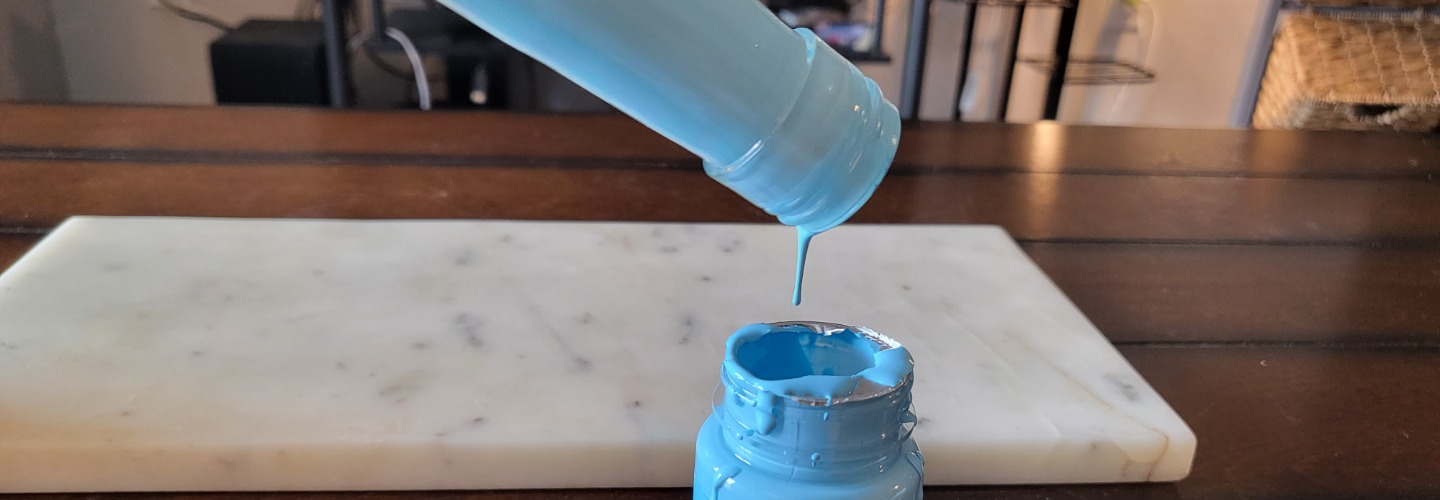
- Paint the inside, and decoupage a coloured doily on the outside.
- Decoupage the outside with dried flowers, and paint the inside.
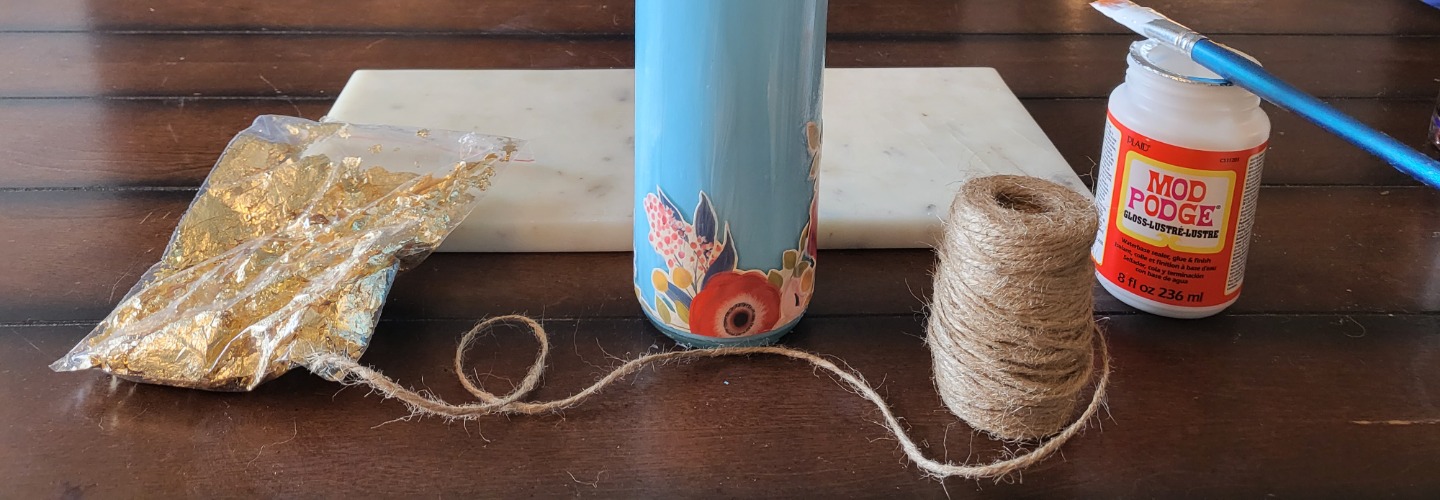
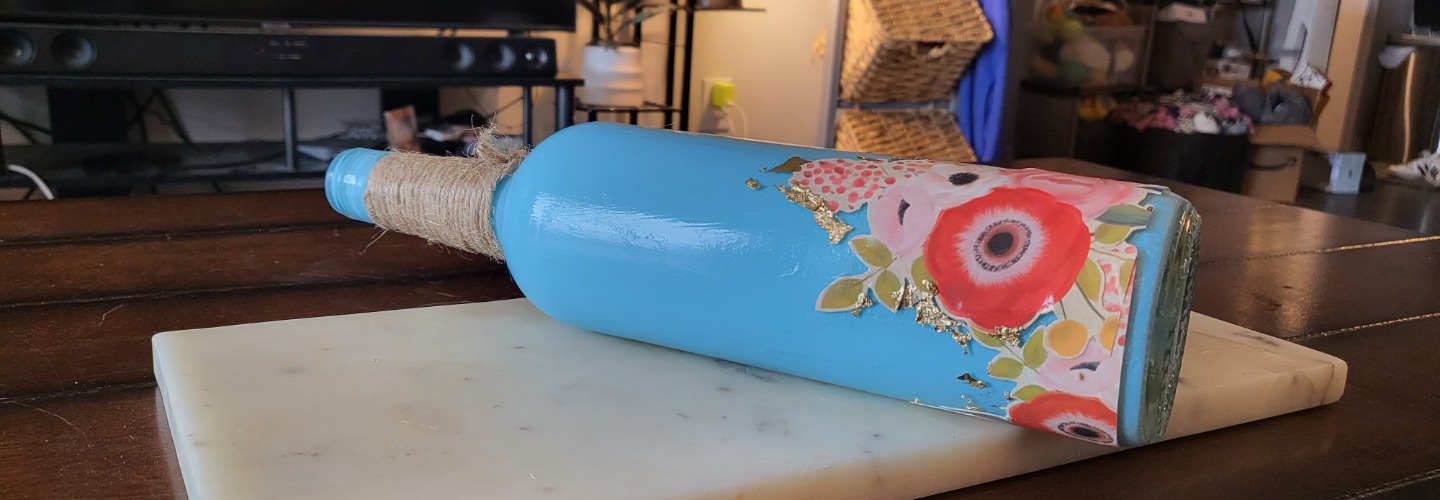
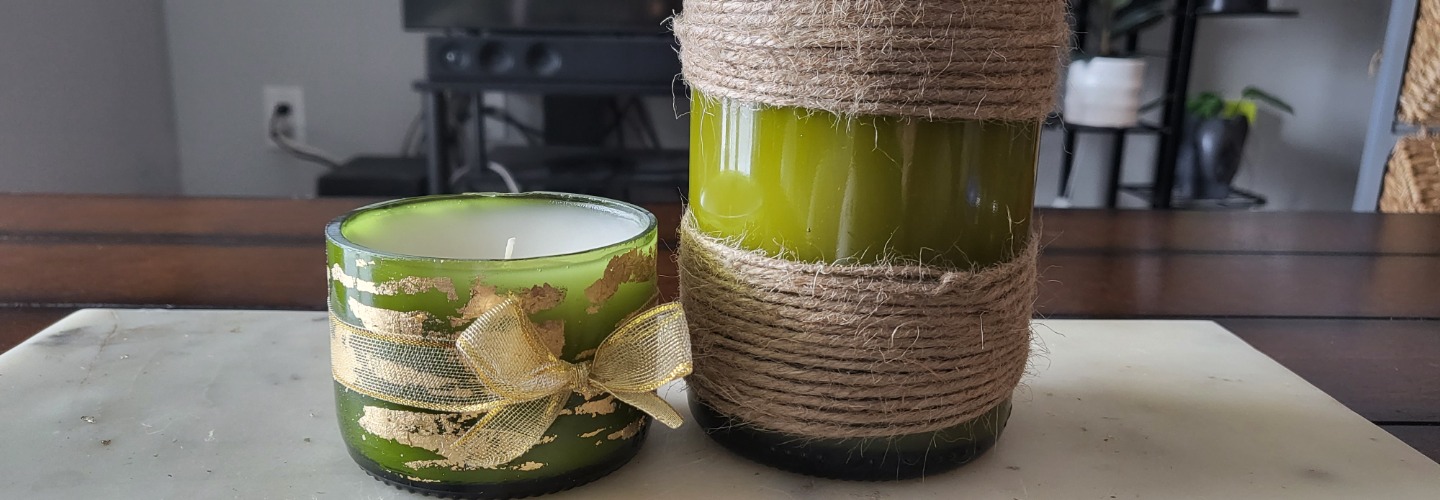
- Use a bold colour to paint the inside, then wrap the outside of the vase with twine in sections
- Leave the vase clear, and accent the wine label with foil.
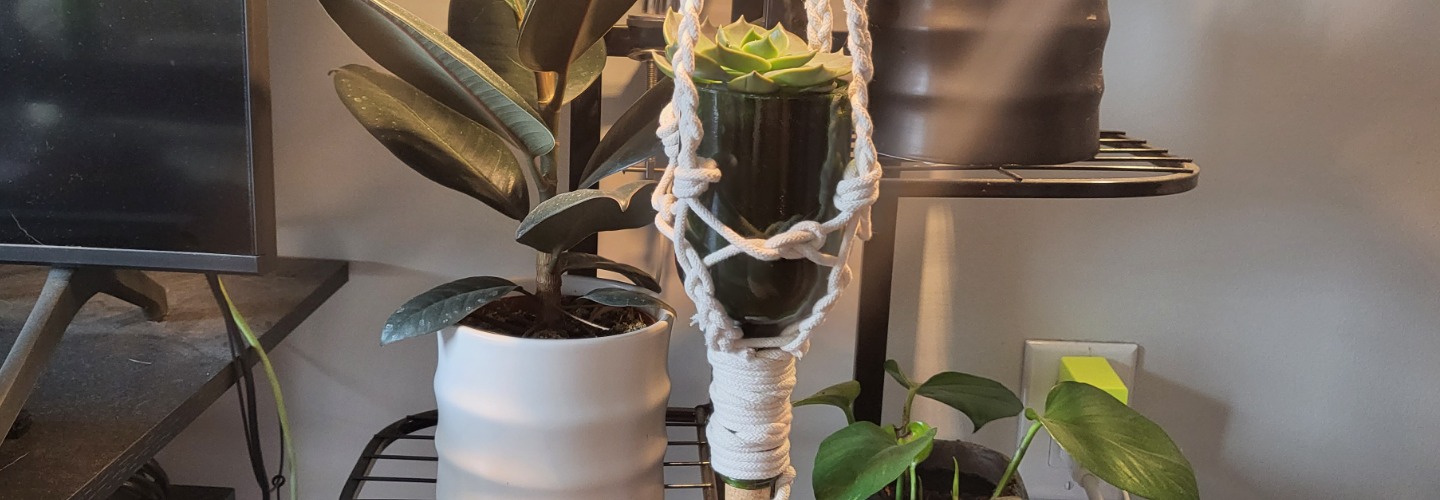
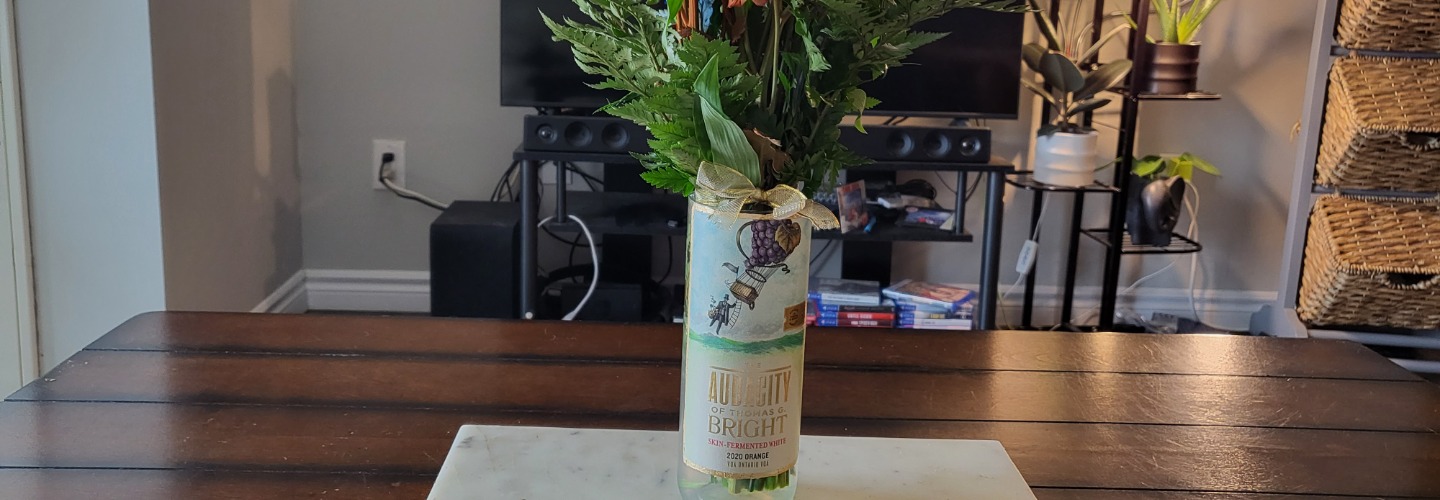
And that’s it! Grab a handful of fresh flowers, and put them into your vase, add a ribbon for a final touch and you’re ready to give Mom a bouquet (or two). Our last secret to help you achieve the status of “favourite child” is to use flower food to lengthen the life of your flowers!
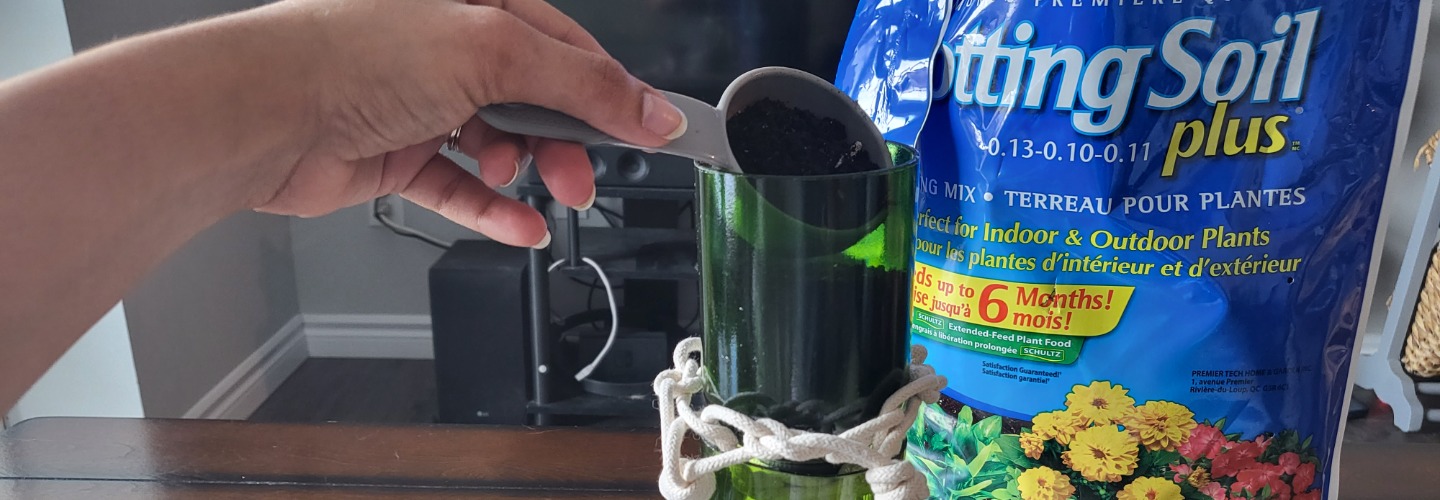
Step 3:
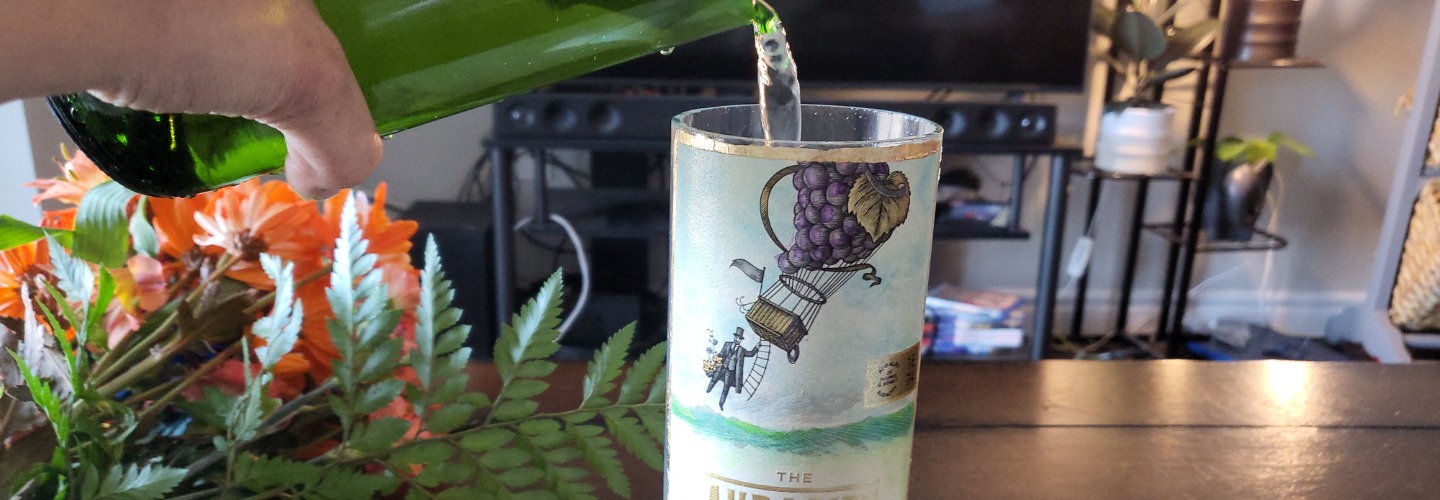
Once you’ve selected your choice of flowers, you’ll need to set them aside, and prep your flower food. Combine the water, bleach, vinegar and sugar, mix well and pour into your vase.
Grab each flower stem one by one, and trim a half-inch off it.
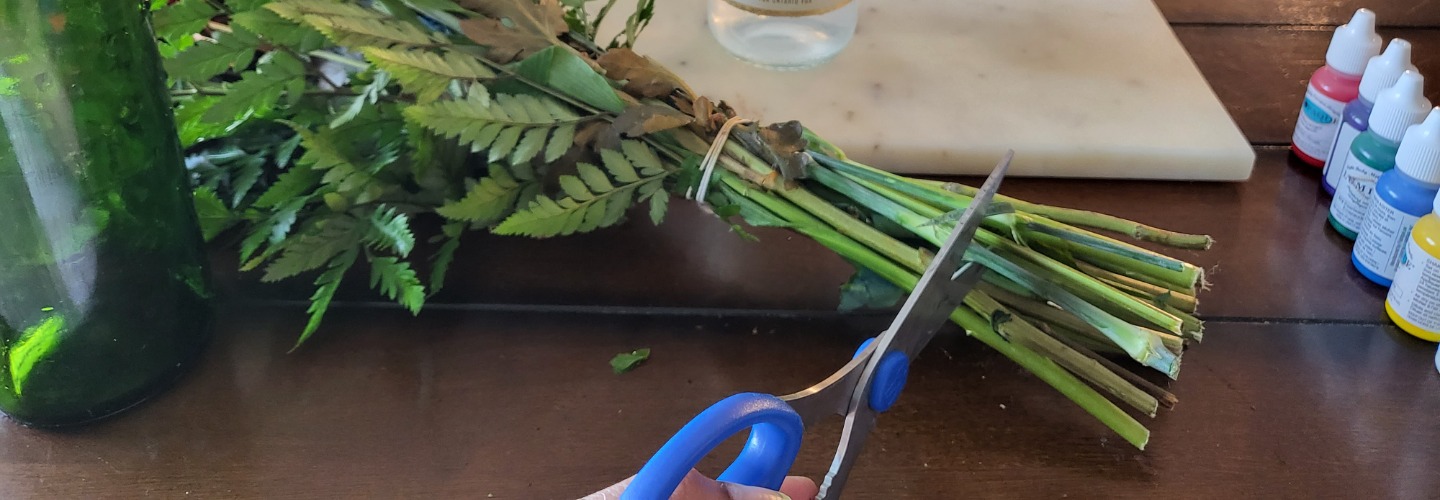
Immediately dunk it into the vase, arranging your flowers as you see fit. After cutting a flower stem, immediately add it to your vase so it’s exposed to the flower food. This is because the stem is more likely to seal VERY quickly if you don’t do this, and the flowers will not be able to hydrate properly.
That’s it, a special bouquet for a special Mom, and one that will last way longer than a week!
If you’re not a fan of cutting glass bottles, then we have one more craft idea for you.
How to DIY a Wine Bottle Bird Feeder!
She’ll enjoy watching little birds fly up to this bird feeder for a bit of grain and seed, and it’s so simple to make too!
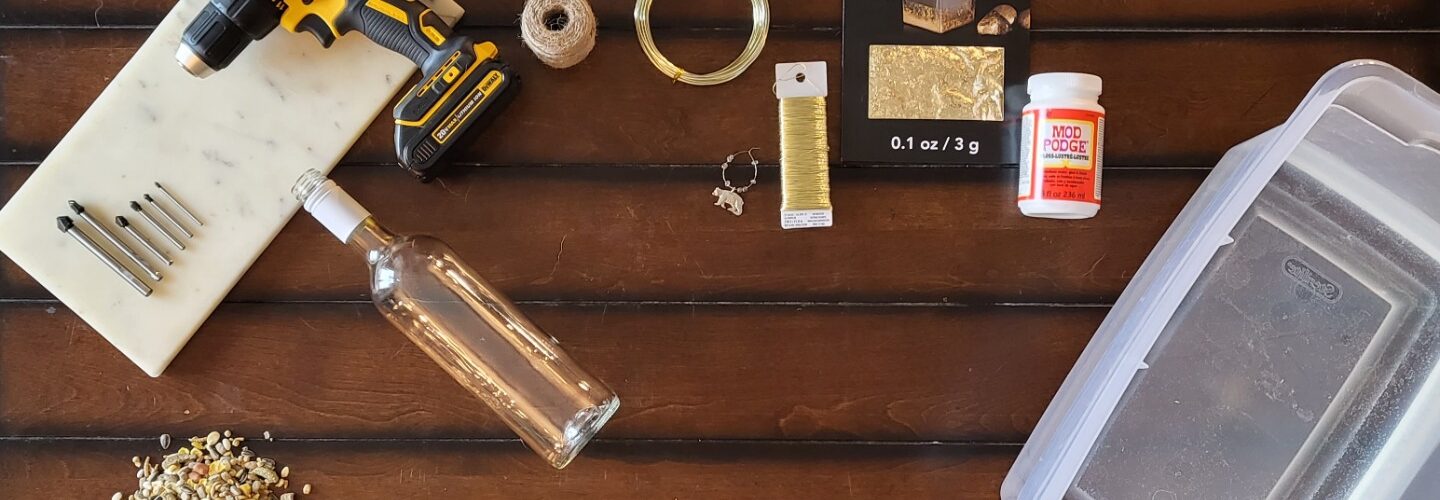
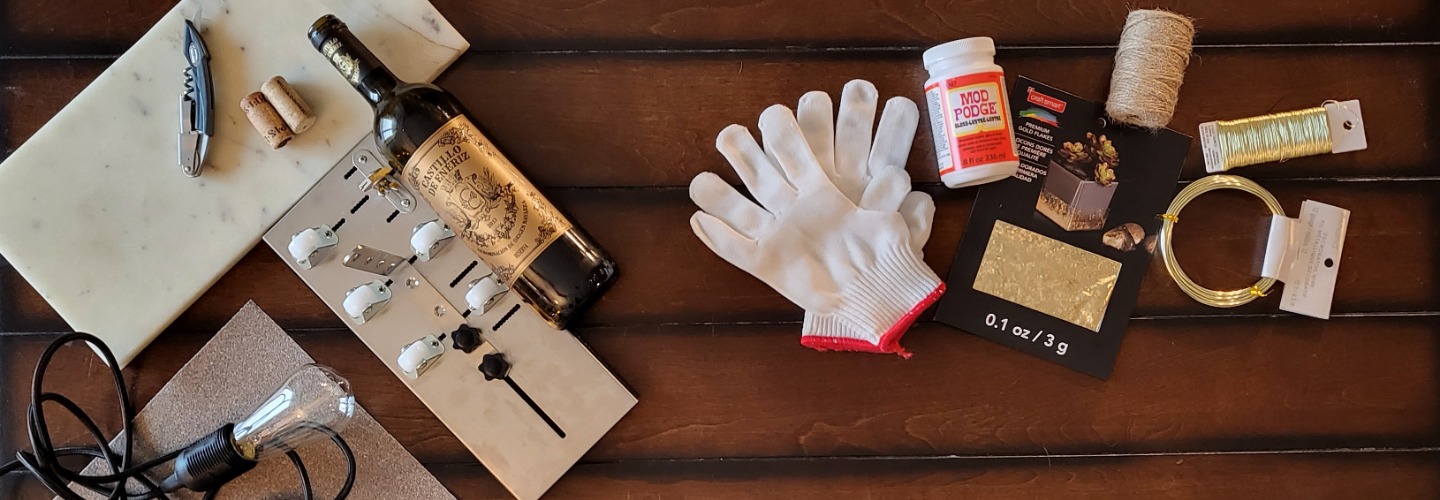
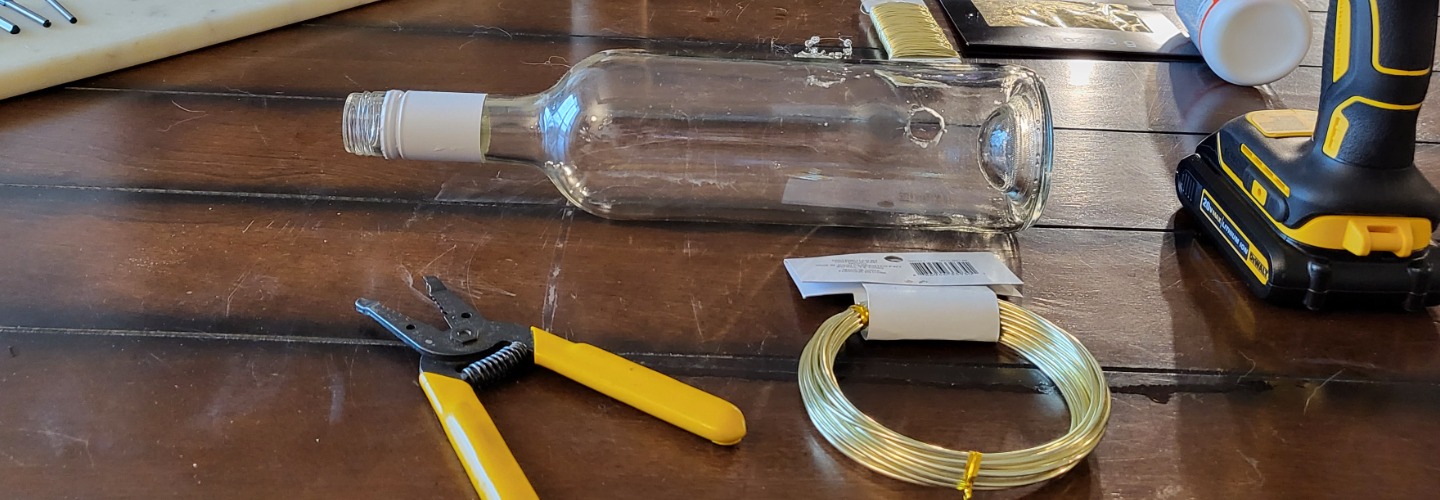
You’ll need :
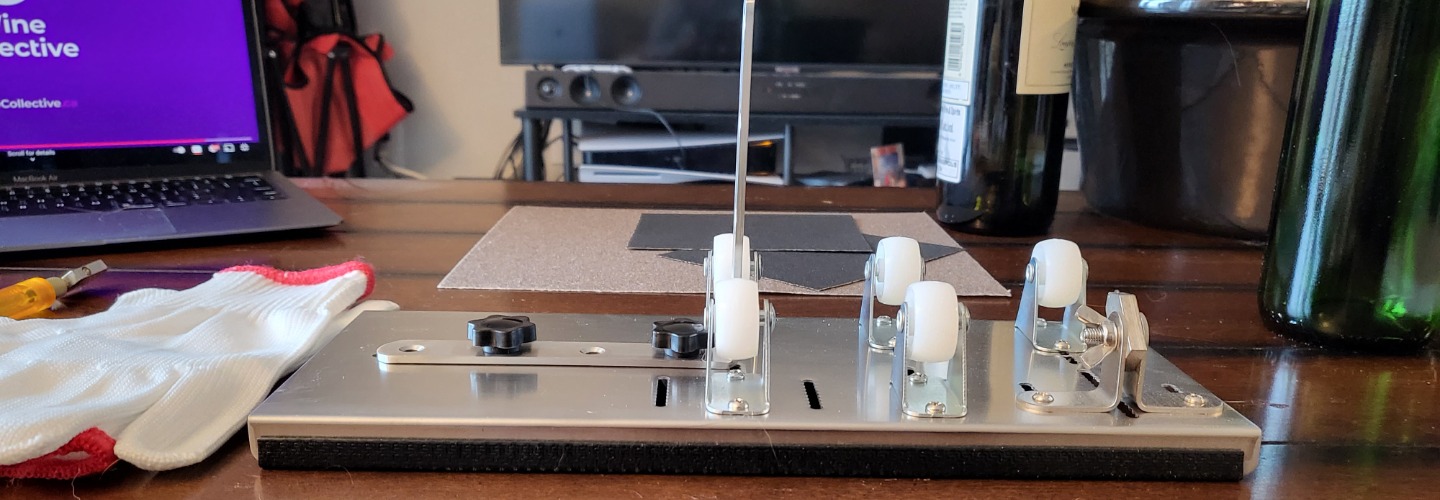
- A dremel or drill
- Glass cutting bits
- A hand towel
- A large enough tub to fully submerge your bottle into
- Some Heavy copper wire
- Some Bird seed
- Decor (Same as previous crafts)
What to do:
This one’s super quick once you get the hang of it! While it may sound even crazier than cutting a bottle, it is simple as long as you do it right!
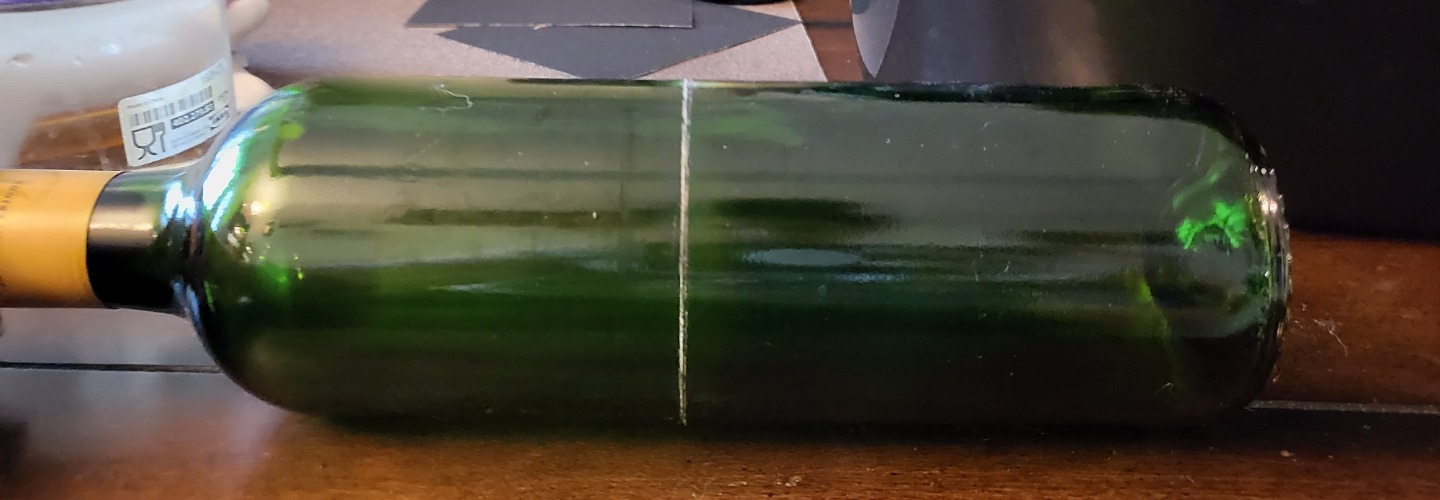
In order for this bird feeder to work, you’ll need a small hole about two inches from the base of the bottle to provide access to the seed. You’ll want to aim for at least a third of an inch in diameter.
Step 1:
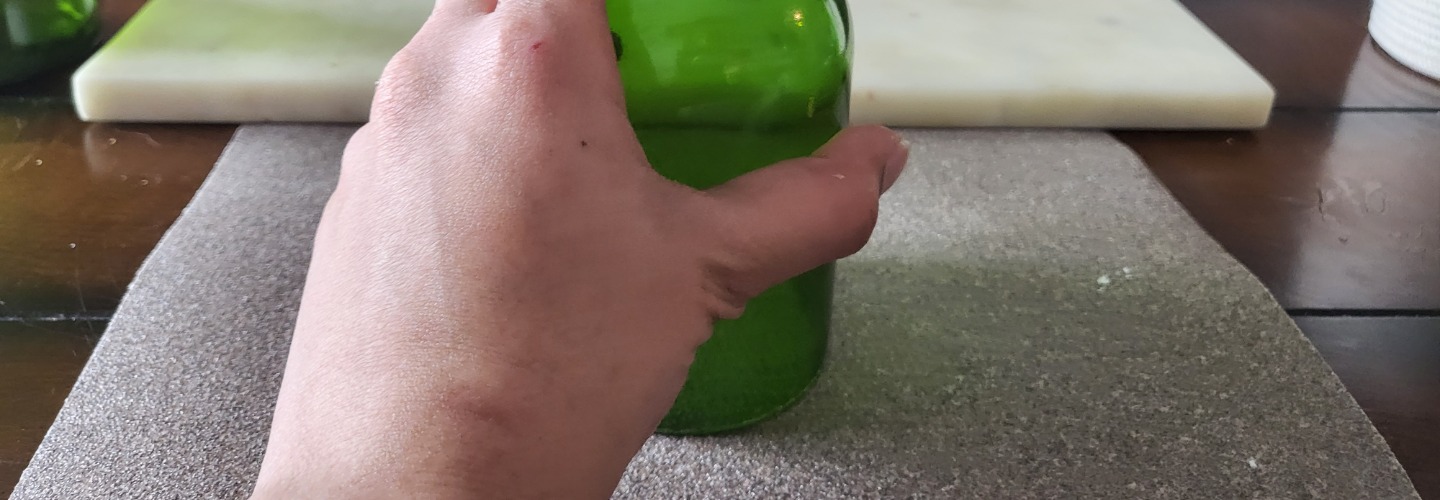
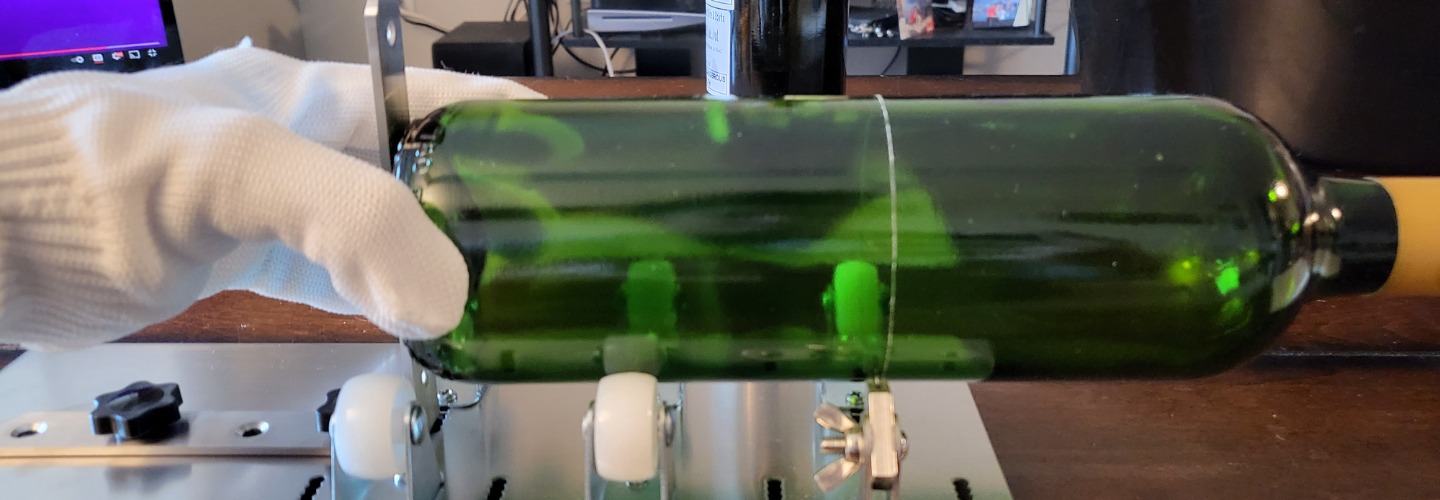
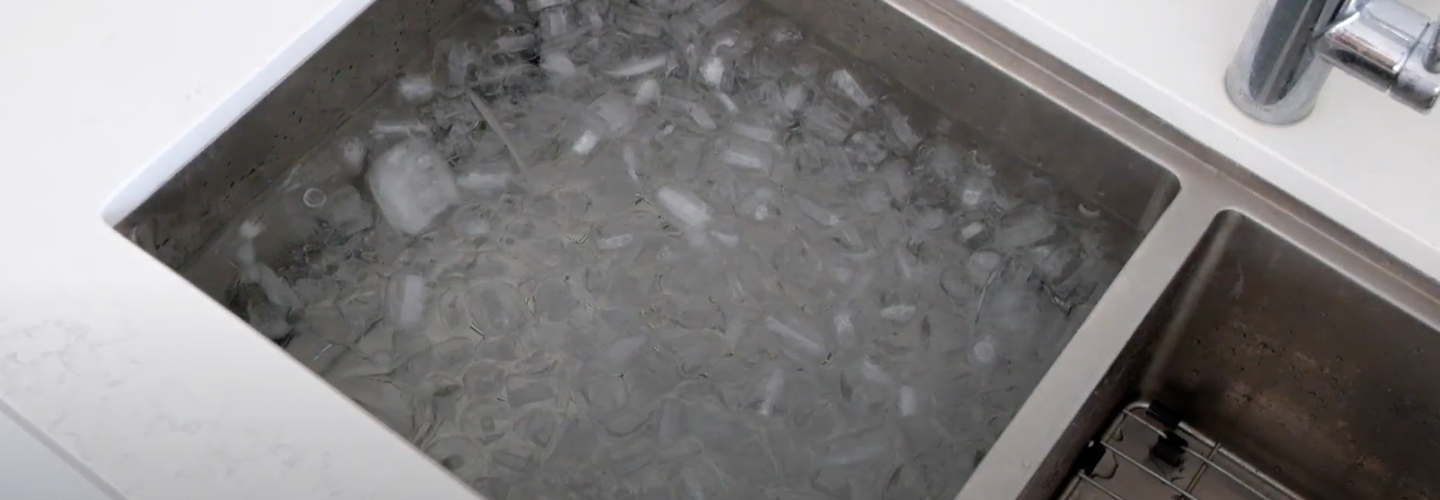
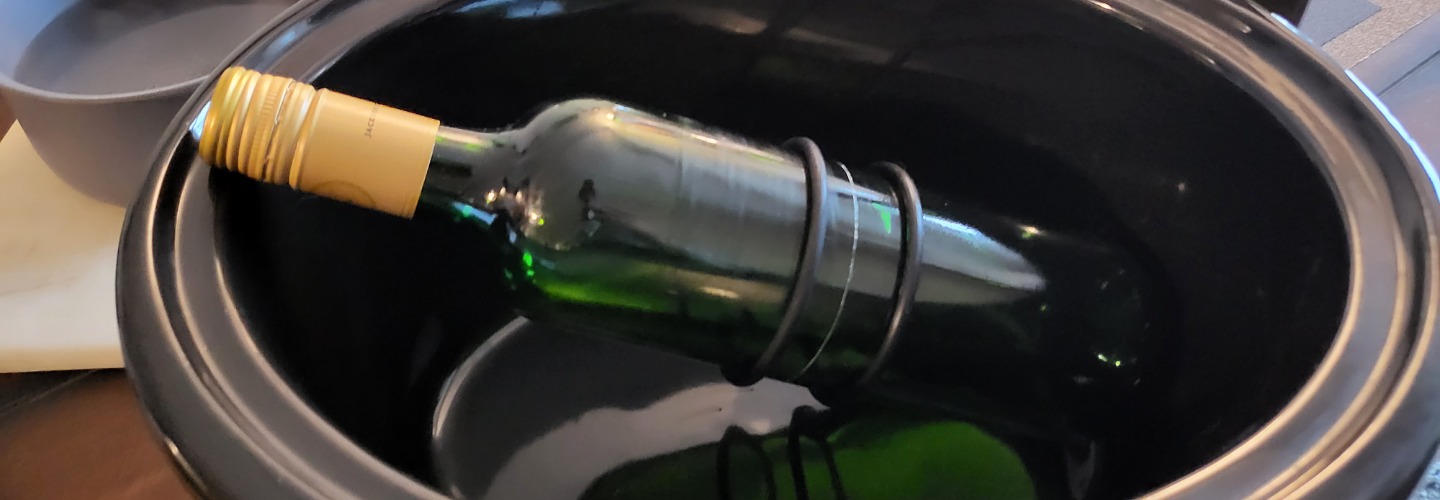
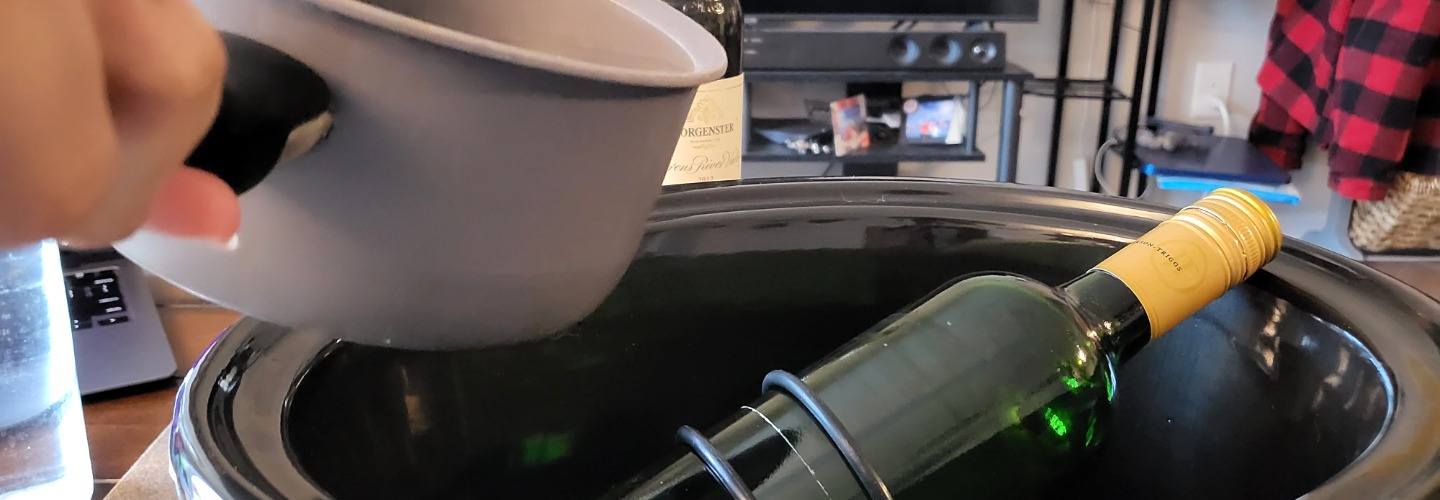
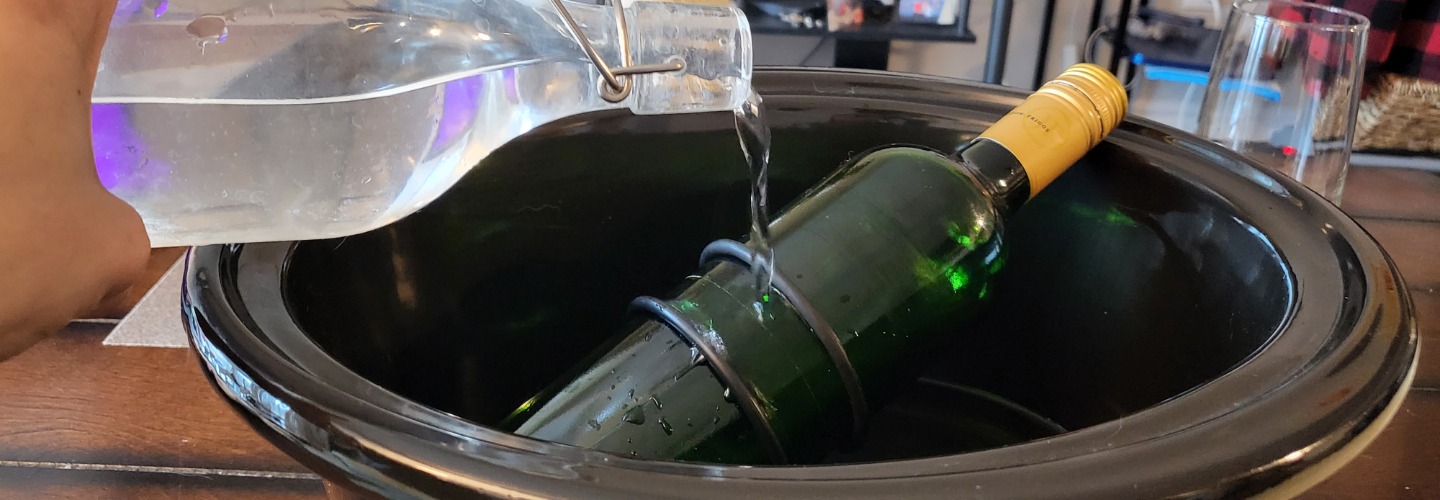
Start off by completely filling your bottle with water.

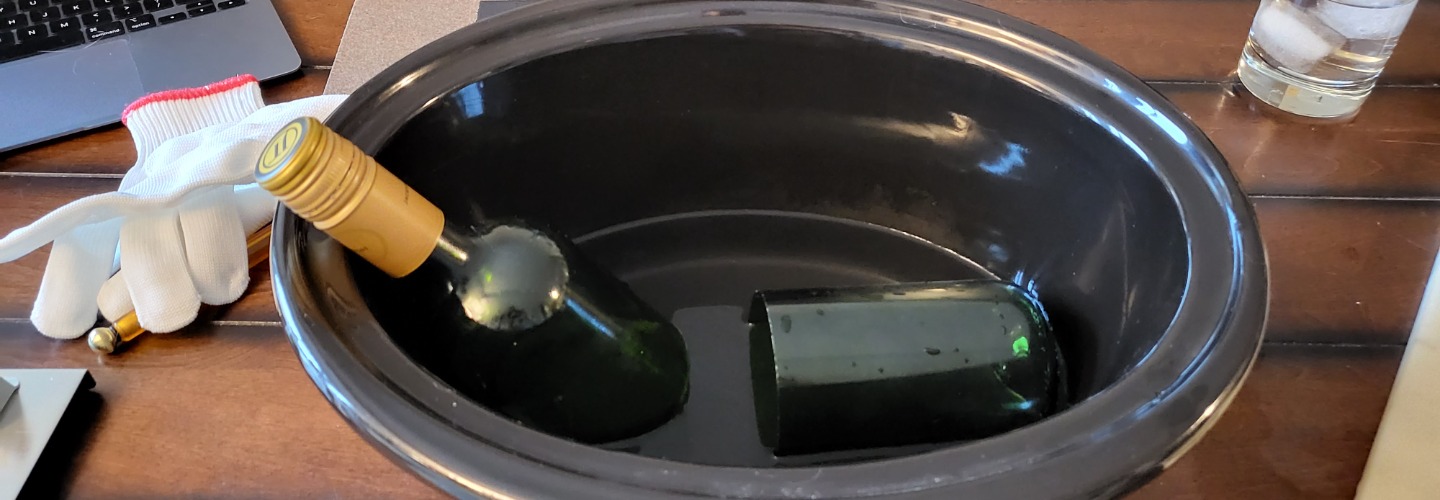
Then fully submerge it in the tub sideways. Lay the towel under the bottle to prevent sliding.
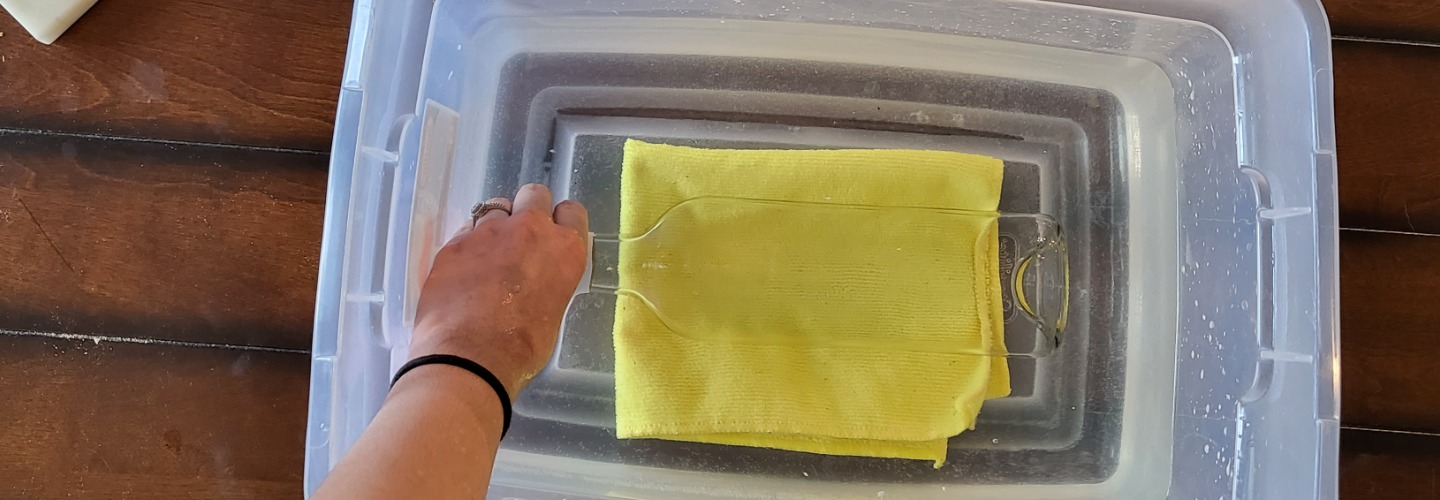
There should be water completely surrounding the bottle. This will equalize forces outside and inside the bottle that will stop the glass from breaking under the pressure of the drill.
Step 2:
Start with a small drill bit and work your way up to a third of an inch. Slow and steady wins the race!
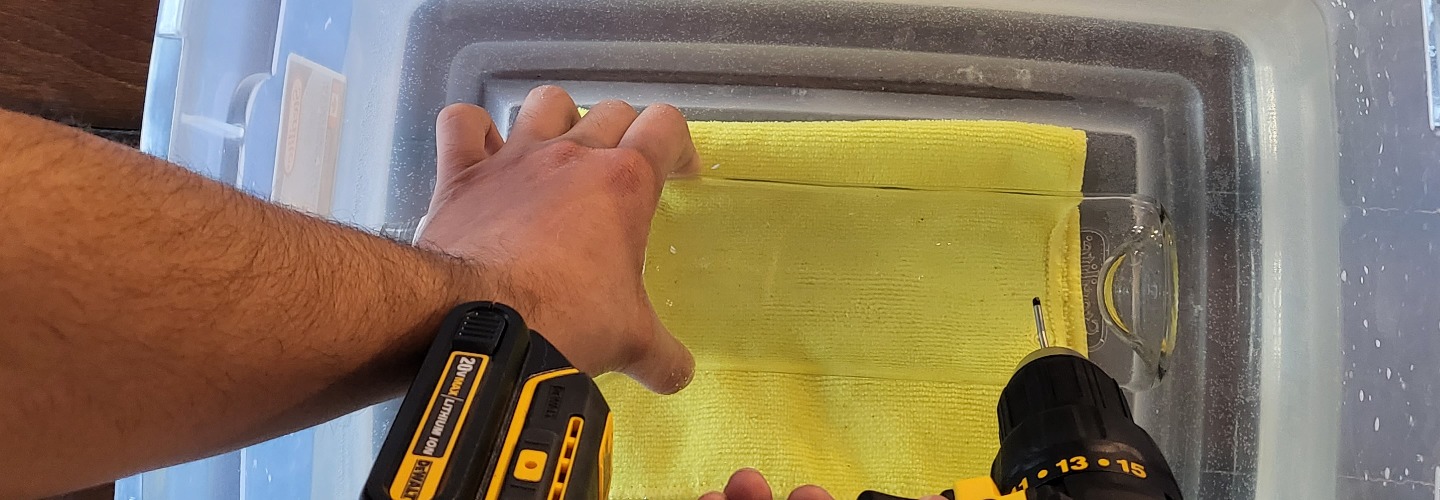
With your drill bit at an angle, start your drill at your lowest speed, and slowly bring it up vertically against the surface of the bottle.
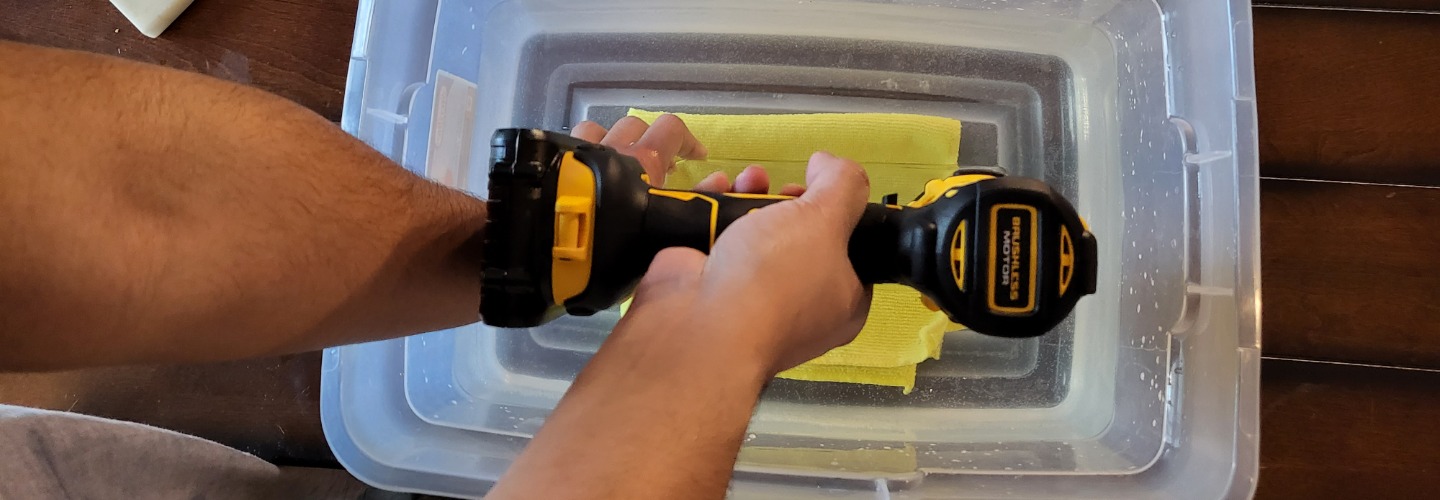
Keep steady pressure, but let the drill do the heavy lifting. Keep watching closely, as once the drill bit goes through, you’ll want to carefully pull the drill back out, without hitting the other side.
Repeat with increasingly larger drill bits, until the hole is the desired size. There you go. You made a hole in the glass and we couldn’t be prouder!
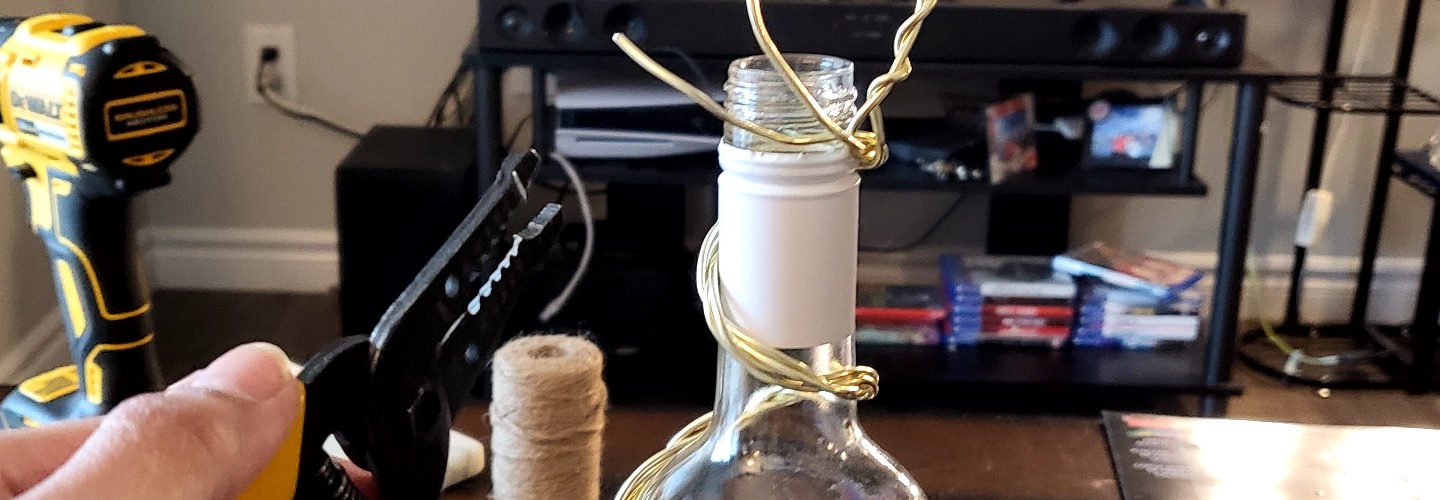
Step 3:
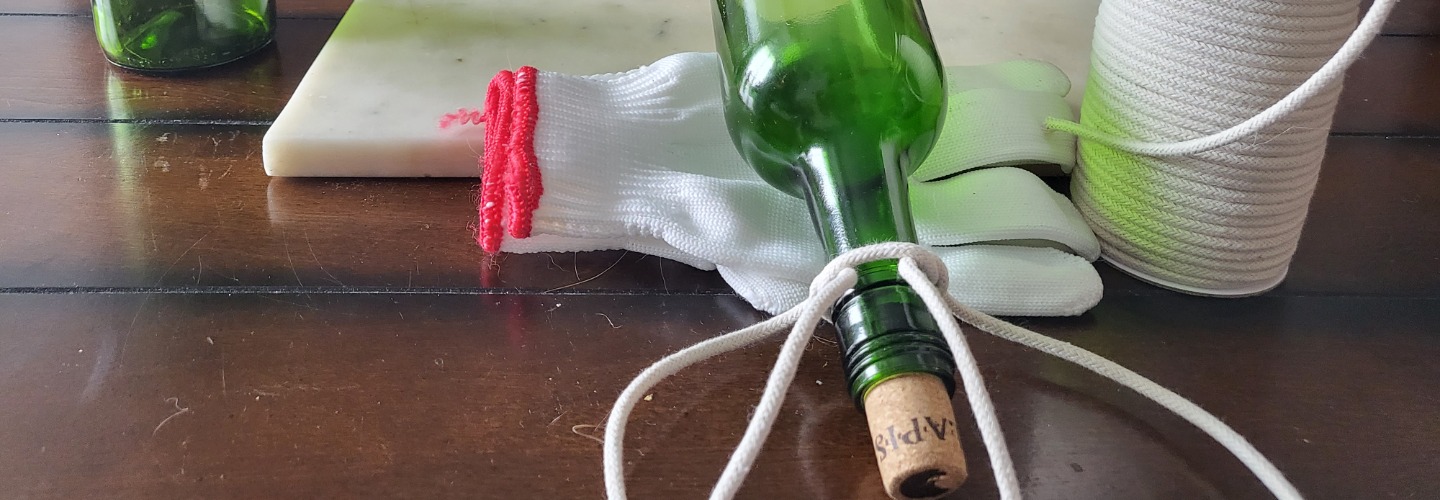
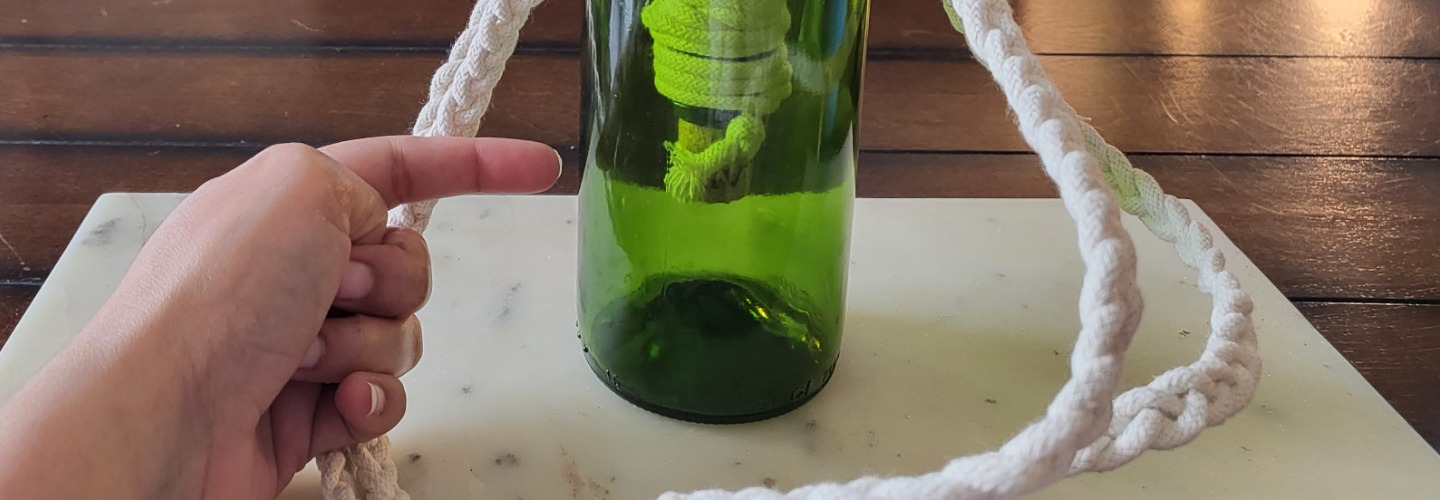
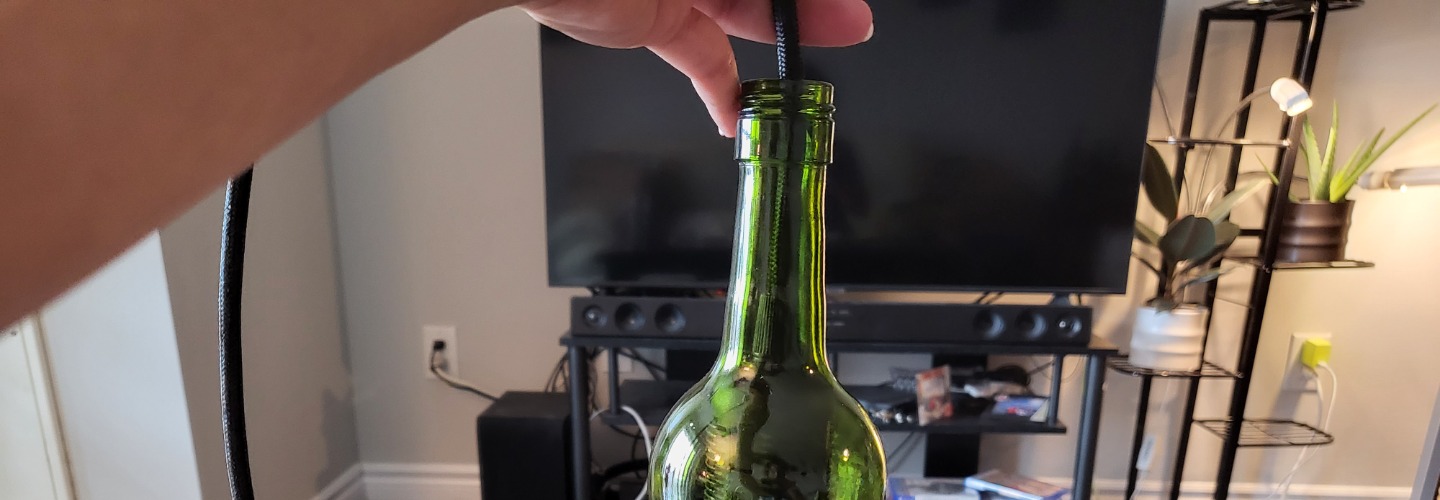
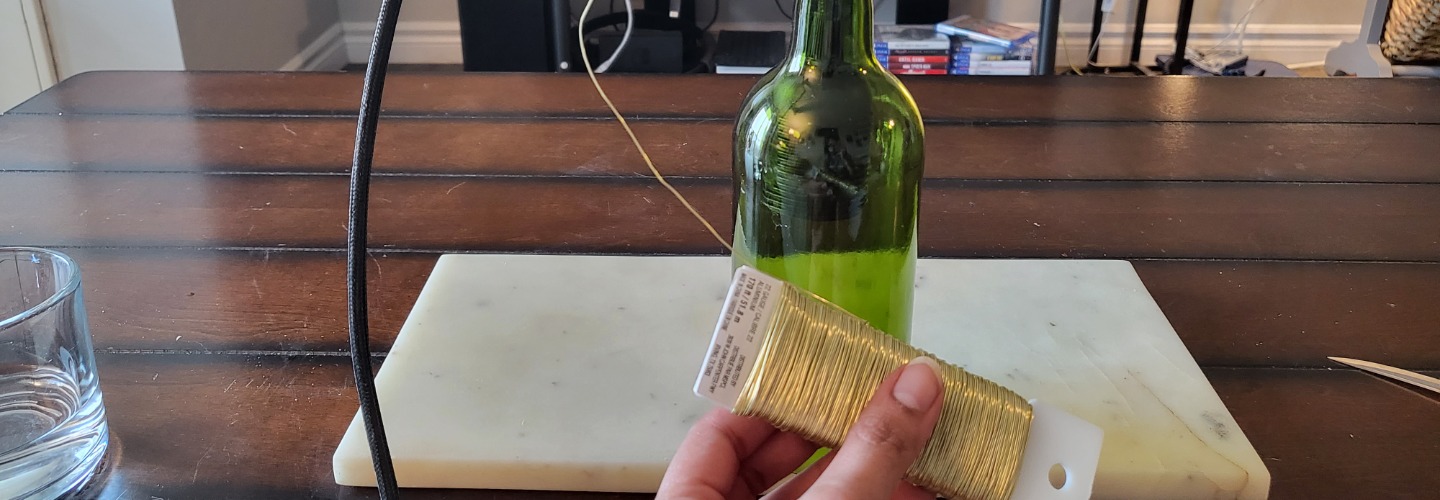
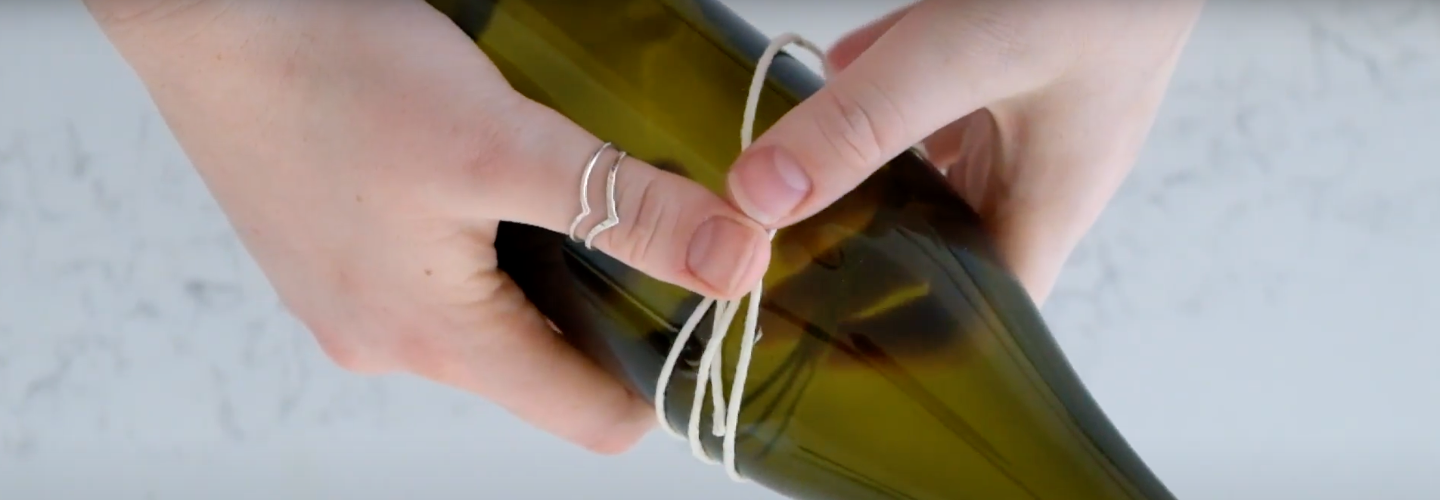
Grab the heavy copper wire, and leave about 2 inches of wire before using a pair of pliers to form a tight curl to rest against the bottle, just under the hole you created. The two inches of spare wire will act as a perch for birds to sit on.
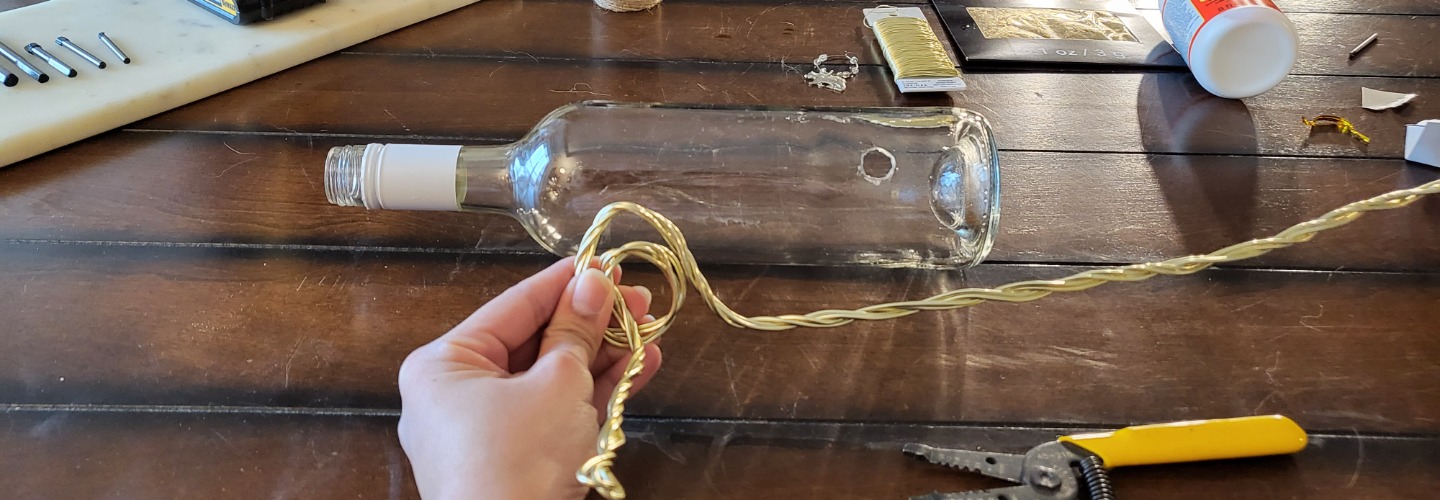
Now holding the curl you formed against the bottom of the bottle, use your hands to wrap the heavy wire around the bottle, making sure to cross the bottom of the bottle, then wrapping around the body two to three times.
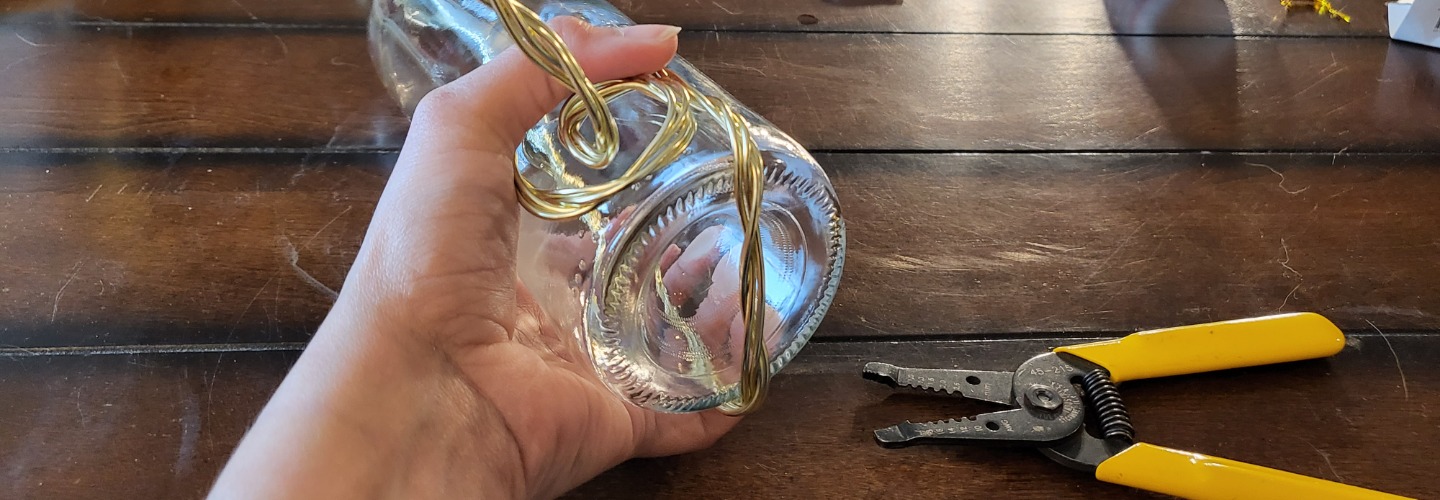
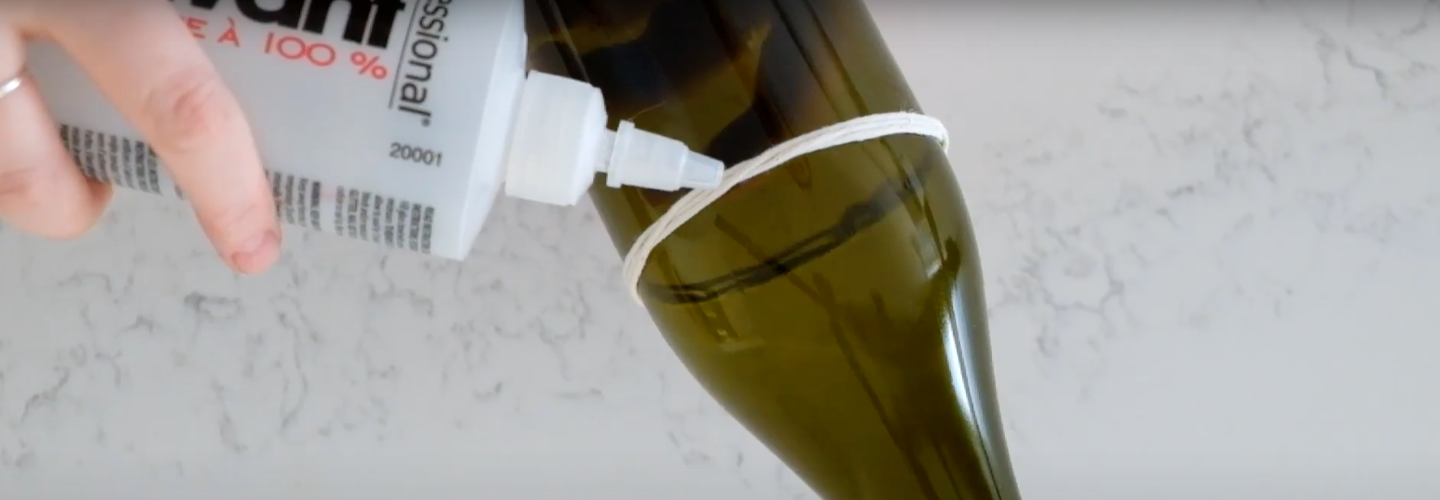
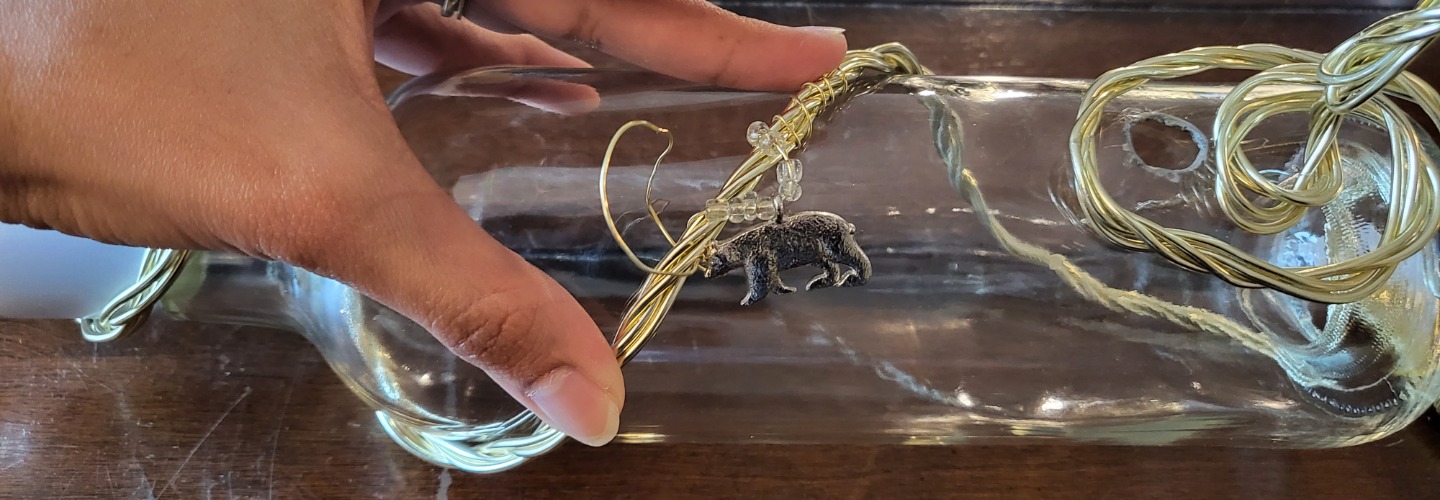
The wire is what will support the bottle as it hangs, but you don’t have to make it snug. Once you get to the neck of the bottle, you can go around it once or twice.
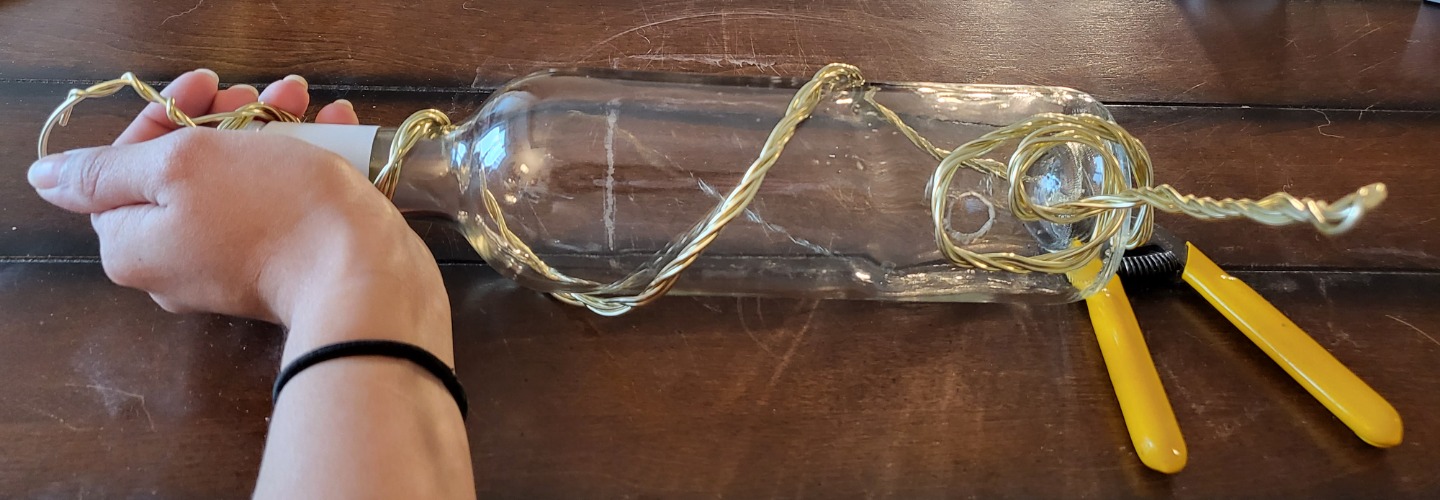
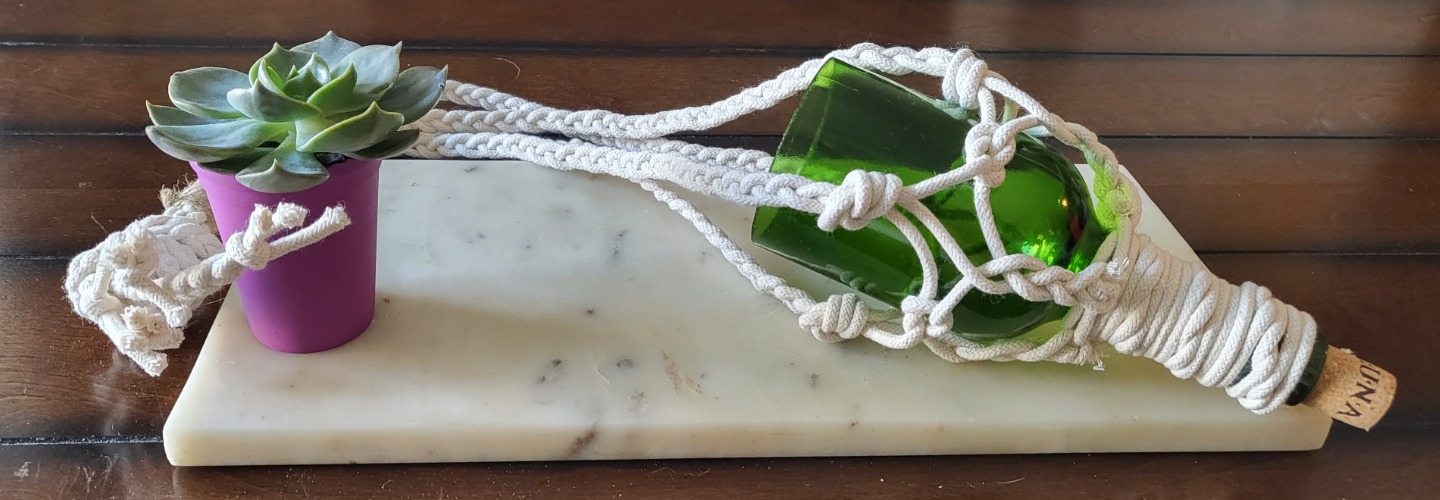
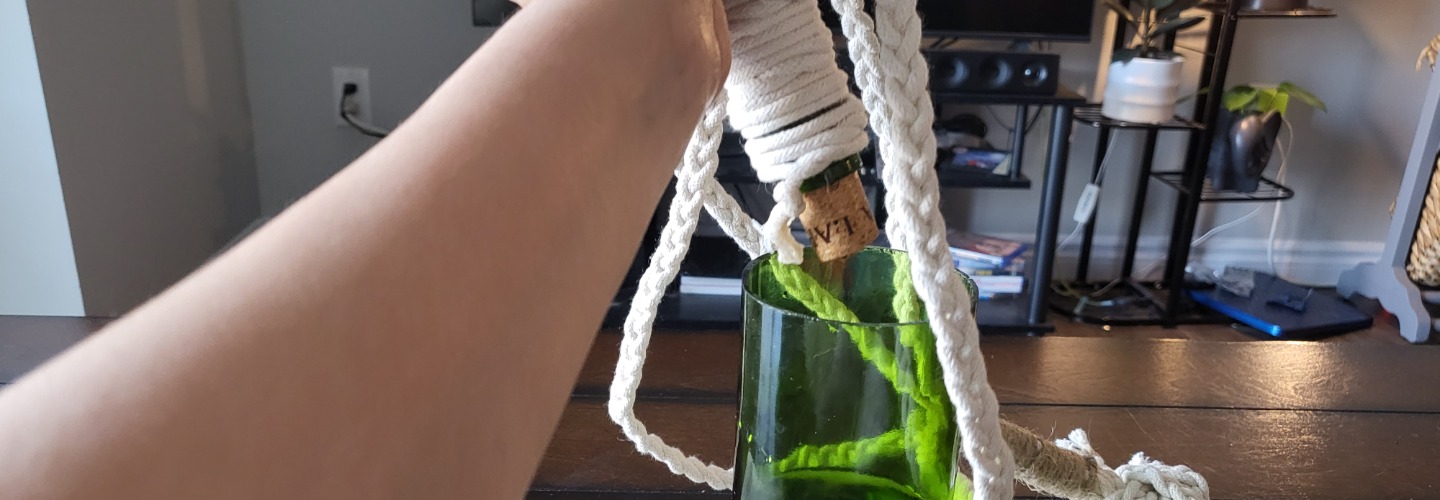
Then make a sharp 90 degree turn towards the top and making a large curl for the bottle to hang from.
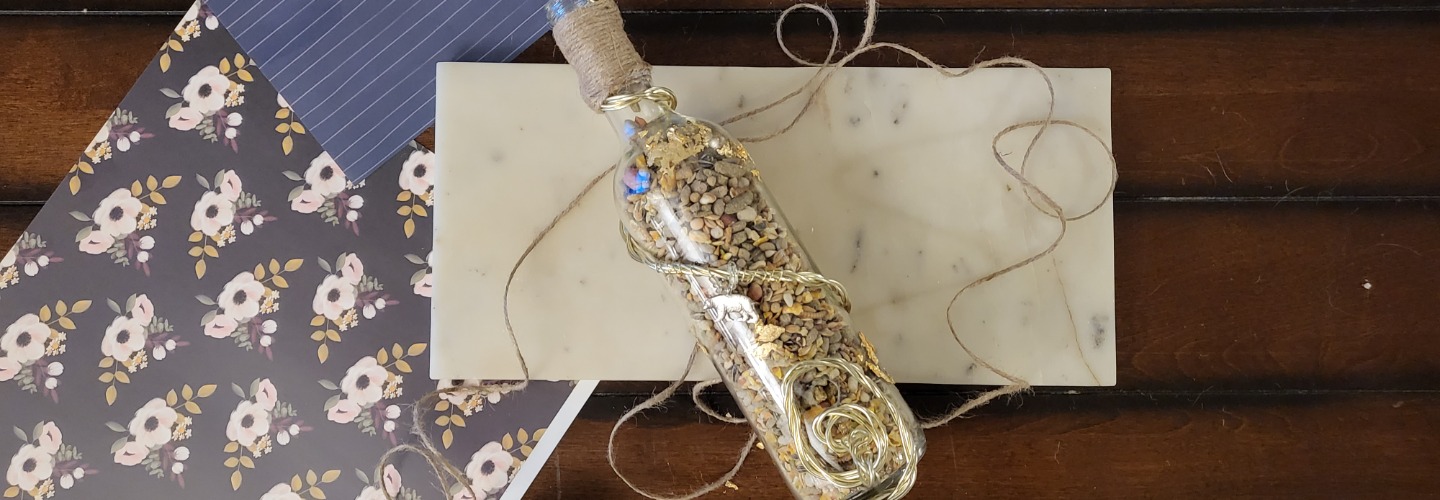
And that’s it, fill it up with bird seed, and it’s ready to be hung!
You can add ornaments to the bottle, by using a lighter copper wire to attach it to the heavy one, or you could foil the bottle – just have fun with it!
Mom’s going to love it anyway, we promise.
We hope you enjoyed our set of wine bottle craft ideas to give to Mom for Mother’s Day. If you’re looking to give Mom a little extra something with your creations, pick up a wine gift from WineCollective! In fact, give her a wine gift, show off your skills and make a fun afternoon out of crafting with Mom – she’ll need the bottles to craft (or drink) either way!
Mom will get her first box in mid-June, but we’ll give you a printable letter to give to Mom on Mother’s Day along with her craft gift!
Mother’s Day gift recipients receive:
- 3 Bottles of wine (all red, all white or mixed)
- Monthly wine guide including tasting notes, food pairings, and more
- Access to special member pricing in our online store
- Sustainable shipping products that are compostable in most Canadian locations
- For this year only, 3 specially curated recipes for Mom in her first box!
Gift Her a Wine Education!
WineCollective is a great choice for Mother’s Day since you are not just gifting wines. Mom will learn about wine from her favorite wine regions, and some that she hasn’t explored yet!
Now is the perfect time to give Mom the best wine experience possible! Create an unforgettable experience this Mother’s Day!